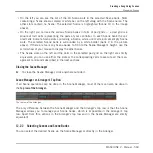
1
2
3
5
6
7
8
9
10
4
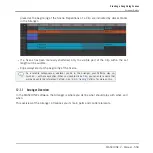
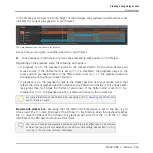
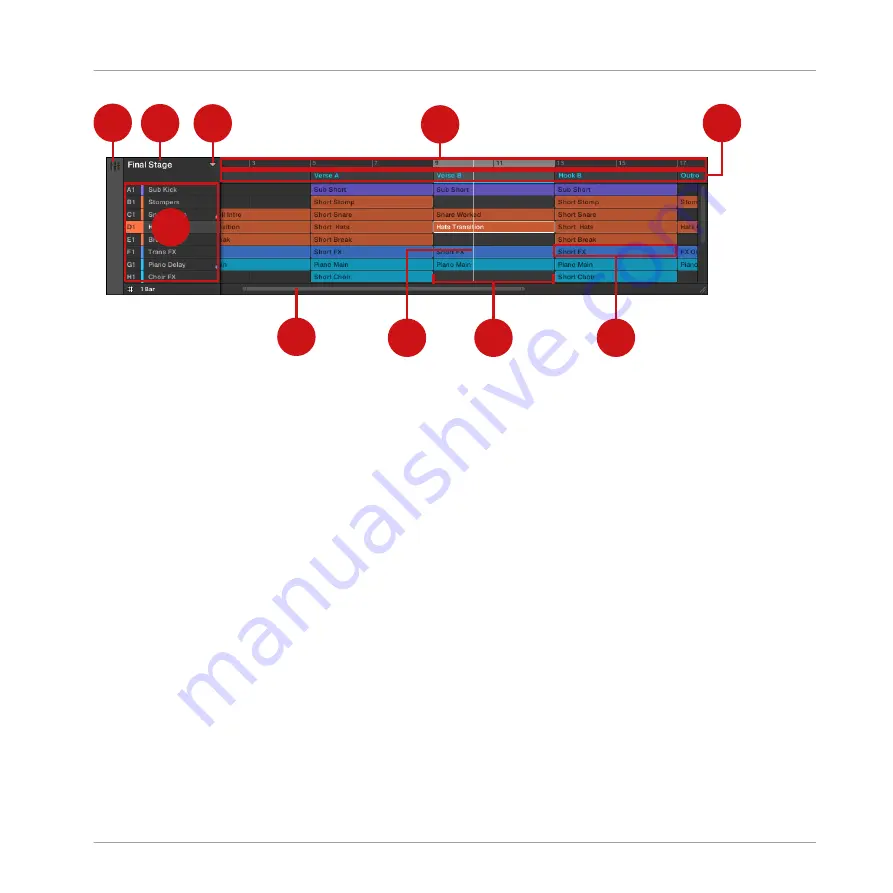
An overview of the Arranger.
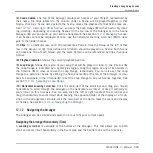
(1) Mix View button: Click the Mix View button to switch the MASCHINE software between the
Arrange view and the Mix view. The Arranger is visible only in Arrange view, i.e. only if the Mix
View button is disabled.
(2) Project name: The name of the Project is displayed here.
(3) Scene Manager button: Click this arrow to open the Scene Manager. The Scene Manager al-
lows you to organize your Scenes and provides all necessary Scene management functions. See
section
(4) Group List: All the Groups of your Project are listed here. In the row at the right of each
Group you can choose which of its Patterns must be played in each Scene. You do this by cre-
ating Clips (7), each of them referencing a particular Pattern. See section
.
(5) Arranger timeline: The timeline at the top of the Arranger displays musical time units, in-
cluding bars and beats. Click anywhere in the timeline to move the playhead (8) to that posi-
tion (see section
12.1.4, Jumping to Another Playback Position in Your Project
). Drag the
Loop Range (9) or any of its border in the timeline to adjust the part of your song that will be
looped.
Creating a Song Using Scenes
Arranger Basics
MASCHINE 2 - Manual - 559
Содержание Maschine
Страница 1: ...MANUAL...
Страница 57: ...The Preferences MIDI page Basic Concepts Preferences MASCHINE 2 Manual 57...
Страница 60: ...The Preferences Default page Basic Concepts Preferences MASCHINE 2 Manual 60...
Страница 71: ...The Preferences panel the Plug ins page s Manager pane Basic Concepts Preferences MASCHINE 2 Manual 71...
Страница 79: ...The Preferences panel Colors page Basic Concepts Preferences MASCHINE 2 Manual 79...

