Needle Case Removal
It may become necessary to remove the needle case from the front of the head to
replace the needle bar driver, take up lever gear, or needle bar reciprocator. Refer
to the following steps to remove the needle case from embroidery head.
1. Turn ON the EMT 1 and bring the embroidery head to the HEAD UP position.
2. Turn OFF the EMT 1 and disconnect the power cord from its power source.
3. Remove the thread saddle from the top of the embroidery head.
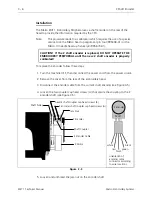
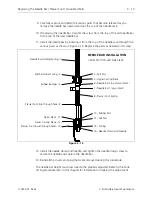
4. Remove the screw and wire tie-down holding the thread break and ground wires
to the top of the head.
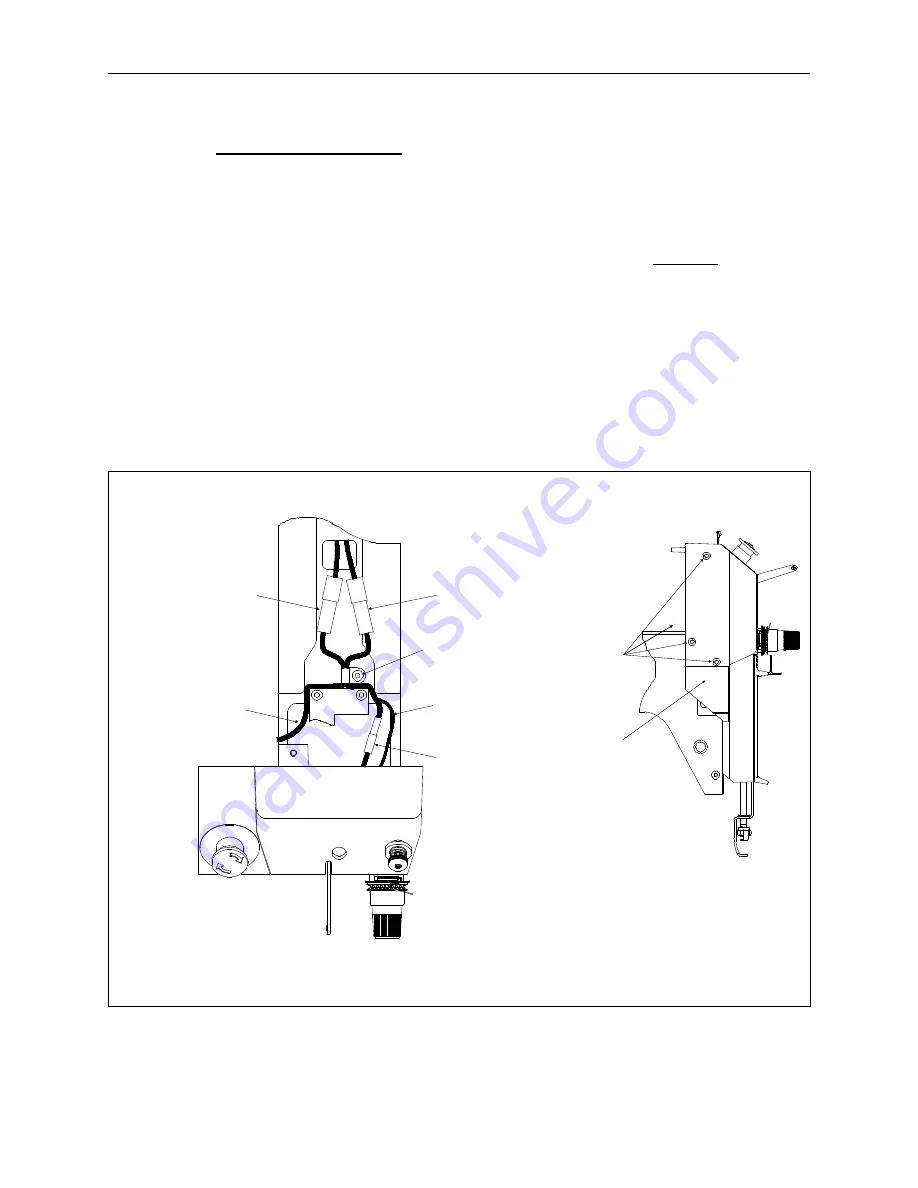
5. Disconnect the thread break and ground wire in-line connector located just
behind where the tie-down was removed (see Figure 3-13).
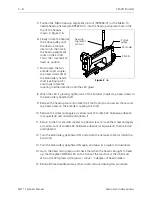
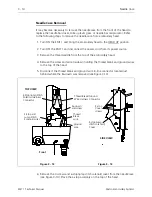
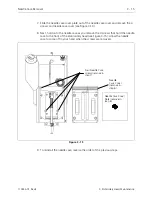
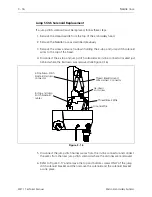
6. Remove the 3 screws and e-stop/jump stitch solenoid cover from the needle case
(see Figure 3-14). Place the e-stop assembly on the top of the head.
E-Stop and
Jump Stitch
Solenoid wires
TOP VIEW
Front
Thread
Break
wire
ground
wire
tie-down
and screw
Thread Break/Ground
Wire Harness Connector
E-Stop/Jump Stitch
Solenoid Harness
Connector
Figure 3 - 13
E-stop
Cover
screws
E-stop/jump
stitch solenoid)
Cover
SIDE VIEW
Figure 3 - 14
3 - 14
Needle Case
EMT 1 Technical Manual
Melco Embroidery Systems
Содержание EMT 1
Страница 6: ...This page intentionally left blank Table of Contents 110344 01 Revision B iv EMT 1 Technical Manual ...
Страница 44: ...This page intentionally left blank 2 30 X Beam Assembly EMT 1 Technical Manual Melco Embroidery Systems ...
Страница 74: ...This page intentionally left blank 3 30 Rotary Hook EMT 1 Technical Manual Melco Embroidery Systems ...


