18. While maintaining the specifications outlined in the previous step, tighten the
rotary hook screw that is accessible at the right of the hook assembly.
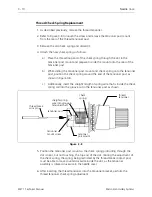
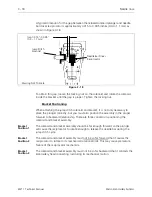
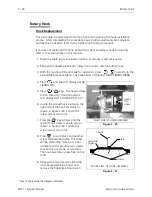
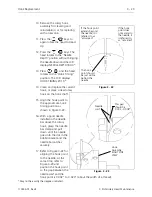
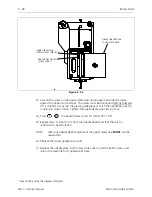
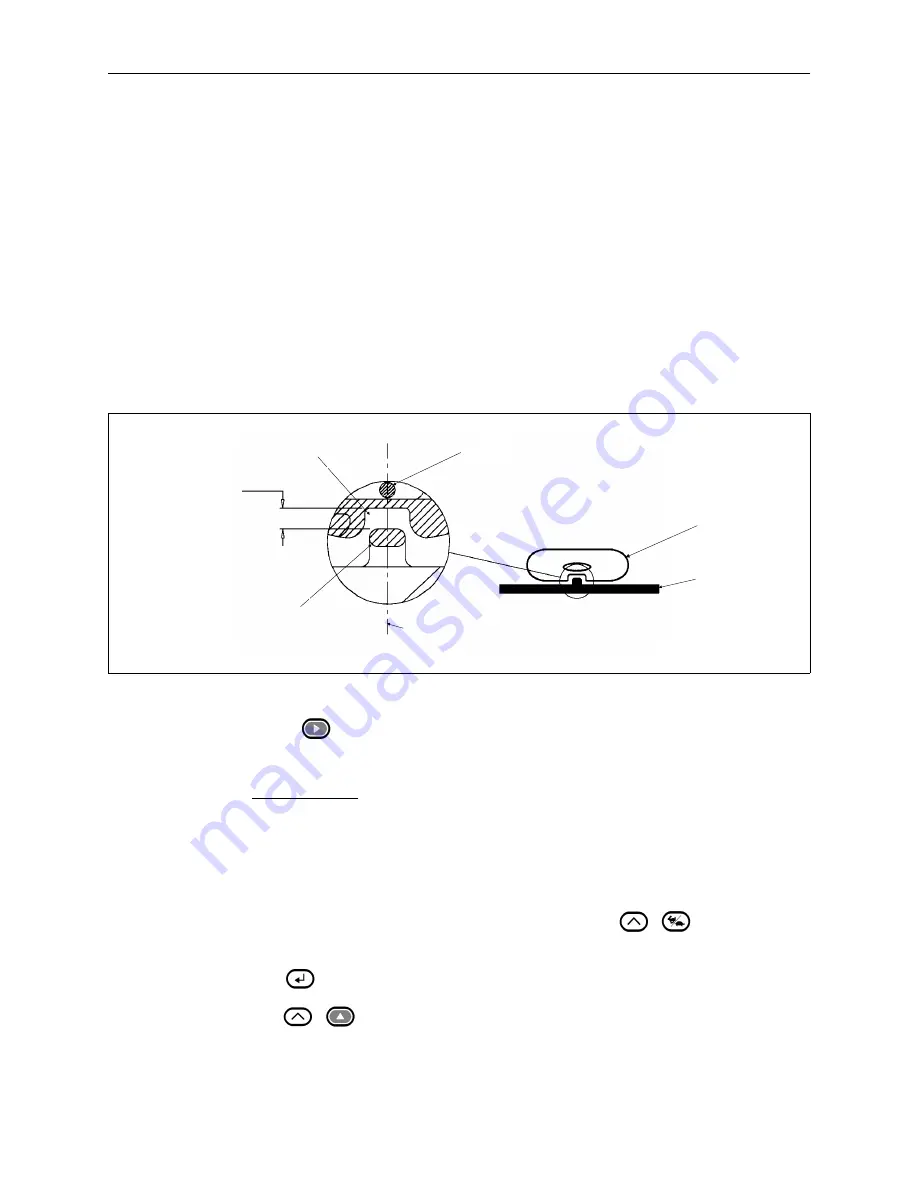
19. Refer to Figure 3-24 and position the retaining finger tab inside the rotary hook
inner basket notch. Install the screws but do not tighten them.
20. Insure the retaining finger tab is inside the inner basket notch enough to secure
the basket from rotating with the outer hook. At the same time, leave a gap
between the tab and the notch large enough to allow thread to pass through it
easily (.020 to .040 inches).
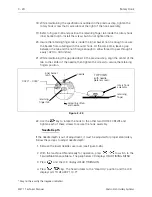
21. While maintaining the gap described in the previous step, align the center of the
tab to the center of the needle, then tighten the screws to secure the retaining
fingers position.
22. Use the key to rotate the hook to the other two HOOK SCREWS and
tighten each of these screws to secure the hook assembly.
Needle Depth
If the needle depth is out of adjustment, it must be adjusted for proper embroidery.
Follow these steps to adjust needle depth:
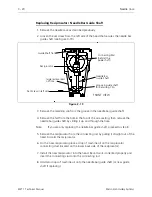
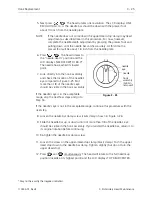
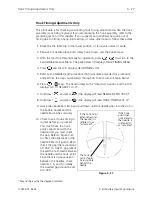
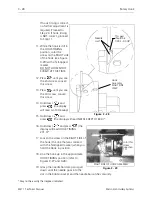
1. Remove the lower needle case cover (see Figure 3-26).
2. With the machine ON and ready for operation, press to switch to the
Service/Maintenance Menu. The peripheral LCD displays HEAD TIMING MENU.
3. Press and the LCD displays HEAD TIMING ON.
4. Press keys. The head rotates to the ‘‘Head Up’’ position and the LCD
displays GO TO HEADUP 110.0*.
* May not be exactly the degrees indicated.
0.020" - 0.040"
rotary hook
assembly
retaining
finger tab
inner basket
notch
TOP VIEW
(with needle
plate removed)
centerline of tab
and needle
needle
retaining
finger
Figure 3 - 24
3 - 24
Rotary Hook
EMT 1 Technical Manual
Melco Embroidery Systems
Содержание EMT 1
Страница 6: ...This page intentionally left blank Table of Contents 110344 01 Revision B iv EMT 1 Technical Manual ...
Страница 44: ...This page intentionally left blank 2 30 X Beam Assembly EMT 1 Technical Manual Melco Embroidery Systems ...
Страница 74: ...This page intentionally left blank 3 30 Rotary Hook EMT 1 Technical Manual Melco Embroidery Systems ...

