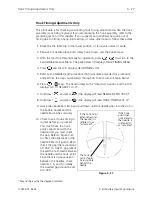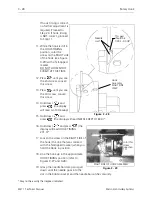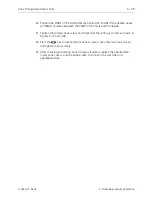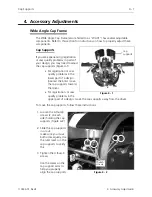
Spindles On The Clamps
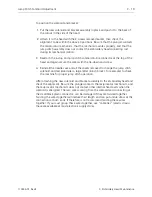
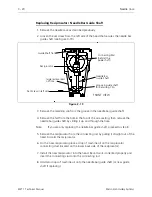
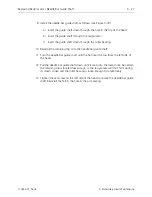
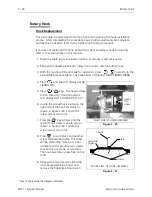
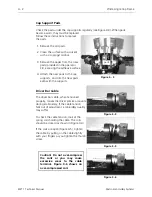
The clamps form a positive lock on the frame when it is installed on the driver. The
clamps press the spindles against the rollers on the driver to form this lock. If the
frame can move when it is installed on the driver, you should adjust the spindles.
To adjust the spindle, follow these steps:
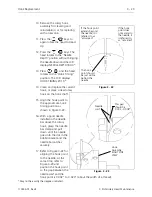
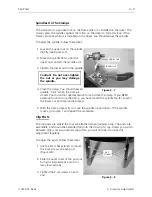
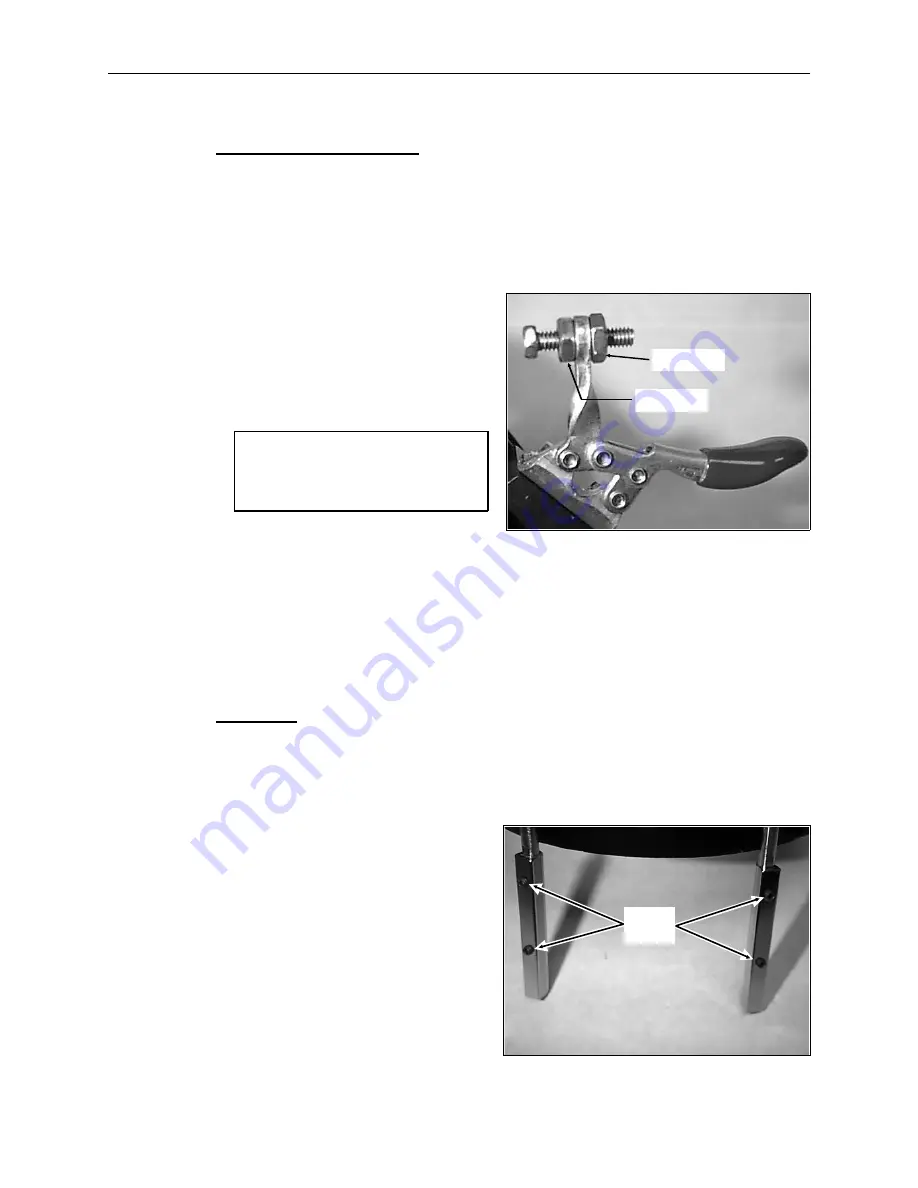
1. Loosen the upper nut on the spindle
slightly (see Figure 4-7).
2. Move the spindle down until the
upper nut contacts the spindle arm.
3. Tighten the lower nut on the spindle.
Caution! Do not over-tighten
the nut or you may damage
the spindle.
4. Close the clamp. You should hear an
audible ‘‘Click’’ when the clamp is
closed. You should not need excessive force to close the clamp. If you NEED
excessive force to close the clamp, you have moved the spindle too far. Loosen
the lower nut and reverse the process.
5. With the clamp closed, try to move the spindle up and down. If the spindle
moves, go to step 1 and repeat the procedure.
Clip Posts
The clip posts are where the clips are attached when hooping a cap. The posts are
extendible, and should be extended fully into the crown of a cap. Unless you switch
between high- and low-crowned caps often, you will not need to make this
adjustment regularly.
To adjust the posts, follow these steps:
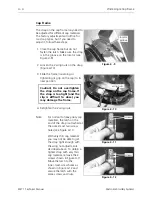
1. Use the 2mm hex wrench to loosen
the 2 set screws on each post
(Figure 4-8).
2. Slide the outer cover of the post out
for high-crowned caps and in for
low-crowned caps.
3. Tighten the 2 set screws on each
post.
upper nut
lower nut
Figure 4 - 7
set
screws
Figure 4 - 8
Clip Posts
4 - 3
110344-01, Rev B
4. Accessory Adjustments
Содержание EMT 1
Страница 6: ...This page intentionally left blank Table of Contents 110344 01 Revision B iv EMT 1 Technical Manual ...
Страница 44: ...This page intentionally left blank 2 30 X Beam Assembly EMT 1 Technical Manual Melco Embroidery Systems ...
Страница 74: ...This page intentionally left blank 3 30 Rotary Hook EMT 1 Technical Manual Melco Embroidery Systems ...

