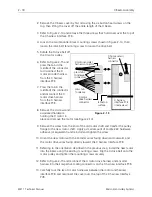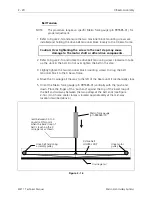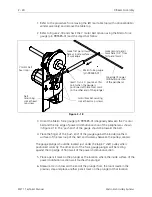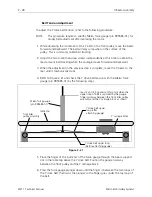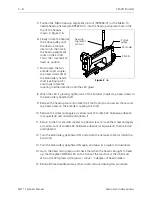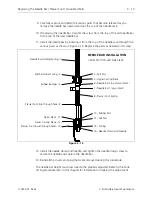
7. Release the downward force on the gauge plunger and allow the finger to apply
an upward force to the bottom of the top loop of the belt.
8. Read the scale on the force gauge.
The reading should be 2 +/- 0.25 pounds.
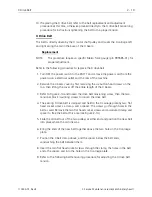
9. If the tension is not correct, slightly tighten the two belt tensioning socket head
cap screws equally to increase tension on the Y drive belt; or loosening the
screws to reduce the tension.
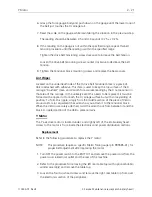
10. Check the Y drive belt tension on the other side of the peripheral using the same
method as in the previous steps.
The tensions of the two belts should be within 0.25 pounds of each other.
11. If needed, adjust the other Y drive belt to the proper tension according to the
above specifications.
12. Repeat this procedure until the proper tension adjustments are attained.
Y Drive Belt
2 - 29
110344-01, Rev B
2. Service Maintenance (except embroidery head )
Содержание EMT 1
Страница 6: ...This page intentionally left blank Table of Contents 110344 01 Revision B iv EMT 1 Technical Manual ...
Страница 44: ...This page intentionally left blank 2 30 X Beam Assembly EMT 1 Technical Manual Melco Embroidery Systems ...
Страница 74: ...This page intentionally left blank 3 30 Rotary Hook EMT 1 Technical Manual Melco Embroidery Systems ...


