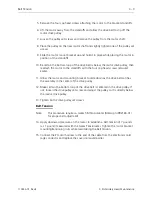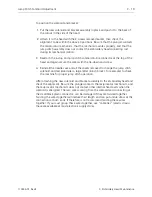
NOTICE: Before you remove the solenoid from the bracket, record the
number of threads of the solenoid that are showing beyond the
solenoid bracket (or measure the distance the end of the solenoid
protrudes from the solenoid bracket). When the new solenoid is
installed into the bracket, position the solenoid with the same
number of threads (or distance) you recorded in this step.
7. Loosen the locking nut on the solenoid, then rotate the bracket off the solenoid.
8. Replace with new solenoid by reversing the previous steps. Adjust the position of
the solenoid into the solenoid bracket using the "thread counts" or
measurement you obtained in the above
NOTICE
.
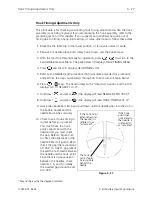
9. Refer to the following adjustment procedure for the proper adjustments.
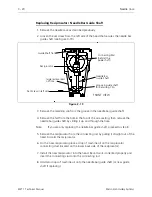
Jump Stitch Solenoid Adjustment
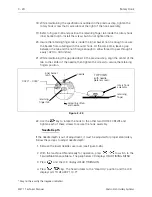
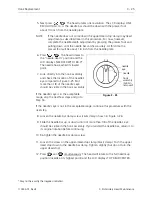
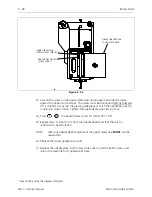
If a jump stitch solenoid has been replaced, perform the following adjustments:
NOTE:
The needle case must be removed to make this adjustment.
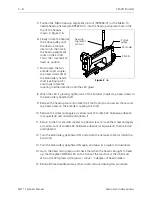
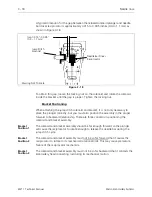
Plunger Positioning
Plunger
Position 1
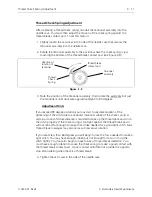
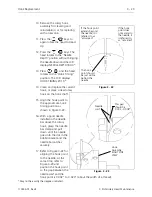
The jump stitch solenoid must be positioned so the plunger is close enough to
actuate the needle bar driver reciprocator when the solenoid is engaged (energized).
Plunger
Position 2
The plunger also must not be contacting the reciprocator during normal
embroidery, when the solenoid is relaxed or not energized.
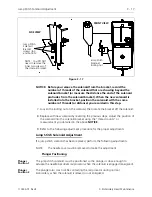
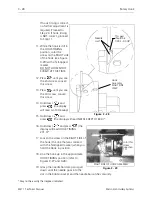
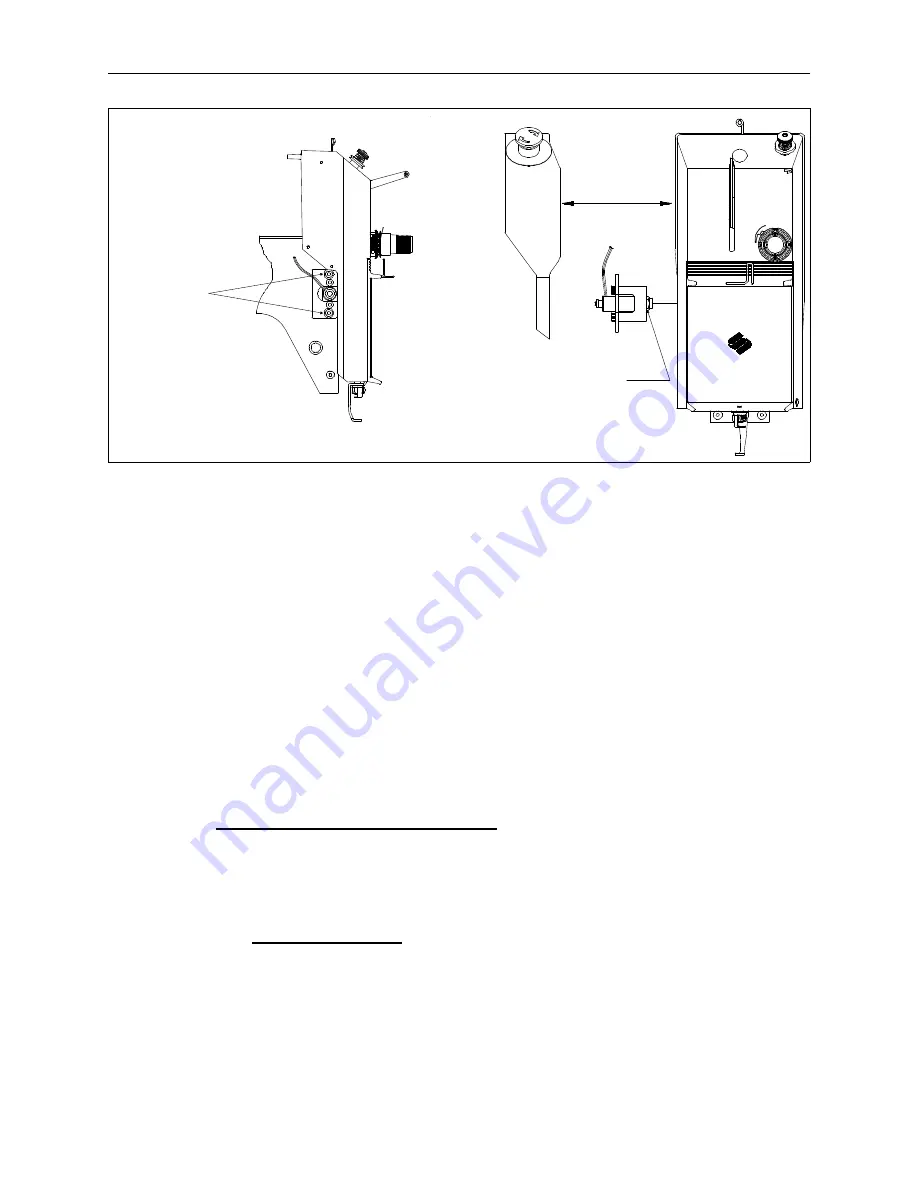
Figure 3 - 17
FRONT VIEW
Jump Stitch
Solenoid
locking nut
SIDE VIEW
Jump Stitch
Solenoid
Bracket
screws (top
and bottom)
NOTE: You DO NOT
need to remove the
inner two screws of
the solenoid bracket.
Jump Stitch Solenoid Adjustment
3 - 17
110344-01, Rev B
3. Embroidery Head Maintenance
Содержание EMT 1
Страница 6: ...This page intentionally left blank Table of Contents 110344 01 Revision B iv EMT 1 Technical Manual ...
Страница 44: ...This page intentionally left blank 2 30 X Beam Assembly EMT 1 Technical Manual Melco Embroidery Systems ...
Страница 74: ...This page intentionally left blank 3 30 Rotary Hook EMT 1 Technical Manual Melco Embroidery Systems ...

