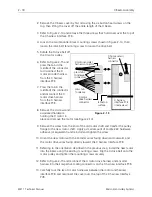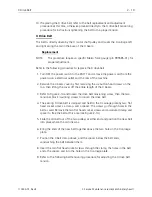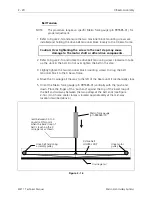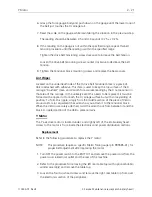
4. Disconnect all the cables from the
backplane PCB
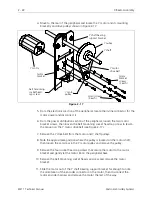
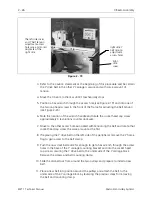
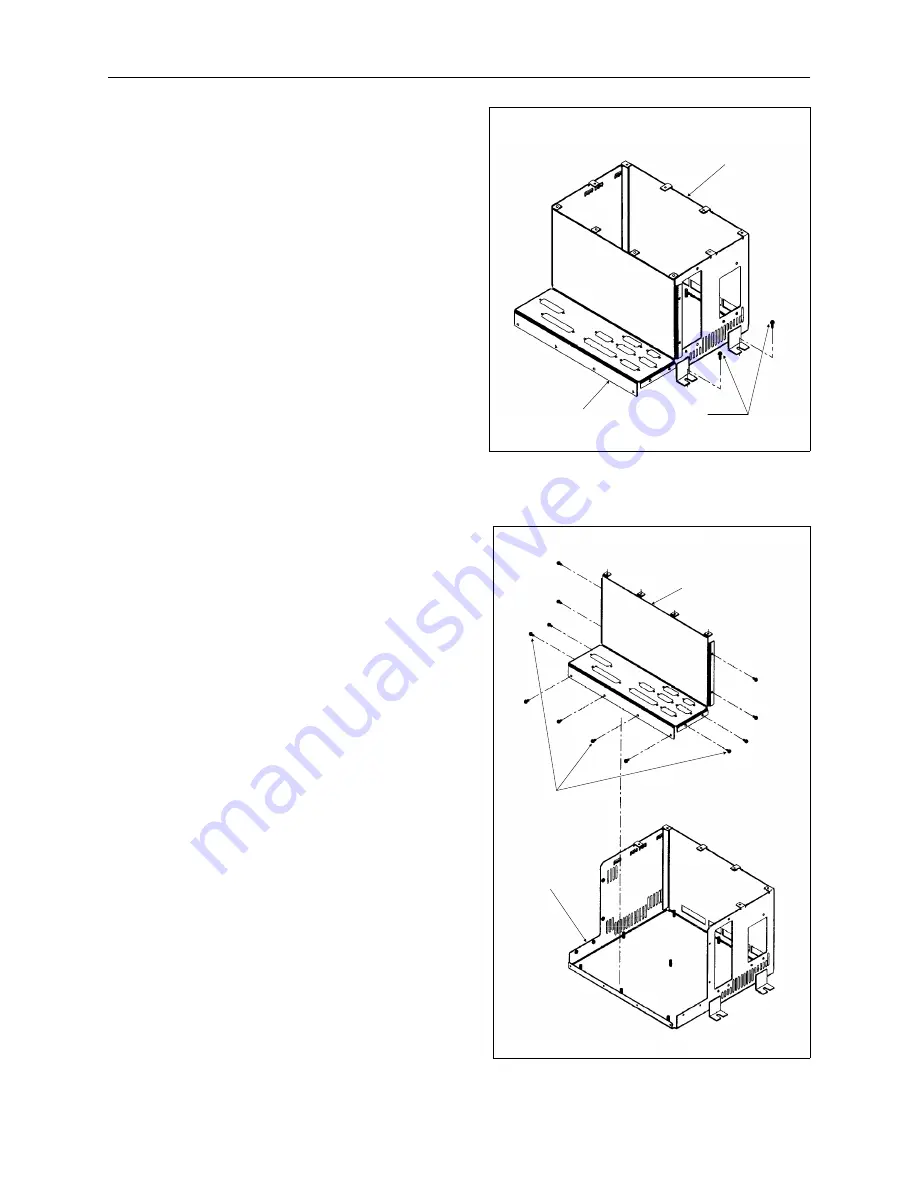
5. Remove the entire card cage by
removing the four screws holding
it to the base of the electronics
section (see Figure 2-12).
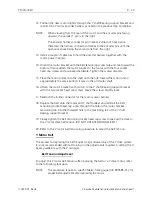
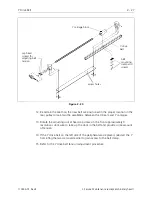
6. Remove the screws holding the
cover over the backplane PCB
connectors (see Figures 2-12 and
2-13).
7. Remove the screws holding the
backplane PCB to the base of the
card cage.
8. Lift the backplane PCB out of the
card cage.
9. Install a new backplane PCB using
the same hardware that secured
the old one in place in the base of
the card cage.
10. Replace the cover over the
backplane PCB connectors. Use
the same hardware that previously
secured it.
11. Reinstall the card cage to the base
of the electronics section, securing
it with the four screws removed
earlier.
12. Reconnect the cables to the
backplane PCB and reinstall the
screws holding the cover over the
backplane PCB connectors.
13. Reinstall all the upright printed
circuit boards as earlier described.
14. Remove the static grounding strap
and replace the card cage cover.
15. Reinstall the right rear table top.
backplane
connectors cover
card
cage
2 of 4
screws
Figure 2 - 12
cover over the
backplane PCB
connectors
Card Cage
cover
screws
Figure 2 - 13
2 - 16
Electronics Section
EMT 1 Technical Manual
Melco Embroidery Systems
Содержание EMT 1
Страница 6: ...This page intentionally left blank Table of Contents 110344 01 Revision B iv EMT 1 Technical Manual ...
Страница 44: ...This page intentionally left blank 2 30 X Beam Assembly EMT 1 Technical Manual Melco Embroidery Systems ...
Страница 74: ...This page intentionally left blank 3 30 Rotary Hook EMT 1 Technical Manual Melco Embroidery Systems ...


