


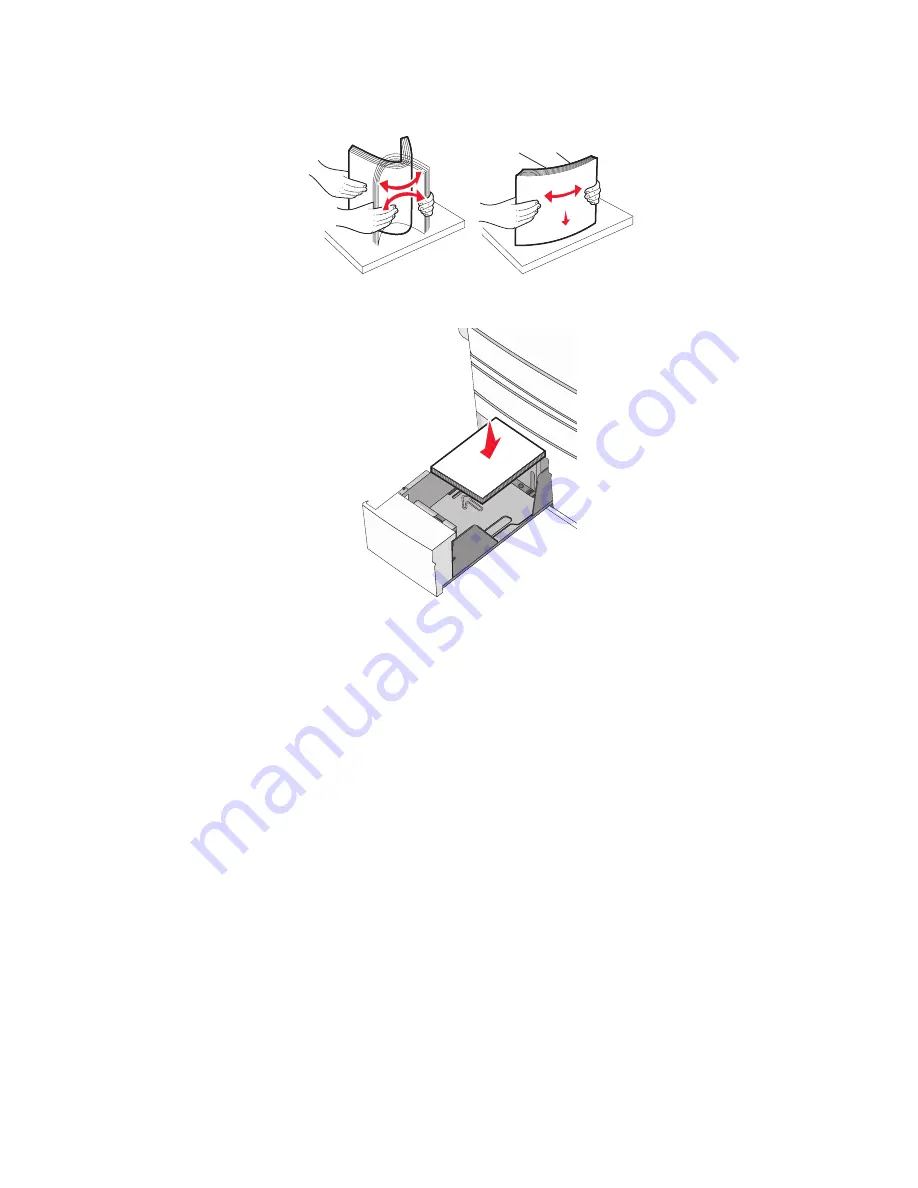
3
Flex the sheets back and forth to loosen them. Do not fold or crease the paper. Straighten the edges on a level
surface.
4
Load the paper stack with the recommended print side faceup.
Notes:
•
Place print side facedown for duplex printing.
•
Place pre-punched paper with the holes toward the front of the tray.
•
Place letterheads faceup with the header on the left side of the tray.
•
Place letterheads facedown with the header on the right side of the tray for duplex printing.
•
Make sure the paper is below the maximum fill line located on the edge of the paper tray.
Warning—Potential Damage:
Overloading the tray can cause paper jams and possible printer damage.
5
Insert the tray.
6
From the printer control panel, verify the Paper Size and Paper Type setting for the tray based on the paper you
loaded.
Loading paper and specialty media
76
Содержание X950 Series
Страница 28: ...Touch To Reset Reset values on the screen Understanding the home screen 28 ...
Страница 242: ...4 Locate the printhead wipers Maintaining the printer 242 ...
Страница 244: ...7 Slide the release lever to the right to lock the cover 8 Close the front door Maintaining the printer 244 ...
Страница 245: ...Emptying the hole punch box 1 Open door G 2 Pull out the hole punch box Maintaining the printer 245 ...
Страница 254: ...11 Close the cover 12 Rotate the release lever clockwise to lock the cover Maintaining the printer 254 ...
Страница 259: ...7 Lower the cover 8 Slide out the printhead wipers 3x 3x 3x Maintaining the printer 259 ...
Страница 260: ...9 Slide the printhead wipers back into place 10 Close the cover Maintaining the printer 260 ...
Страница 266: ...3 Hold the tabs on both sides of the staple cartridge Maintaining the printer 266 ...
Страница 267: ...4 Rotate the booklet staple cartridge at an angle Maintaining the printer 267 ...
Страница 285: ...2 Open the top cover 1 2 2 3 Firmly grasp the jammed paper on each side and then gently pull it out Clearing jams 285 ...


