


•
Press
—Use when the original document was printed using a printing press.
•
Other
—Use when the original document was printed using an alternate or unknown printer.
7
Touch
>
Copy It
.
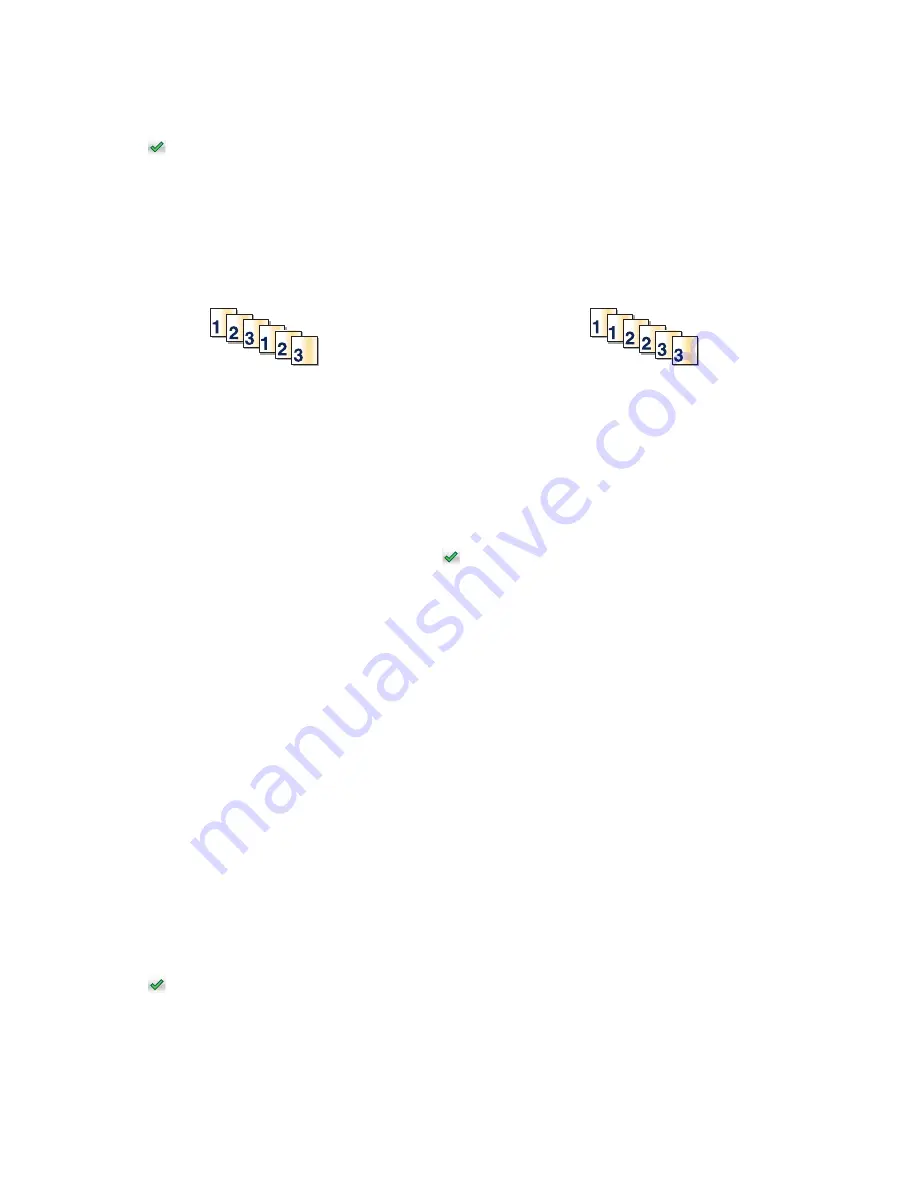
Collating copies
If you print multiple copies of a document, then you can choose to print each copy as a set (collated) or to print the
copies as groups of pages (not collated).
Collated
Not collated
By default, Collate is set to On. If you do not want to collate your copies, then change the setting to Off:
1
Load an original document faceup, short edge first into the ADF or facedown on the scanner glass.
Note:
Do not load postcards, photos, small items, transparencies, photo paper, or thin media (such as magazine
clippings) into the ADF. Place these items on the scanner glass.
2
If you are loading a document into the ADF, then adjust the paper guides.
3
From the home screen, navigate to:
Copy
> enter the number of copies >
Collate
>
Off
>
>
Copy It
Placing separator sheets between copies
1
Load an original document faceup, short edge first into the ADF or facedown on the scanner glass.
Note:
Do not load postcards, photos, small items, transparencies, photo paper, or thin media (such as magazine
clippings) into the ADF. Place these items on the scanner glass.
2
If you are loading a document into the ADF, then adjust the paper guides.
3
From the home screen, navigate to:
Copy
>
Advanced Options
>
Separator Sheets
Note:
Collate must be set to On for the separator sheets to be placed between copies. If Collate is set to Off,
then the separator sheets are added to the end of the print job.
4
Select one of the following:
•
Between Copies
•
Between Jobs
•
Between Pages
•
Off
5
Touch
, and then
Copy It
.
Copying
110
Содержание X950 Series
Страница 28: ...Touch To Reset Reset values on the screen Understanding the home screen 28 ...
Страница 242: ...4 Locate the printhead wipers Maintaining the printer 242 ...
Страница 244: ...7 Slide the release lever to the right to lock the cover 8 Close the front door Maintaining the printer 244 ...
Страница 245: ...Emptying the hole punch box 1 Open door G 2 Pull out the hole punch box Maintaining the printer 245 ...
Страница 254: ...11 Close the cover 12 Rotate the release lever clockwise to lock the cover Maintaining the printer 254 ...
Страница 259: ...7 Lower the cover 8 Slide out the printhead wipers 3x 3x 3x Maintaining the printer 259 ...
Страница 260: ...9 Slide the printhead wipers back into place 10 Close the cover Maintaining the printer 260 ...
Страница 266: ...3 Hold the tabs on both sides of the staple cartridge Maintaining the printer 266 ...
Страница 267: ...4 Rotate the booklet staple cartridge at an angle Maintaining the printer 267 ...
Страница 285: ...2 Open the top cover 1 2 2 3 Firmly grasp the jammed paper on each side and then gently pull it out Clearing jams 285 ...


