


Menu item
Description
Assign Type/Bin
Plain Paper Bin
Card Stock Bin
Transparency Bin
Recycled Bin
Glossy Bin
Heavy Glossy Bin
Labels Bin
Bond Bin
Envelope Bin
Rough Envelope Bin
Letterhead Bin
Preprinted Bin
Colored Bin
Light Paper Bin
Heavy Paper Bin
Rough/Cotton Bin
Custom [x] Bin
Selects an exit bin for each supported paper type
Available selections for each type are:
Disabled
Standard Bin
Bin [x]
Note:
Disabled is the factory default setting.
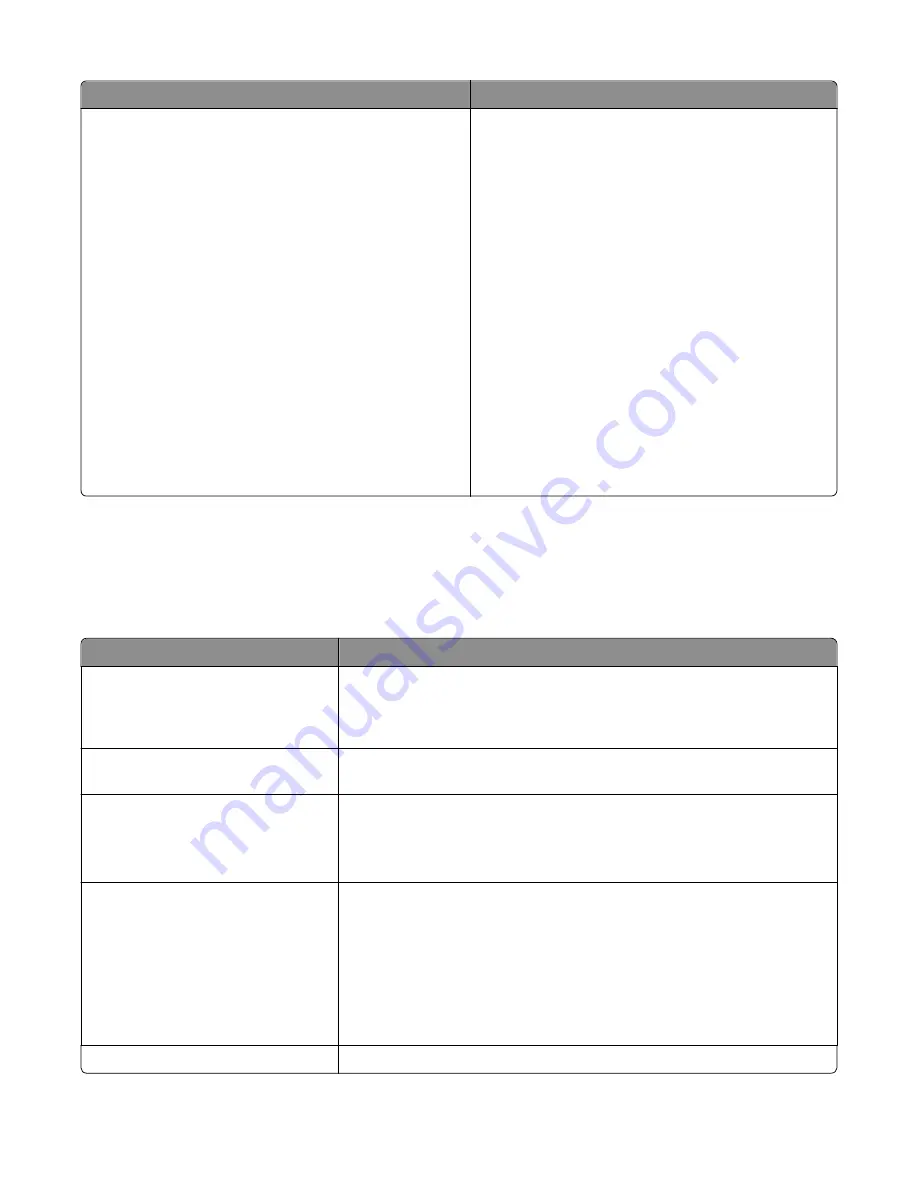
Reports menu
Reports menu
Menu item
Description
Menu Settings Page
Prints a report containing information about the paper loaded into trays, installed
memory, total page count, alarms, timeouts, printer control panel language,
TCP/IP address, status of supplies, status of the network connection, and other
information
Device Statistics
Prints a report containing printer statistics such as supply information and details
about printed pages
Network Setup Page
Prints a report containing information about the network printer settings, such
as the TCP/IP address information
Note:
This menu item appears only in network printers or printers connected
to print servers.
Network [x] Setup Page
Prints a report containing information about the network printer settings, such
as the TCP/IP address information
Notes:
•
This menu item is available when there is more than one network option
installed.
•
This menu item appears only in network printers or printers connected to
print servers.
Shortcut List
Prints a report containing information about configured shortcuts
Understanding printer menus
161
Содержание X950 Series
Страница 28: ...Touch To Reset Reset values on the screen Understanding the home screen 28 ...
Страница 242: ...4 Locate the printhead wipers Maintaining the printer 242 ...
Страница 244: ...7 Slide the release lever to the right to lock the cover 8 Close the front door Maintaining the printer 244 ...
Страница 245: ...Emptying the hole punch box 1 Open door G 2 Pull out the hole punch box Maintaining the printer 245 ...
Страница 254: ...11 Close the cover 12 Rotate the release lever clockwise to lock the cover Maintaining the printer 254 ...
Страница 259: ...7 Lower the cover 8 Slide out the printhead wipers 3x 3x 3x Maintaining the printer 259 ...
Страница 260: ...9 Slide the printhead wipers back into place 10 Close the cover Maintaining the printer 260 ...
Страница 266: ...3 Hold the tabs on both sides of the staple cartridge Maintaining the printer 266 ...
Страница 267: ...4 Rotate the booklet staple cartridge at an angle Maintaining the printer 267 ...
Страница 285: ...2 Open the top cover 1 2 2 3 Firmly grasp the jammed paper on each side and then gently pull it out Clearing jams 285 ...


