


Make sure the printer and computer are fully on and ready.
Do not connect the USB cable until instructed to do so on the computer screen.
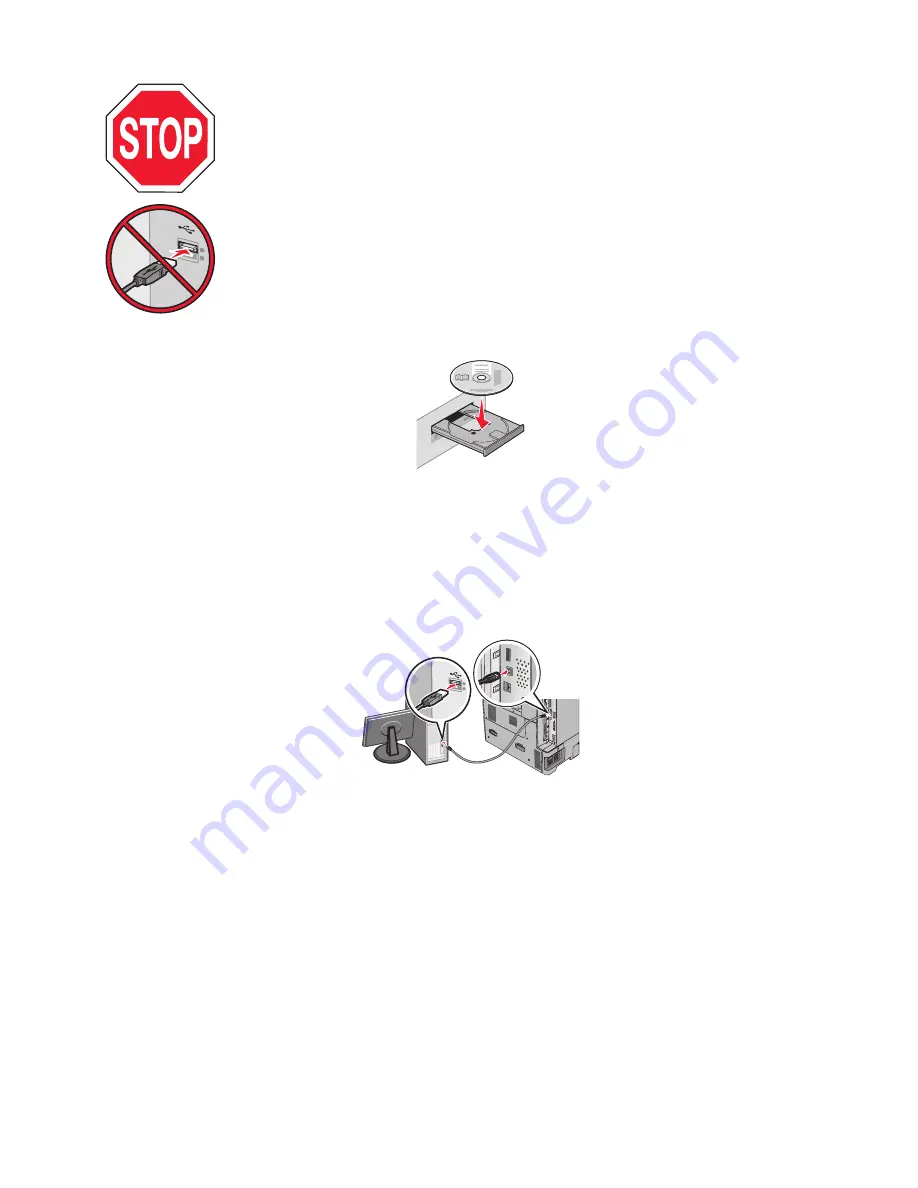
2
Insert the
Software and Documentation
CD.
3
Click
Install
, and then follow the instructions on the computer screen.
4
Select
Wireless connection
when asked to choose a connection type.
5
From the Wireless Configuration dialog, select
Guided Setup (Recommended)
.
Note:
Choose
Advanced Setup
only if you want to customize your installation.
6
Temporarily connect a USB cable between the computer on the wireless network and the printer.
Note:
After the printer is configured, the software will instruct you to disconnect the temporary USB cable so
you can print wirelessly.
7
Follow the instructions on the computer screen.
Note:
For more information on allowing other computers on the network to use the wireless printer, see the
Networking Guide
.
Additional printer setup
57
Содержание X950 Series
Страница 28: ...Touch To Reset Reset values on the screen Understanding the home screen 28 ...
Страница 242: ...4 Locate the printhead wipers Maintaining the printer 242 ...
Страница 244: ...7 Slide the release lever to the right to lock the cover 8 Close the front door Maintaining the printer 244 ...
Страница 245: ...Emptying the hole punch box 1 Open door G 2 Pull out the hole punch box Maintaining the printer 245 ...
Страница 254: ...11 Close the cover 12 Rotate the release lever clockwise to lock the cover Maintaining the printer 254 ...
Страница 259: ...7 Lower the cover 8 Slide out the printhead wipers 3x 3x 3x Maintaining the printer 259 ...
Страница 260: ...9 Slide the printhead wipers back into place 10 Close the cover Maintaining the printer 260 ...
Страница 266: ...3 Hold the tabs on both sides of the staple cartridge Maintaining the printer 266 ...
Страница 267: ...4 Rotate the booklet staple cartridge at an angle Maintaining the printer 267 ...
Страница 285: ...2 Open the top cover 1 2 2 3 Firmly grasp the jammed paper on each side and then gently pull it out Clearing jams 285 ...


