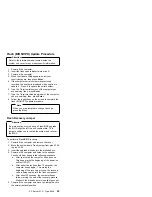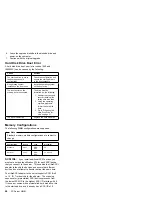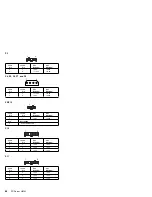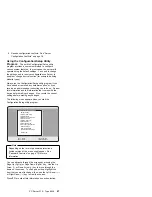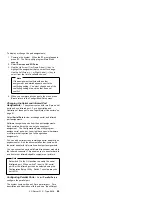
To display or change the port assignments:
1. Power-on the system. When the F1 prompt appears,
press F1. The
Setup utility program Main Menu
appears.
2. Select Devices and I/O Ports.
3. Use the Up Arrow (
↑
) or Down Arrow (
↓
) key to
highlight the assignment that you want to change.
Use the Left Arrow (
←
) or Right Arrow (
→
) key to
select from the list of available choices.
Note
If the assignment conflicts with another
assignment, an asterisk appears next to the
conflicting setting. You must change one of the
conflicting settings to a value that does not
conflict.
4. When you complete all changes to the menu, press
Esc to return to the Configuration/Setup menu.
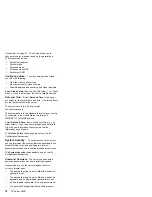
Changing the Serial and Infrared Port
Assignments:
The system comes with two 9-pin, serial
ports and one infrared port. For a description and
illustration of these ports, see “Input/Output Connectors” on
page 91.
Select Serial Port to view or change serial and infrared
port assignments.
Software recognizes ports from their port assignments.
Each serial port must have a unique serial-port
assignment. The Configuration/Setup utility program
assigns serial ports, but you might have special hardware
or software that requires you to change these
assignments.
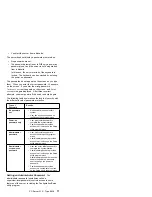
You can add serial ports by installing a serial adapter in an
expansion slot. See the documentation that comes with
the serial adapter for information about port assignments.
You can connect an optional infrared transceiver module to
the infrared connector. This enables you to transfer data to
and from other infrared-capable computers or printers.
Note
Set switch 7 to the ON position to enable the serial
B/infrared port. When switch 7 is set to ON, serial
port B or the infrared port can be selected using the
Configuration/Setup Utility. Switch 7 should always be
set to ON.
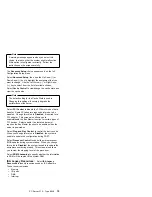
Configuring Parallel Ports:
Select Parallel Port to
configure the parallel port.
The system comes with one 25-pin, parallel port. For a
description and illustration of this port, see “Input/Output
PC Server 315 - Type 8638
69
Содержание 315
Страница 89: ...Expansion Slot Cover Expansion slot Cover Expansion slot Screw Floor Stand PC Server 315 Type 8638 85...
Страница 90: ...Identification Numbers Serial Number Machine Type Model 86 PC Server HMM...
Страница 92: ...Bay 3 3 5 Inch Drive 88 PC Server HMM...
Страница 93: ...Bay 3 5 25 Inch Drive PC Server 315 Type 8638 89...
Страница 103: ...U Bolt PC Server 315 Type 8638 99...
Страница 130: ...Parts Listings PC Server 315 Type 8638 System 1 2 3 4 5 6 7 8 9 10 11 12 13 126 PC Server HMM...
Страница 151: ...IBM Part Number 84H7201 Printed in U S A S84H 72 1...

