Removal and Replacement Procedures
Additional Requirements for Single-Board Mirrored Memory Technology
In addition to the DIMM configuration requirements for advanced ECC memory, observe the
following DIMM configuration requirements when installing DIMMs for single-board
mirrored memory:
•
•
•
•
Bank C mirrors bank A, and bank D mirrors bank B. Banks A and C must always be
populated.
DIMMs in the mirrored banks must be configured identically to the banks they are
mirroring. Corresponding banks (for instance, bank A and bank C) must be populated
with DIMMs of the same capacity.
Additional Requirements for Hot-Plug Mirrored Memory Technology
In addition to the DIMM configuration requirements for advanced ECC memory, observe the
following DIMM configuration requirements when installing DIMMs for hot-plug mirrored
memory:
Two memory boards must be installed.
Both memory boards must be configured identically. Corresponding banks (for instance,
bank A on the memory board in slot 1 and bank A on the memory board in slot 2) must
be populated with DIMMs of the same capacity.
Removing a Memory Board
CAUTION:
Electrostatic discharge can damage electronic components. Make sure you are
properly grounded before beginning any installation procedure.
To remove a memory board:
1. If the server is not configured for hot-plug mirrored memory, you must power down the
server. Refer to “Powering Down the Server” in this chapter.
If the server is configured for hot-plug mirrored memory, skip to step 2.
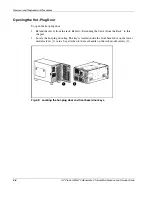
2. Open the hot-plug door. Refer to “Opening the Hot-Plug Door” in this chapter.
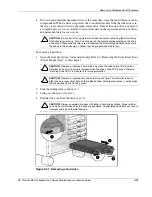
Hot-replacement procedure: Determine which memory board you want to remove by
locating the memory board with an amber memory status LED and one or more amber
DIMM status LEDs. The Ready to Hot Plug LED must be green, indicating that you can
perform a hot-plug procedure.
NOTE:
If the Ready to Hot Plug LED is off on both boards, then you must power down the server
before replacing DIMMs.
2-18
HP ProLiant ML570 Generation 2 Server Maintenance and Service Guide
Содержание ProLiant ML570 Generation 2
Страница 6: ......


