


66
ADL500 • Quick installation guide - Specifications and connection
04/09
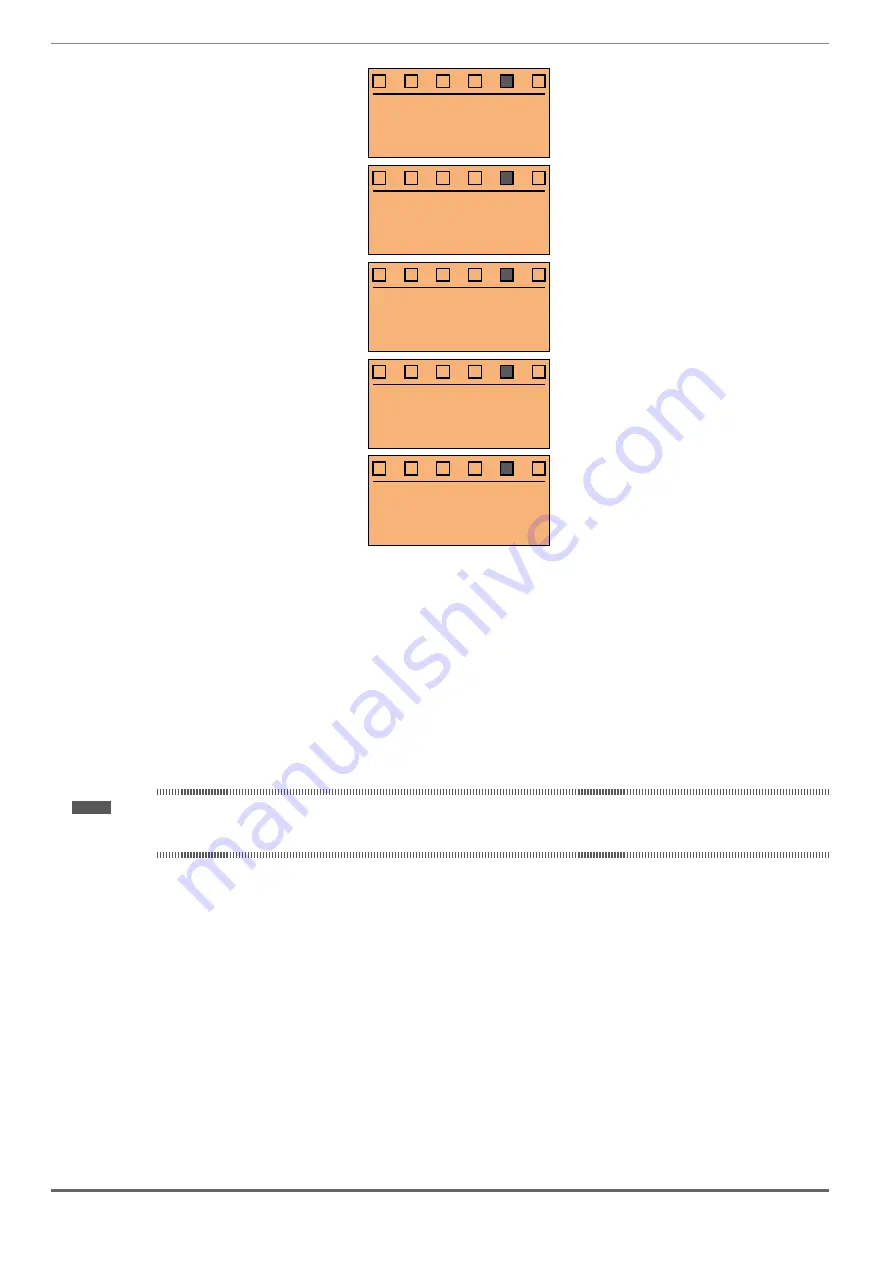
PAR:
2004
Rated speed
1450
rpm
Def:
1450
Range: 10 ... 32000rpm
05/09
PAR:
2006
Rated frequency
50.00
h
z
Def:
50
Range: 10 ... 1000Hz
06/09
PAR:
2008
Pole pairs
2
Def:
2
Range: 1 ... 60
07/09
PAR:
2010
Rated power
5.50
k
W
Def:
5.5
Range: 0.1 ... 1500kW
08/09
PAR:
2012
Rated power factor
0.83
Def:
0.83
Range: 0.6 ... 0.95
Set the plate data of the motor connected, according to the procedures described on the previous pages.
Rated voltage [V]:
the rated voltage of the motor indicated on the data plate.
Rated current [A]:
motor rated current; approximately, the value should not be less than 0.3 times the rated current of the drive, output current class 1 @ 400 V
on the data plate of the drive.
Rated speed [rpm]:
rated speed of the motor; this value must reflect the speed of the fully loaded motor at rated frequency. If slip is indicated on the motor data
plate, set the Rated speed parameter as follows: Rated speed = Synchronous speed - Slip (e.g. for a 4-pole motor Rated speed = 1500 - 70
= 1430).
Rated frequency [Hz]:
rated frequency of the motor, as shown on the data plate (asynchronous motors only).
Pole pairs:
Number of motor pole pairs. The number of motor pole pairs is calculated using the plate data and the following formula:
P = 60 [s] x f [Hz] / nN [rpm]
Where:
P = motor pole pairs, f = motor rated frequency (e.g. 50); nN = motor rated speed (e.g. 1450)
Rated power [kW]:
Motor rated power; for a motor data plate with an HP power value, set the rated power kW = 0.736 x the motor power HP value.
Rated power factor:
Leave the default rated power factor if the data are not available on the data plate.
Note !
When data entry is complete the
Take parameters
command is executed automatically (menu MOTOR DATA, PAR: 2020). The motor data entered during the
STARTUP WIZARD procedure are saved in a RAM memory to enable the drive to perform the necessary calculations.
These data are lost if the device is switched off. To save the motor data follow the procedure described in step 9.
At the end of the procedure proceed to next step.
Содержание ADL500
Страница 95: ......