RX II User Manual
GreatCut Plug-In A-6
Advanced Settings
Segmental Positioning
For precise cutting quality, it is suggested to apply “Segmental Positioning” by adjusting the x
and y distance when you are working on an extra long or large-size image to increase cutting
quality.
Follow the same steps in the
4-Point Positioning
section to complete the contour line setting
and registration mark creation procedures. Adjust the size, object margin and line thickness of
your registration marks and the space between registration marks by changing X, Y distance in
the Setup-Jog Marks window and click OK.
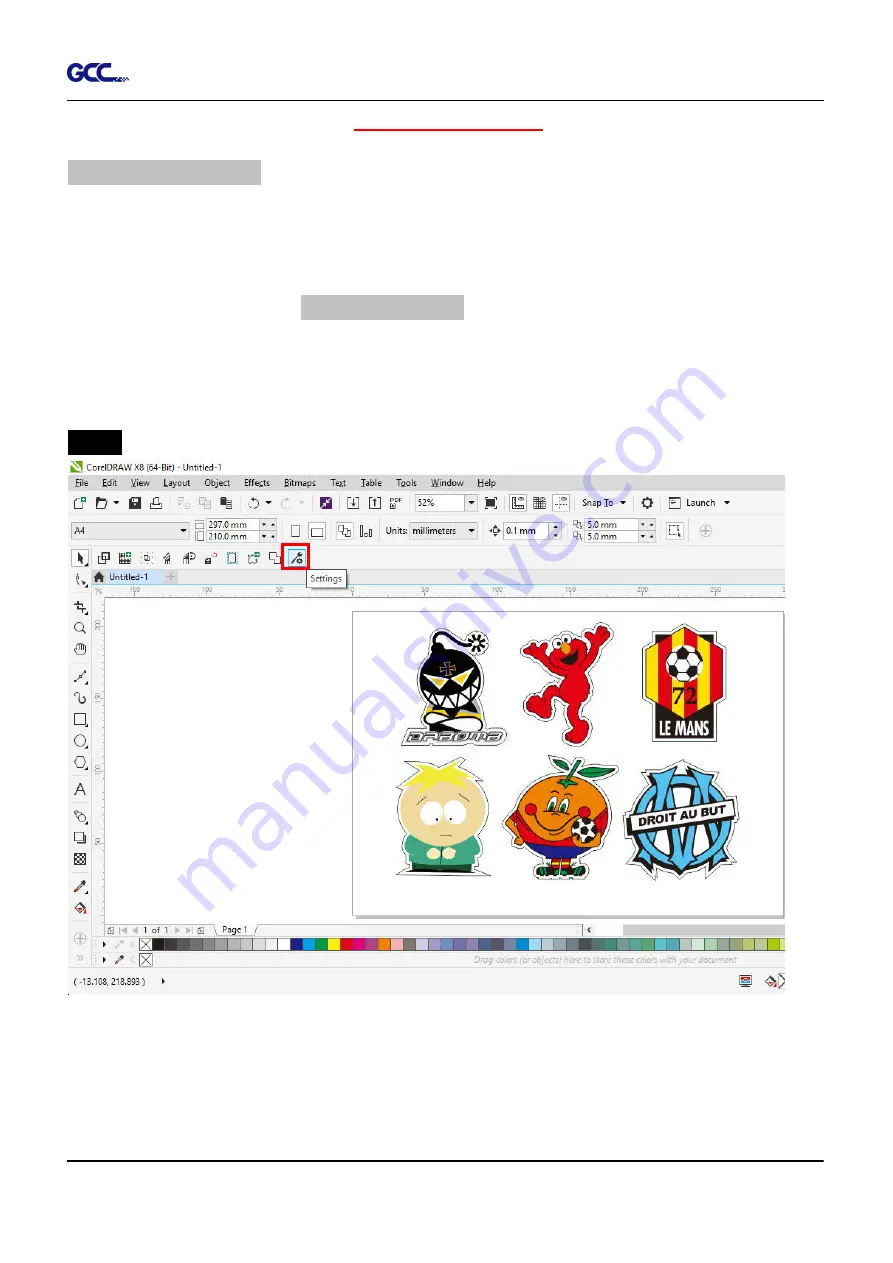
Step 1
Press the Settings icon on the GreatCut toolbar.
Содержание RX II Series
Страница 1: ...V 24 2020 May RX II Series User Manual http www GCCworld com...
Страница 160: ...RX II User Manual GreatCut Plug In A 6 Step 5 Click output and the object will be sent to GCC Cutting Plotter...
Страница 174: ...RX II User Manual GreatCut Plug In A 6 Step 5 Press the button on the right of Jog marks...
Страница 179: ...RX II User Manual GreatCut Plug In A 6 Step 5 Click output and the object will be sent to GCC Cutting Plotter...
Страница 190: ...RX II User Manual GreatCut Plug In A 6 Step 11 Go to GreatCut window press Output button...
Страница 191: ...RX II User Manual GreatCut Plug In A 6...
Страница 205: ...RXII User Manual SignPal 12 Instruction A 6...
Страница 206: ...RXII User Manual SignPal 12 Instruction A 6 3 Select File Print Setup in SignPal Software and select the printer...
Страница 207: ...RXII User Manual SignPal 12 Instruction A 6 4 Select File Document Setup in SignPal and select paper size...
Страница 212: ...RXII User Manual SignPal 12 Instruction A 6...


