7.12 Adjusting the Altitude
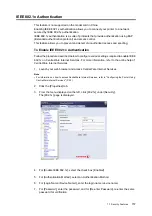
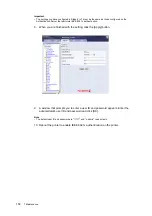
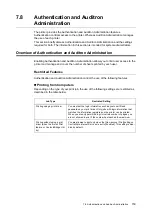
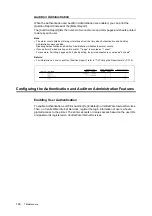
171
7.12
Adjusting the Altitude
When installing the printer in a high-altitude location or a location with low air pressure,
adjust the altitude setting. The altitude can be set to 0 m, 1000 m, 2000 m, or 3000 m. Select
the value that is closest to the altitude of the printer. The default is 0 m.
Use the following procedure to adjust the altitude.
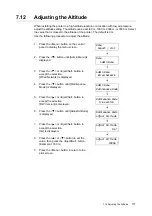
1.
Press the <Menu> button on the control
panel to display the menu screen.
2.
Press the < > button until [Admin Menu] is
displayed.
3.
Press the < > or <Eject/Set> button to
accept the selection.
[Wired Network] is displayed.
4.
Press the < > button until [Maintenance
Mode] is displayed.
5.
Press the < > or <Eject/Set> button to
accept the selection.
[F/W Version] is displayed.
6.
Press the < > button until [Adjust Altitude]
is displayed.
7.
Press the < > or <Eject/Set> button to
accept the selection.
[0m] is displayed.
8.
Press the < > or < > button to set the
value, then press the <Eject/Set> button.
(Example: 1000 m)
9.
Press the <Menu> button to return to the
print screen.
Menu
Report / List
Menu
Admin Menu
Admin Menu
Wired Network
Admin Menu
Maintenance Mode
Maintenance Mode
F/W Version
Maintenance Mode
Adjust Altitude
Adjust Altitude
0m *
Adjust Altitude
1000m *

