156
7 Maintenance
7.
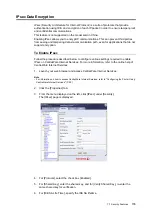
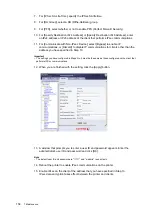
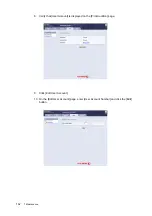
For [IPSec SA Life Time], specify the IPSec SA lifetime.
8.
For [DH Group], select a DH (Diffie-Hellman) group.
9.
For [PFS], select whether or not to enable PFS (Perfect Forward Security).
10. For [Specify Destination IPv4 Address] or [Specify Destination IPv6 Address], enter
an IPv4 address or IPv6 address of the client that performs IPsec communications.
11. For [Communicate with Non-IPsec Device], select [Bypass] to enable IP
communications, or [Discard] to disable IP communications for clients other than the
address you have specified in Step 10.
Important
• The settings you have configured in Steps 5 to 9 must be the same as those configured on the client that
performs IPSec communications.
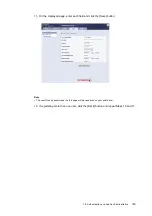
12. When you are finished with the setting, click the [Apply] button.
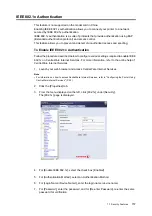
13. A window that prompts you to enter a user ID and password appears. Enter the
administrator's user ID and password and click [OK].
Note
• The default user ID and password are "11111" and "x-admin", respectively.
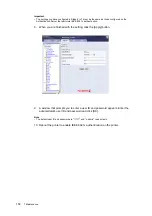
14. Reboot the printer to enable IPsec communications on the printer.
15. Enable IPsec on the client of the address that you have specified in Step 10.
IPsec data encryption takes effect between the printer and clients.


