7.7 Security Features
153
Controlling Data Reception by IP Address
When the printer uses an LPD port or Port9100 port, the printer can deny or accept data
from certain IP addresses. Follow the procedure described below to set this feature using
CentreWare Internet Services.
Before configuring the setting, disable the print ports other than the LPD port or Port9100
port.
Note
• To set this feature on the control panel, refer to "IP Filter" (P. 89).
• This feature can be used only when the printer uses LPD or Port9100.
1.
Launch your web browser and access CentreWare Internet Services.
Note
• For information on how to access CentreWare Internet Services, refer to "Configuring the Printer Using
CentreWare Internet Services" (P. 29).
2.
Click the [Properties] tab.
3.
From the menu on the left, click [Protocol Settings] and then [LPD] or [Port 9100].
4.
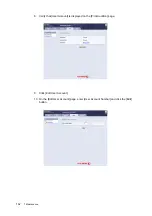
Click [Edit] for [IP Filter].
5.
Enter the IP addresses/address masks you want to control access from and select the
type of access ([Reject], [Permit], or [Off]). The IP addresses/address masks should
be series of four numbers between 0 and 255. The current value is indicated with an
asterisk (*).
6.
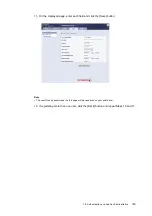
When you are finished with the setting, click the [Apply] button located at the bottom of
the right frame and reboot the printer.
Note
• If you do not want to apply your new settings and want to keep your original values, click [Undo].
• When you are prompted to enter the administrator's ID and password, enter the ID and password and
click [OK].
Examples of IP Filter Setting
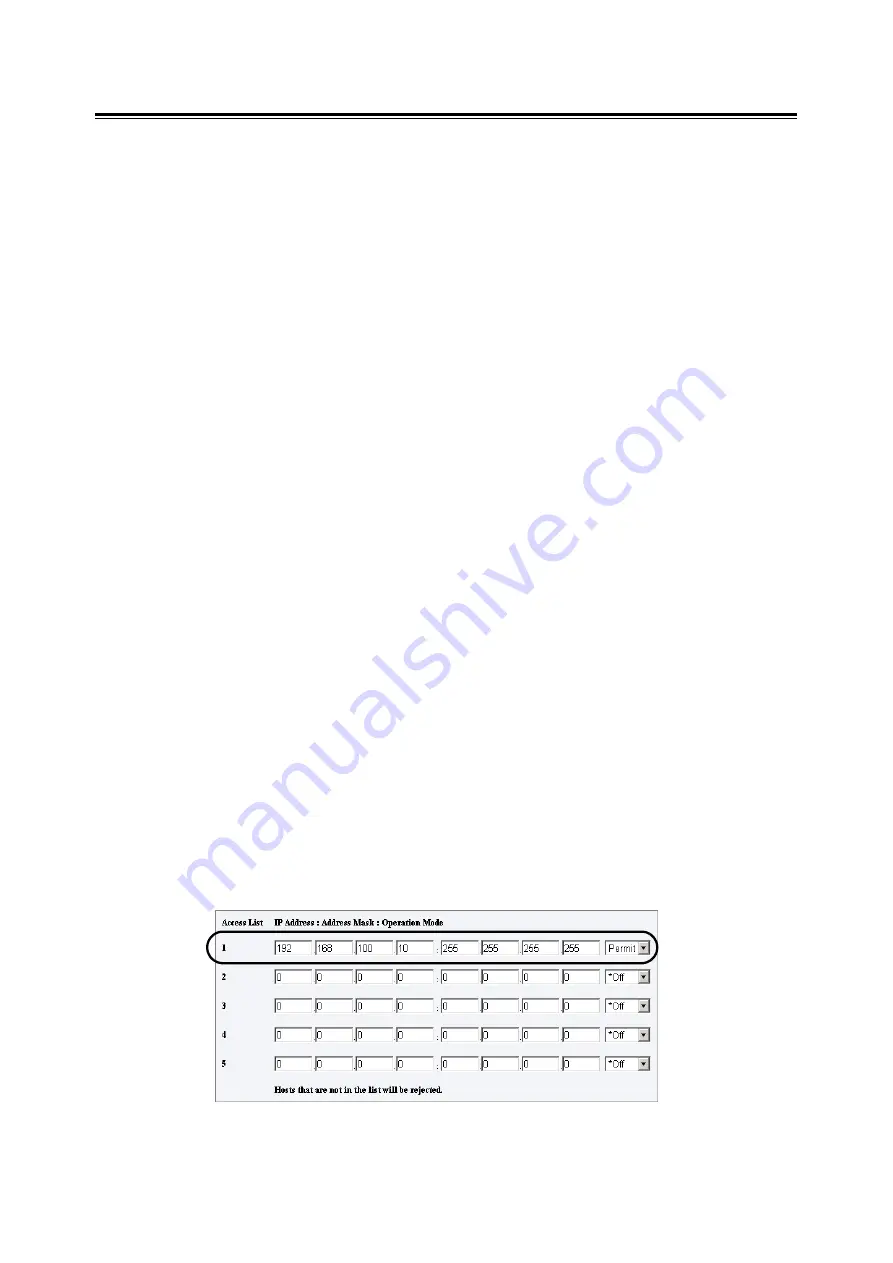
You can set a maximum of five IP addresses/address masks, and the first pair will have a
priority. If entering multiple addresses, enter the address that covers the smallest area first.
1.
To permit printing from a specific user:
Example:
Permit printing from "192.168.100.10"


