<
perforated line
>
1
Press
C
.
2
Press
t
or shutter (all the way)
To lock focus
Press shutter halfway to lock focus, and then
press all the way.
3
Press
t
(Save)
To end Camera mode
Press
H
1
Press
C
2
Press
C12
3
Press
t
or shutter (all the way) (Rec)
4
Press
t
or shutter (all the way) (Stop)
5
Select
1
(Save)
To end Camera mode
Press
H
1
In the stand-by, press
t71
2
Select folder
→
t
3
Select a still picture
→
t
1
In the stand-by, press
t72
2
Select folder
→
t
3
Select a movie
→
t
Example: Changing the Menu screen background
1
In the stand-by, press
t243
2
Select folder
→
t
3
Select a still picture
→
t
You can change the background of Menus, Pop-
up windows, Notice windows, Title & Status
colors, and Guidance key background.
Example) Setting background image for TOP menu
1
In TOP menu, press
C3
2
Select folder
→
t
3
Select a still picture
→
t
You can set icons, order, background image,
and icon name display ON/OFF.
1
Press
t9
2
Select
1
3
Select Book/Dictionary
→
t
Scrolling lines and pages
Align in direction to display and press
w
To display first/last page
Press
C4
/
C5
To use table of contents
Press
C3
→
w
→
select item
→
t
Camera – Shooting Still Pictures
Camera – Shooting Movies
Viewing Still Pictures
Viewing Movies
Customizing the Display
Arranging TOP Menu
KEITAIviewer
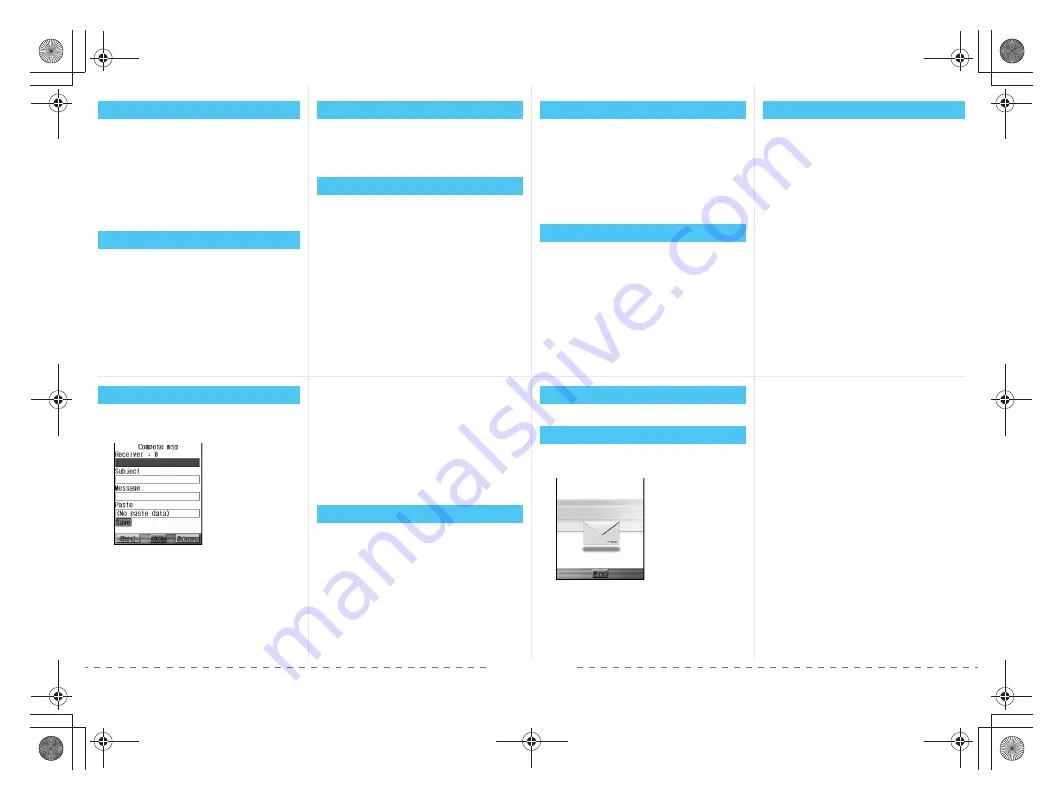
1
In the stand-by, press
m
for at least 1
second
2
Select “Receiver” input field
→
t
3
2
→
Receiver
→
t
To select from phonebook
Press
1
→
select other party
To select from Sent/Received address history
Press
3
/
4
→
select other party
To send to multiple addresses
Repeat steps 2 and 3.
4
Select “Subject” input field
→
t
5
Enter subject
→
t
Enter up to 15 full-pitch (30 half-pitch)
characters.
6
Select “Message” input field
→
t
7
Enter message
→
t
Enter up to 250 full-pitch (500 half-pitch)
characters.
8
Press
i
(Send).
1
In the stand-by, press
t71
2
Select folder
→
t
3
Select a still picture
→
t
4
Press
i
(Mail)
5
Enter receiver, subject, and message,
and then send
1
In the stand-by, press
m7
1
When a message arrives, it is
automatically received.
After reception is completed, the received results
are displayed, and i-mode mail ring tone sounds.
2
Select “i-mode mail”
→
t
3
Select folder
→
t
4
Select a message
→
t
Composing and Sending i-mode Mail
Sending i-shot (Sending Still Pi]ctures)
Check New Message
Message Auto Receive
–9–
–10–
–11–
–8–
–13–
–14–
–15–
–12–
e̲n500.book Page 582 Tuesday, August 9, 2005 1:15 PM
Содержание mova SH506iC
Страница 66: ...64 LMEMO9 e n500 book Page 64 Tuesday August 9 2005 1 15 PM...
Страница 76: ...74 LMEMO9 e n500 book Page 74 Tuesday August 9 2005 1 15 PM...
Страница 102: ...100 LMEMO9 e n500 book Page 100 Tuesday August 9 2005 1 15 PM...
Страница 184: ...182 LMEMO9 e n500 book Page 182 Tuesday August 9 2005 1 15 PM...
Страница 214: ...212 LMEMO9 e n500 book Page 212 Tuesday August 9 2005 1 15 PM...
Страница 302: ...300 LMEMO9 e n500 book Page 300 Tuesday August 9 2005 1 15 PM...
Страница 378: ...376 LMEMO9 e n500 book Page 376 Tuesday August 9 2005 1 15 PM...
Страница 411: ...409 17 Using the Felica What is FeliCa 410 e n500 book Page 409 Tuesday August 9 2005 1 15 PM...
Страница 436: ...434 LMEMO9 e n500 book Page 434 Tuesday August 9 2005 1 15 PM...
Страница 510: ...508 LMEMO9 e n500 book Page 508 Tuesday August 9 2005 1 15 PM...
Страница 573: ...miniSD Memory Card miniSD Memory Card Adapter 571 Troubleshooting e n500 book Page 571 Tuesday August 9 2005 1 15 PM...
Страница 574: ...572 miniSD Memory Card miniSD Memory Card Adapter Troubleshooting e n500 book Page 572 Tuesday August 9 2005 1 15 PM...
Страница 575: ...573 LMEMO9 e n500 book Page 573 Tuesday August 9 2005 1 15 PM...


