User's Manual
307
●
Hosts in the allowlist have the permission to synchronize time of the Device.
●
Hosts in the blocklist cannot synchronize time of the Device.
Step 4
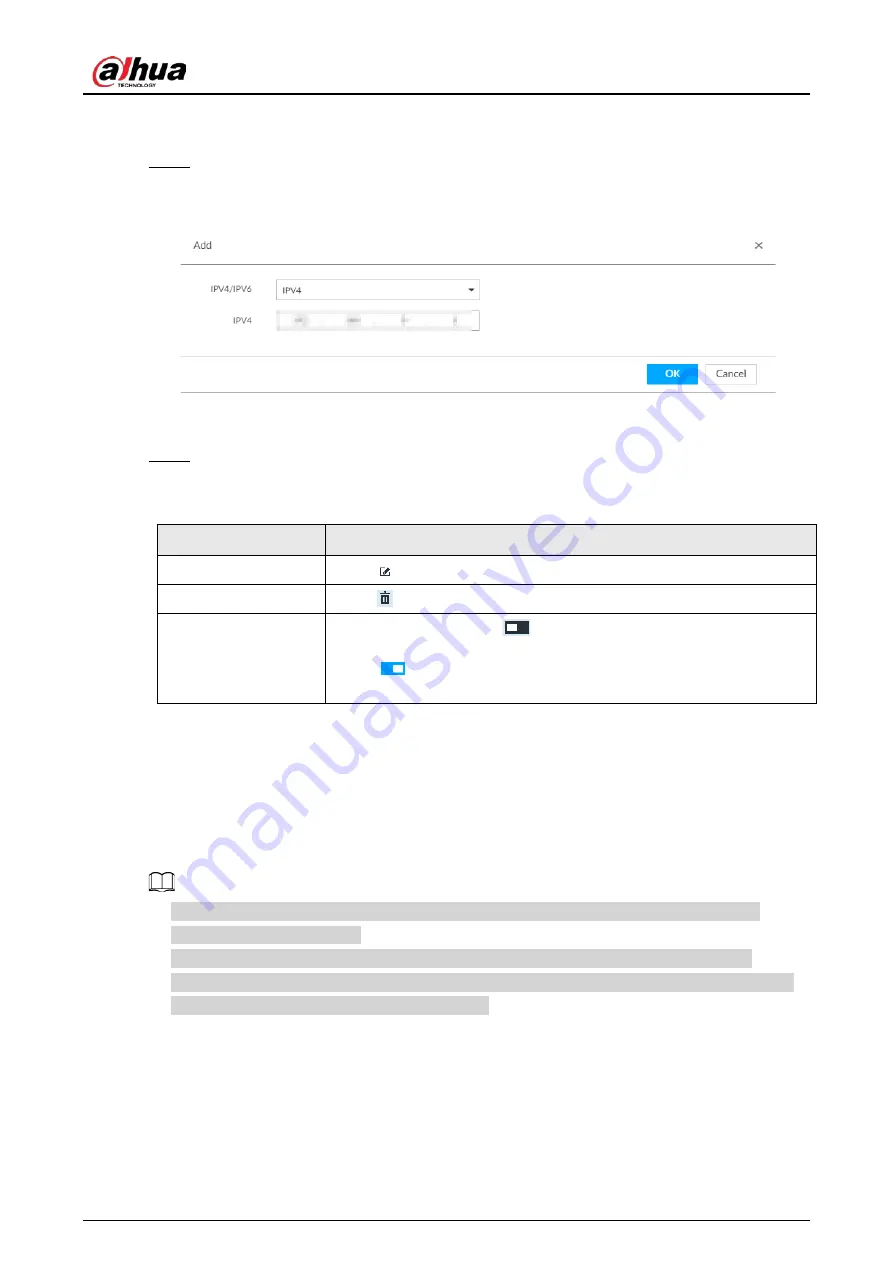
On the Allowlist page or the Blocklist page, add hosts.
1) Click Add.
Figure 8-98 Add a host
2) Select an IP version, and then enter an IP address.
3) Click OK.
Step 5
Click Save.
You can also perform the following functions after configuring the allowlist or blocklist.
Table 8-32 Other functions
Function
Description
Edit IP address
Click
to edit IP address.
Delete IP address
Click
to delete a host from the list.
Configure IP address
permission
Click the corresponding
of each host, so as to enable the allowlist
or blocklist configuration for the host.
Click
to disable the allowlist or blocklist configuration for the
host.
8.7 Account Management
Device account adopts two-level management mode: user and user group. You can manage their
basic information. To conveniently manage the user, we recommend the general user authorities
shall be lower than high-level user authorities.
●
To ensure device safety, enter correct login password to operate the ACCOUNT page (for
example, add or delete user).
●
After a correct login password is entered on the ACCOUNT page, if you do not close the
ACCOUNT page, you can do other operations directly. If you close the page and enter it again,
you shall enter the correct login password again.
8.7.1 User Group
Different users might have different authorities to access the device. You can divide the users to
different groups. It is easy for you to maintain and manage the user information.
Содержание DHI-IVSS7008
Страница 1: ...IVSS User s Manual ZHEJIANG DAHUA VISION TECHNOLOGY CO LTD V5 0 0 ...
Страница 50: ...User s Manual 30 common grounded with the Device ...
Страница 142: ...User s Manual 122 Figure 6 82 Search result Other Operations Click one displayed panel and the icons are displayed ...
Страница 158: ...User s Manual 138 Figure 6 103 Human Figure 6 104 Vehicle Figure 6 105 Non motor vehicle ...
Страница 335: ...User s Manual 315 Figure 8 106 Enter email address Figure 8 107 Scan QR code Step 4 Reset the password ...
Страница 368: ...User s Manual 348 Figure 11 2 Unlock the client ...
Страница 381: ...User s Manual ...


