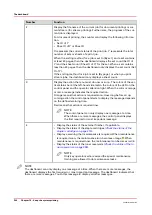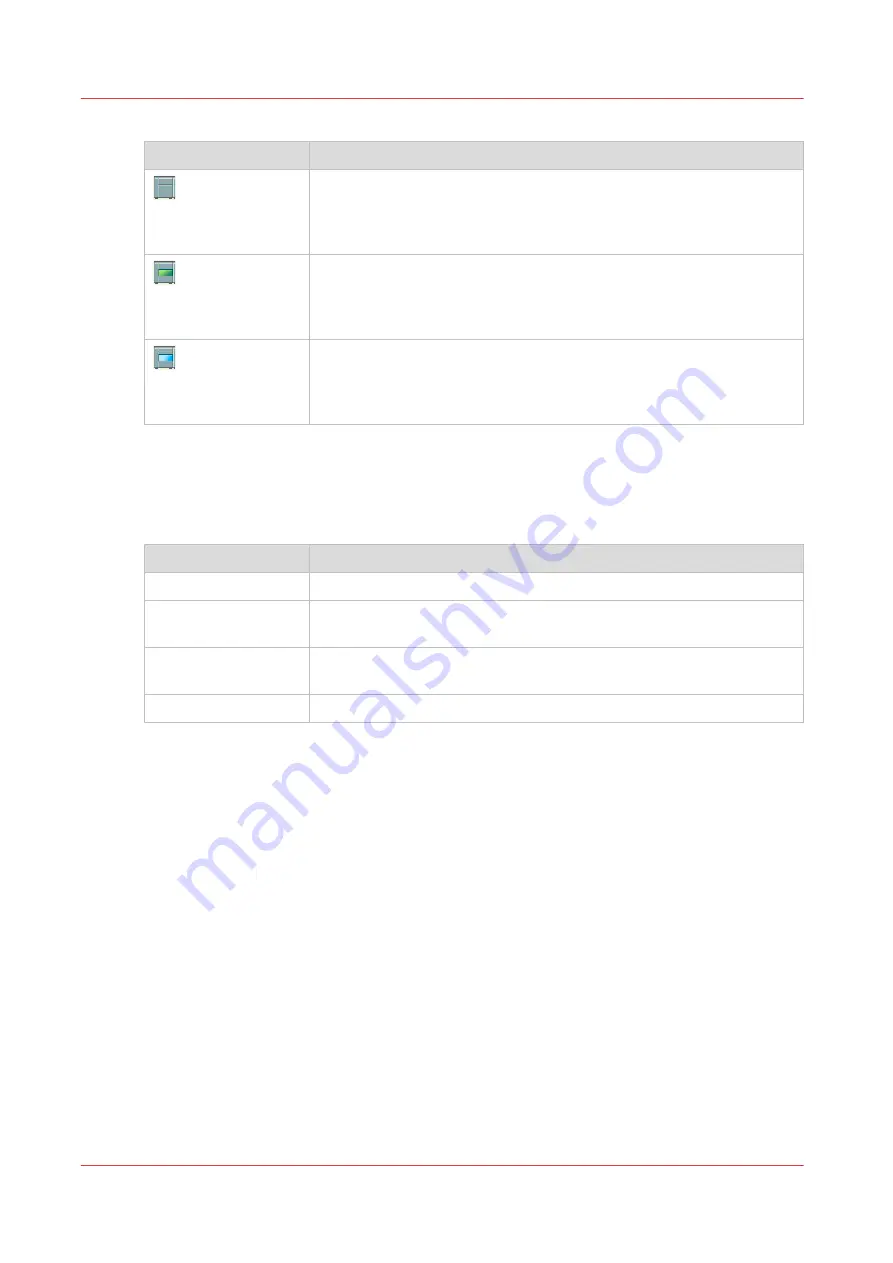
The icons in the media toolbar
Icon
Description
The list of [Required media] shows the required media for the sched-
uled jobs. When the paper module indicator is completely grey, this
means that not one of the required media is available in the paper
trays.
The list of [Required media] shows the required media for the sched-
uled jobs. When a paper tray is highlighted in green, the highlighted
paper tray contains a media that is required by one of the scheduled
jobs.
The list of [Required media] shows the required media for the sched-
uled jobs. When a paper tray is highlighted in blue, the highlighted pa-
per tray contains the media that is also highlighted in blue in the list of
[Required media].
4. The Output Locations Pane
The output locations pane displays the output locations that are required for the scheduled jobs.
The bars show the availability of the output locations. The bars can have the following colors.
The colors of the bars
Color of the bar
Description
Green
The output location is required and available.
Orange
The output location is required in the future, but not available then. For
example, because the output location will be full soon.
Red
The output location is required now, but not available. For example, be-
cause the output location is full.
Gray
The output location is required, but availability is unknown.
5. The zoom control
The zoom control enables you to adjust the time scale visible in the [Schedule]. When you touch
the zoom button, a drop-down list appears. Then you can select the desired time scale (five
minutes - eight hours).
Introduction to the [Schedule] view
236
Chapter 10 - Keep the system printing
VarioPrint 6000 line
Содержание VarioPrint 6000 Series
Страница 1: ...VarioPrint 6000 line Operation guide VarioPrint 6180 6220 6270 6330 2020 Canon Production Printing ...
Страница 8: ...Contents 8 VarioPrint 6000 line ...
Страница 9: ...Chapter 1 Introduction ...
Страница 14: ...Information in this operation guide 14 Chapter 1 Introduction VarioPrint 6000 line ...
Страница 15: ...Chapter 2 Explore the print system ...
Страница 31: ...Chapter 3 Explore the ease of operation ...
Страница 46: ...Transaction printing workflow 46 Chapter 3 Explore the ease of operation VarioPrint 6000 line ...
Страница 47: ...Chapter 4 Start the print system ...
Страница 56: ...Log in to the printer 56 Chapter 4 Start the print system VarioPrint 6000 line ...
Страница 63: ...Chapter 5 Prepare the print system ...
Страница 101: ...Chapter 6 Prepare the print jobs ...
Страница 110: ...Print a page number via PRISMAsync 110 Chapter 6 Prepare the print jobs VarioPrint 6000 line ...
Страница 111: ...Chapter 7 Plan the workload remotely ...
Страница 114: ...Use the Remote Control app to monitor printing 114 Chapter 7 Plan the workload remotely VarioPrint 6000 line ...
Страница 115: ...Chapter 8 Plan the jobs ...
Страница 127: ...6 Touch OK Move jobs to another destination Chapter 8 Plan the jobs 127 VarioPrint 6000 line ...
Страница 139: ...5 Touch OK Create a note for the operator Chapter 8 Plan the jobs 139 VarioPrint 6000 line ...
Страница 165: ...Chapter 9 Carry out print jobs ...
Страница 232: ...Make an intermediate check print 232 Chapter 9 Carry out print jobs VarioPrint 6000 line ...
Страница 233: ...Chapter 10 Keep the system printing ...
Страница 246: ...Status indicators 246 Chapter 10 Keep the system printing VarioPrint 6000 line ...
Страница 247: ...Chapter 11 Media handling ...
Страница 289: ...Chapter 12 Maintain the print system ...
Страница 316: ...Close the doors and covers 316 Chapter 12 Maintain the print system VarioPrint 6000 line ...
Страница 317: ...Chapter 13 PRISMAlytics Dashboard ...
Страница 319: ...Chapter 14 Troubleshooting ...
Страница 334: ...Create and download a log file 334 Chapter 14 Troubleshooting VarioPrint 6000 line ...
Страница 335: ...Chapter 15 Specifications ...
Страница 353: ......


