145
Detailed Printhead Position Adjustment
7
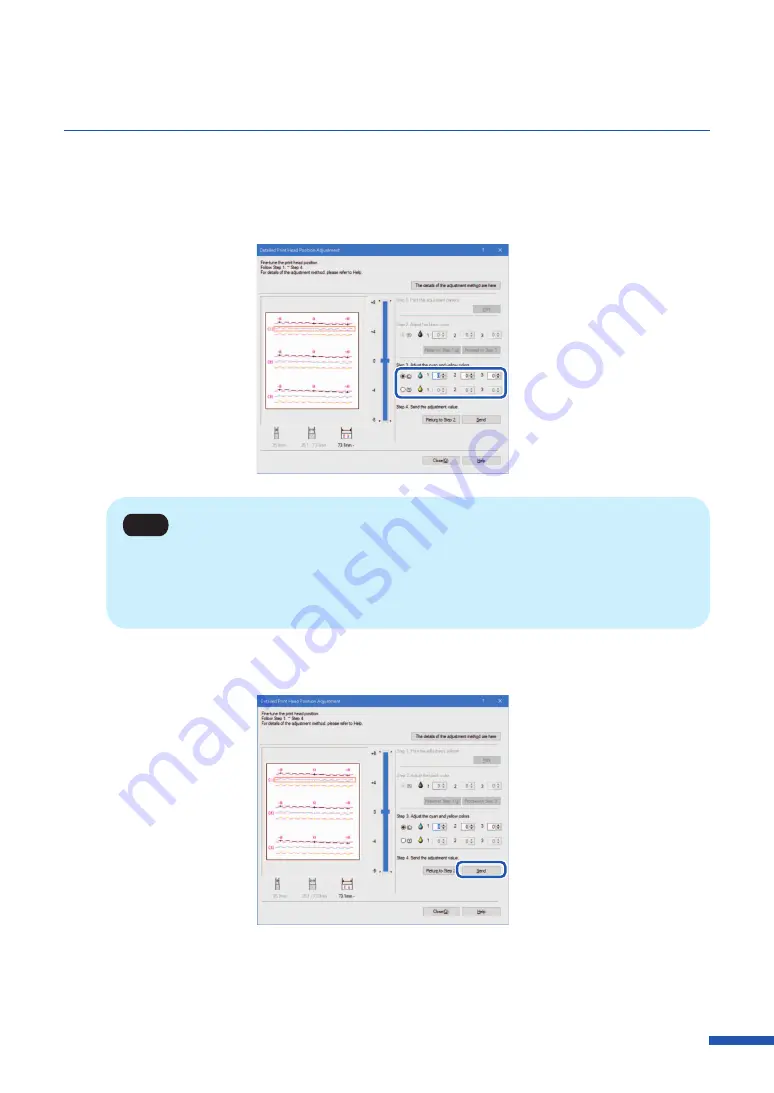
[Step 3] Adjust the print head position for cyan and yellow.
Check (1), (2) and (3) in adjustment pattern [C] (Cyan) and [Y] (Yellow), read and enter the value
at the point of their intersection with the Magenta line.
Note
• If the radio button is selected, the visible point in the adjustment pattern in Detailed Print
Head Position Adjustment dialog box is marked in a Red border.
• To retry from [Step 2] (Adjust the black color), click [Return to Step 2].
8
When the entry is complete, click [Send].
A confirmation message appears.
Содержание LX-D5500
Страница 1: ...User s Guide CANON FINETECH NISCA INC 2018 4Y1 8614 020 LX D5500 COLOR LABEL PRINTER ...
Страница 59: ...55 Using Page Setup Features 6 Click Register A confirmation message appears 7 Click Yes 8 Click OK ...
Страница 113: ...109 Using Utility Features 5 Click Yes The changed special settings are sent to the printer 6 Click Close ...
Страница 151: ...147 Detailed Printhead Position Adjustment 12 Click Close A confirmation message appears 13 Click Yes ...
Страница 156: ...152 Chapter 5 Maintenance 1 Open the ink tank door 2 Open the ink tank cover 3 Slowly remove the ink tank ...
Страница 171: ...Chapter 6 Troubleshooting For Troubleshooting Operations 168 List of Error Messages Warning Messages 182 ...
Страница 206: ...202 Chapter 7 How to Use the Auto Cutter ...
Страница 217: ...213 Uninstall Printer Driver 3 Click Start Note A user account control dialog box may appear In this case click Yes ...
Страница 237: ...233 Index Utility tab 94 V Version Information 45 66 W Warning message 123 188 ...


