


7 Web-based Interface
S008459 Rev C
Page
67
of 117
First time setup of the scanner for use over a network must be done using the
Touch Screen
or
a local PC connected to the scanner
using the supplied crossover cable
; however, if the Infinity
WF is already set up and being used over a network, the IP address can be changed from any
remote PC.
The scanner’s default IP address is 192.168.1.50. This IP address is most likely not a valid
address on a local network, therefore the address has to be changed.
Note
Before proceeding you must have adequate knowledge of Networking and IP
communication or contact your IT department for further assistance. The BBH Help
Desk can not assist in setup of communications to your local LAN!
Local PC Setup…
To change the IP Address of the scanner using the Web-based Interface with a local PC
and a crossover cable, perform the following:
1. Scanner should be
powered OFF
2. Note (write down) the local PC’s existing network settings (you will need these again later)
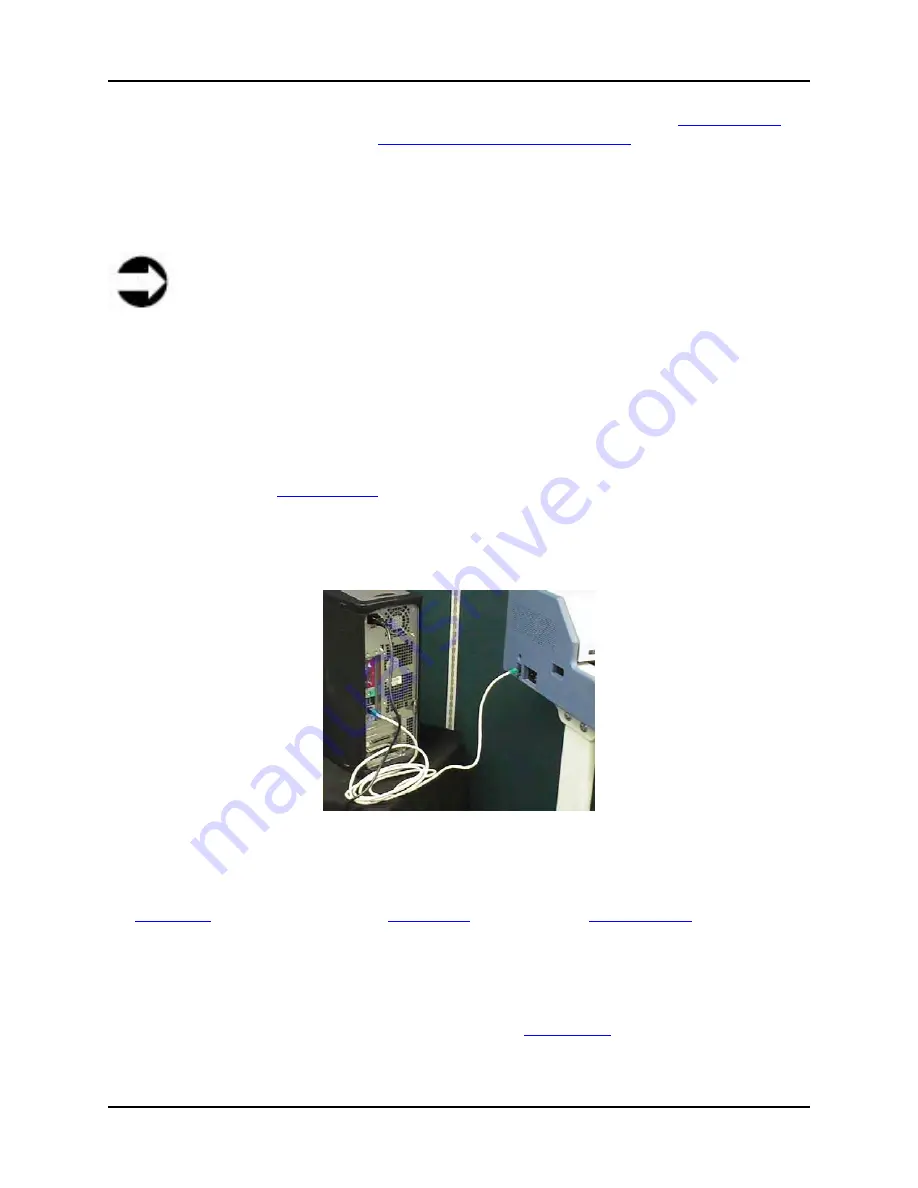
3. Connect the local PC to the scanner using the supplied crossover cable
Figure 7.14: Using the crossover cable
4. Change the network settings of the local PC to: IP address 192.168.1.1; and subnet mask
to 255.255.255.0. Confirm the changes
5.
Power ON
the scanner so that the
Main menu
appears on the
Touch Screen
6. Open an Internet browser on the local PC connected to the scanner with the crossover
cable
7. Enter the default IP address of the scanner into your Internet browser (192.168.1.50).
Communication is successfully established when the
Home Page
of the Web-based
Interface is displayed


