6C13G11
5-38
1
2
3
4
5
6
7
8
9
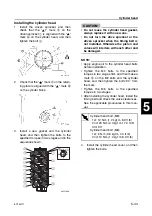
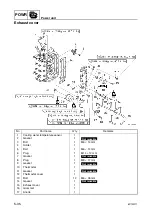
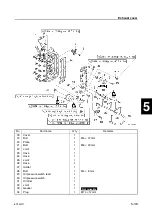
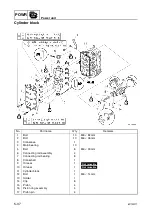
Disassembling the cylinder block
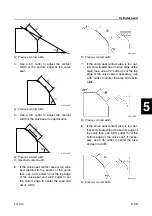
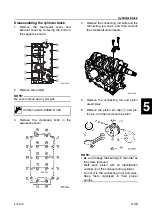
1.
Remove the thermostat cover and
exhaust cover by removing the bolts in
the sequence shown.
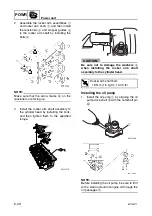
2.
Remove the oil filter.
NOTE:
Be sure to clean up any oil spills.
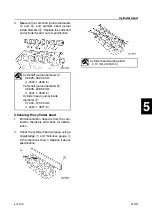
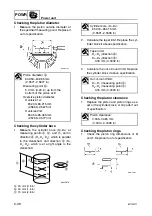
3.
Remove the crankcase bolts in the
sequence shown.
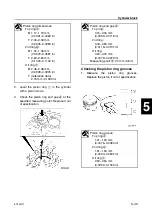
4.
Remove the connecting rod bolts and the
connecting rod caps, and then remove
the crankshaft and oil seals.
5.
Remove the connecting rod and piston
assemblies.
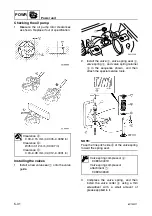
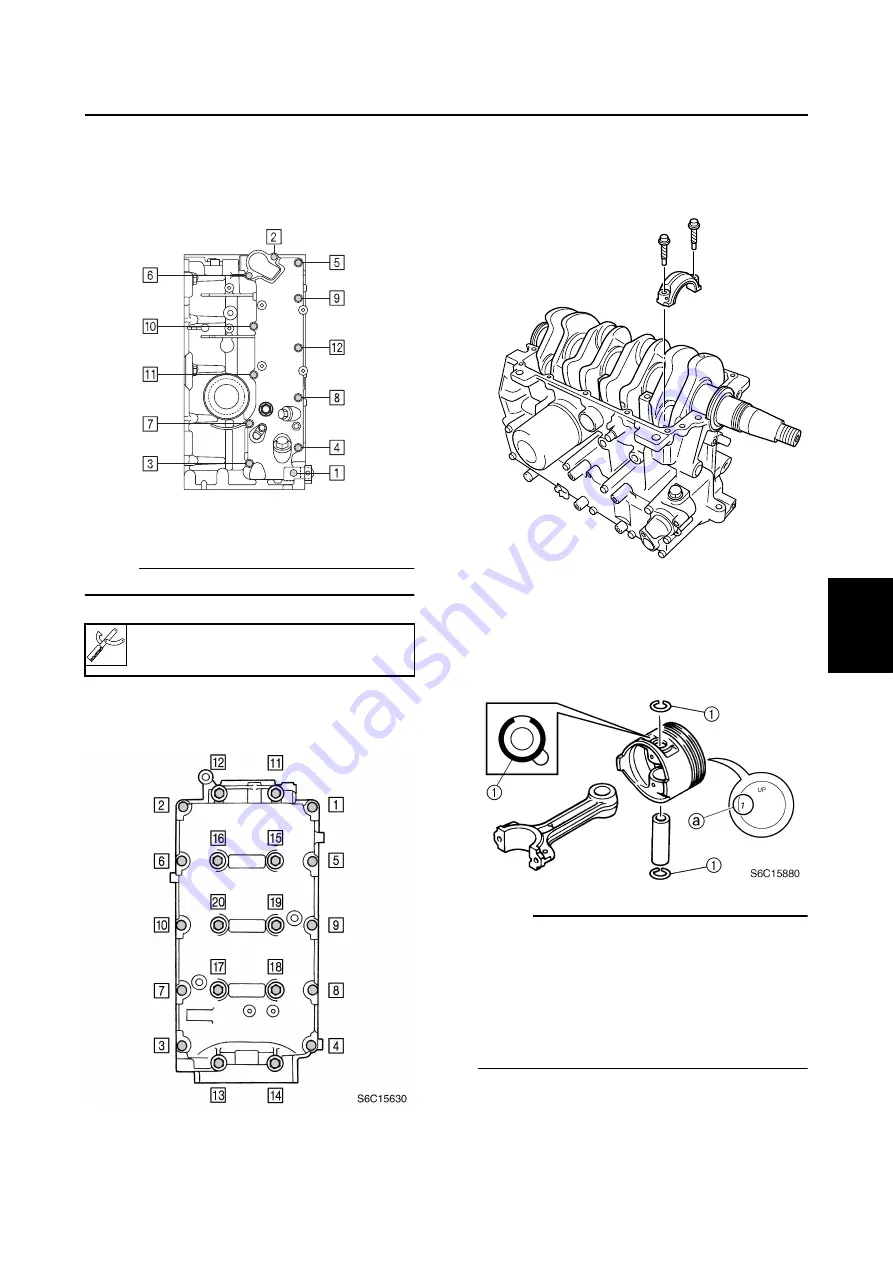
6.
Remove the piston pin clips
1
and pis-
ton pin, and then remove the piston.
NOTE:
• Be sure to keep the bearings in the order as
they were removed.
• Mark each piston with an identification
number
a
of the corresponding cylinder.
• Do not mix the connecting rods and caps.
Keep them organized in their proper
groups.
Oil filter wrench: 90890-01426
S6C15620
S6C15890
Summary of Contents for F50F
Page 1: ...F50F FT50G F60C FT60D SERVICE MANUAL 6C1 28197 3G 11 290551 ...
Page 4: ......
Page 48: ...SPEC Specifications 2 25 6C13G11 MEMO ...
Page 190: ...LOWR Lower unit 6 47 6C13G11 Shimming FT50 FT60 6 ...
Page 195: ...6C13G11 6 52 1 2 3 4 5 6 7 8 9 MEMO Backlash FT50 FT60 ...
Page 221: ...6C13G11 7 24 1 2 3 4 5 6 7 8 9 Steering arm ...
Page 249: ...6C13G11 7 52 1 2 3 4 5 6 7 8 9 MEMO Power trim and tilt electrical system ...
Page 272: ...ELEC Electrical systems 8 21 6C13G11 MEMO ...
Page 301: ...6C13G11 i 5 1 2 3 4 5 6 7 8 9 Index MEMO ...
Page 303: ......
Page 304: ...YAMAHA MOTOR CO LTD Printed in the Netherlands Jul 2004 1 2 1 CR E_2 ...

