131
G
UIDANCE
O
N
T
RAC
2+
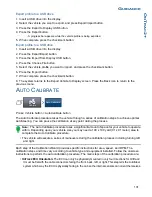
Export profile to a USB drive
1. Insert a USB drive into the display.
2. Select the vehicle you want to export, and press Export/Import button.
3. Press the Export to Display USB button.
4. Press the Export button.
- A progress bar appears while the vehicle profile is being exported.
5. When complete, press the checkmark button.
Import profile to a USB drive
1. Insert a USB drive into the display.
2. Press the Export/Import button.
3. Press the Import from Display USB button.
4. Press the Choose File button.
5. Select the vehicle profile you want to import, and press the checkmark button.
6. Press the Import button.
7. When complete, press the checkmark button.
8. The system returns to the Export Vehicle to Display screen. Press the Back icon to return to the
previous menu.
A
UTO
C
ALIBRATE
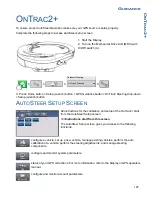
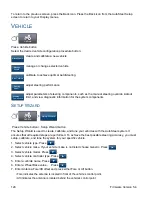
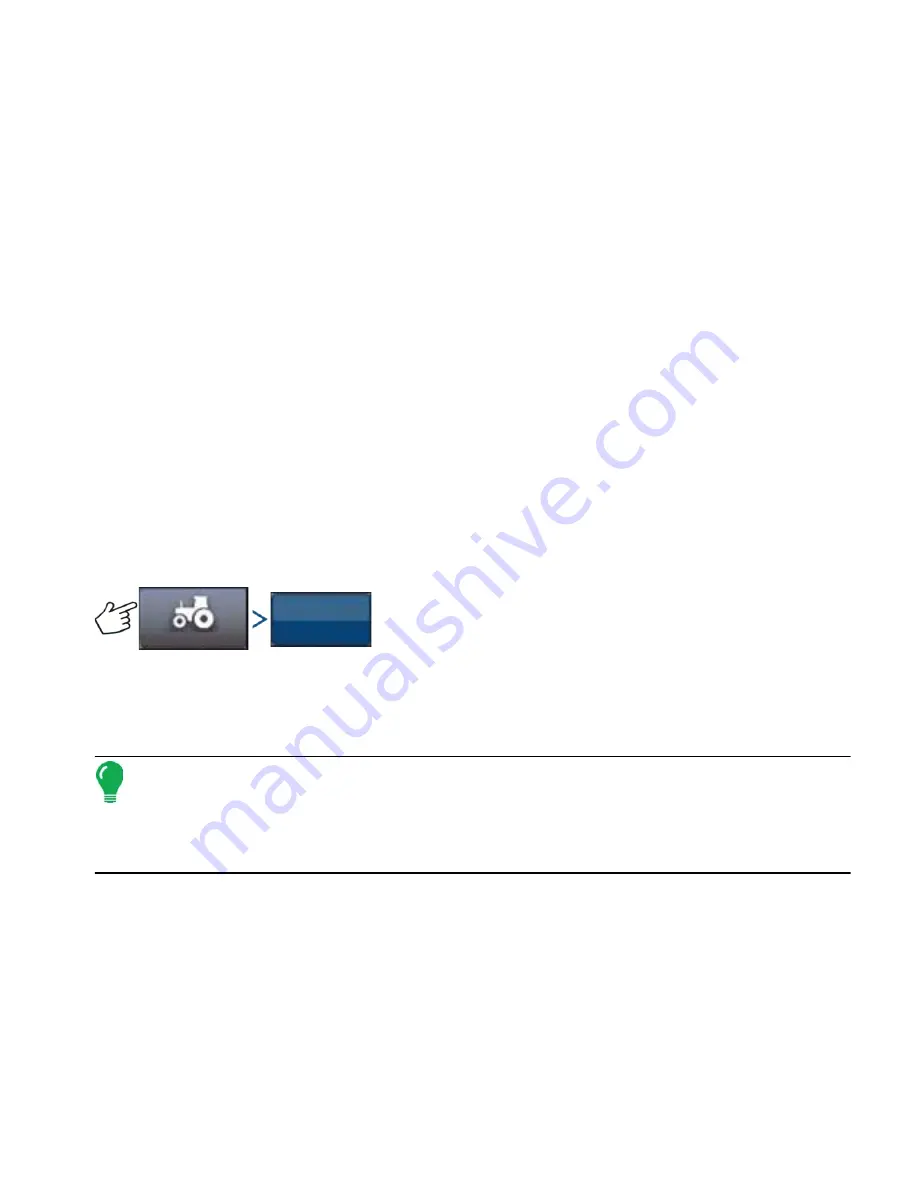
Press: Vehicle button > AutoCalibrate button
The Auto Calibrate procedure takes the vehicle through a series of calibration steps to achieve optimal
AutoSteering. You can pause the calibration at any point during the process.
Note:
The Auto Calibrate procedure takes a significant amount of space for your vehicle to operate
within. Depending upon your vehicle size you may need a 100 x 100 yard (91 x 91 meter) area to
complete the Auto Calibrate procedure.
• The vehicle will execute a series of maneuvers during the calibration process including turning left
and right.
Each step of the Calibration Wizard provides specific instructions for area, speed, and RPM. The
calibration steps and time vary according to vehicle type and equipment installed. Follow the onscreen
instructions to perform the auto calibration procedure. The main steps of the calibration procedure are:
•
OnTrac2 ECU Orientation:
The ECU can only be physically mounted in only four directions for OnTrac2.
It must be flat with the cable connectors facing the front, back, left, or right. This step tells the AutoSteer
system which way the ECU is physically facing in the cab so the internal sensors can orient themselves.
Vehicle
Auto Calibrate
Summary of Contents for ag leader
Page 1: ...Operators Manual Firmware Version 5 4 Ag Leader PN 4002722 Rev G ...
Page 2: ...Firmware Version 5 4 ...
Page 20: ...6 Firmware Version 5 4 ...
Page 38: ...24 Firmware Version 5 4 For more information see Legend Settings on page 52 ...
Page 55: ...41 SETUP M ANAGEMENT S ETUP Remove button Press to remove a business ...
Page 56: ...42 Firmware Version 5 4 ...
Page 78: ...64 Firmware Version 5 4 ...
Page 82: ...68 Firmware Version 5 4 Press to Export All Log files Export All Log Files ...
Page 84: ...70 Firmware Version 5 4 ...
Page 94: ...80 Firmware Version 5 4 ...
Page 108: ...94 Firmware Version 5 4 ...
Page 140: ...126 Firmware Version 5 4 ...
Page 154: ...140 Firmware Version 5 4 ...
Page 158: ...144 Firmware Version 5 4 ...
Page 162: ...148 Firmware Version 5 4 ...
Page 222: ...208 Firmware Version 5 4 ...
Page 244: ...230 Firmware Version 5 4 ...
Page 260: ...246 Firmware Version 5 4 ...
Page 290: ...276 Firmware Version 5 4 ...
Page 304: ...290 Firmware Version 5 4 ...


