54
NetBackup System Administrator’s Guide - Windows NT Server
3
2. In the Change Master Server dialog box, specify the name of the NetBackup
server where you want to manage the class configuration.
3. Click OK.
If you encounter problems, see “Remote Administration” on page 195.
To save the master server setting so it is used the next time you display this
window, click Customize on the View menu. Then, on the Preferences tab,
select Remember Master Server Connection.
To Add a New Class
1. In the NetBackup Administration window, click
Backup Policy
Management
.
The Backup Policy Management (Classes) window appears.
2. Choose the master server where you want to add the class (see “Choosing
the Master Server for Backup Policies” on page 53).
3. To add the new class by starting with the standard defaults, click in the left
pane to give that pane the focus, then click
New
Class on the
Class
menu.
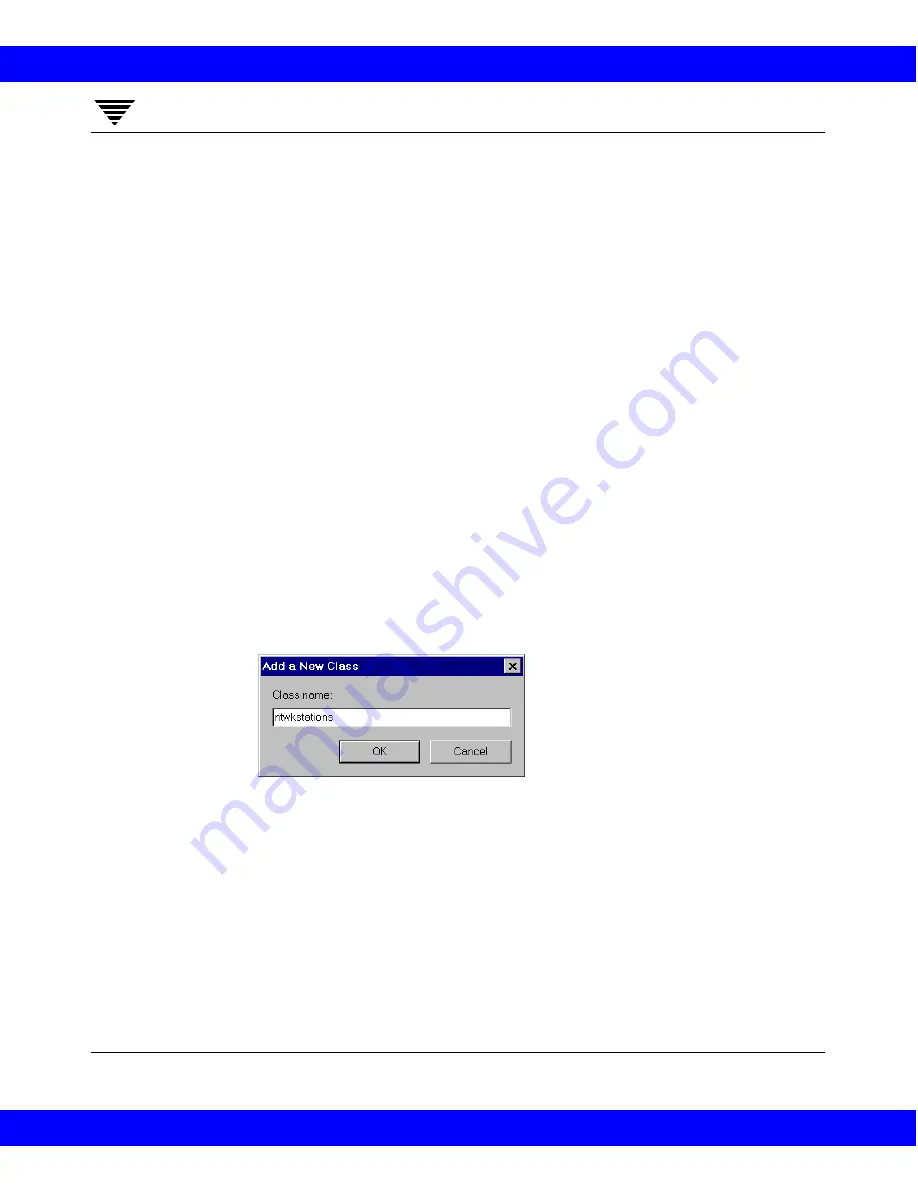
The Add a New Class dialog box appears.
4. To add the new class by copying and then modifying the properties of an
existing class:
a. Select the class from those listed in the left pane of the Backup Policy
Management (Classes) window.
b. On the Class
menu, click Copy to New Class
.
The Copy a Class dialog box appears.
NetBackup 3.2 System Administrator's Guide for Windows NT
NetBackup 3.2 System Administrator's Guide for Windows NT


