79
2
5
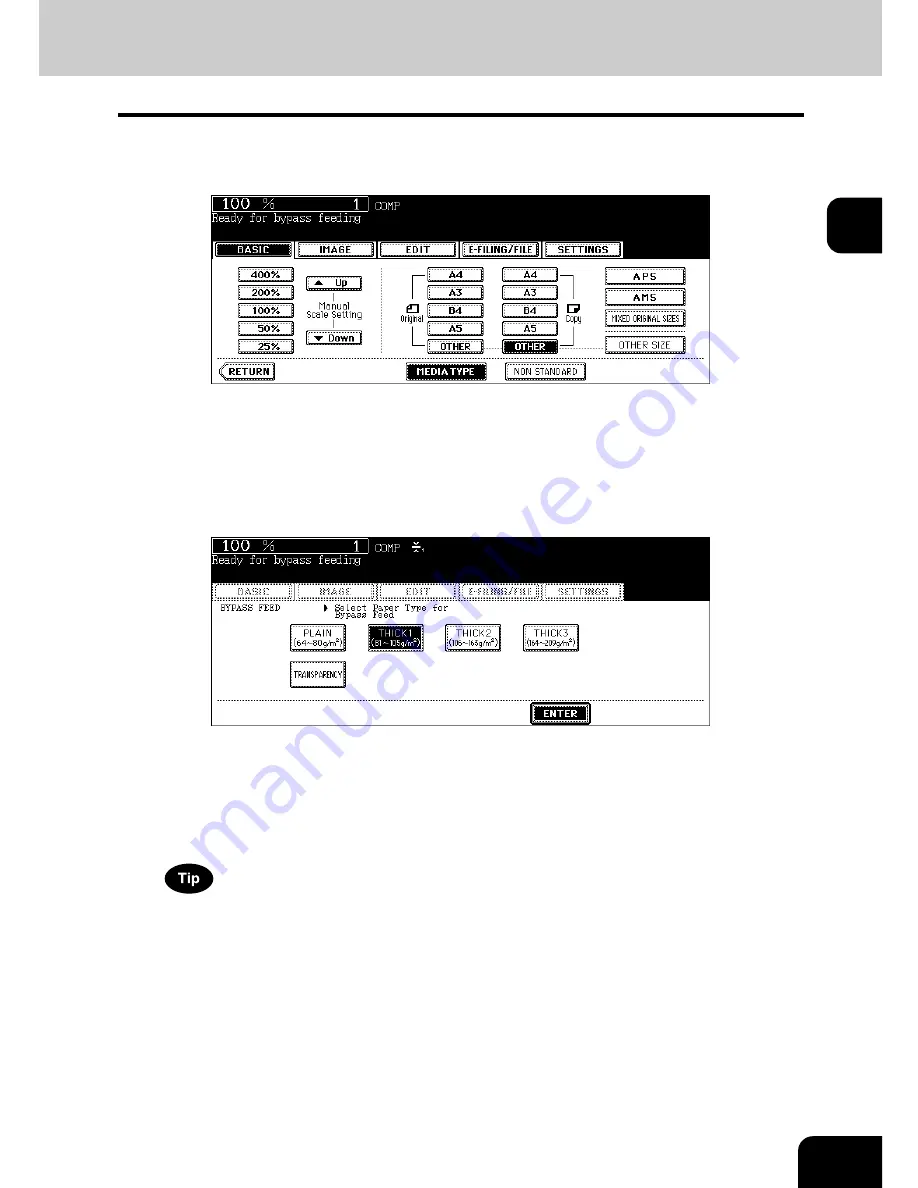
Press the [MEDIA TYPE] button on the touch panel if the media type
of the paper you have set on the tray is other than plain paper.
6
Press the button of the same media type as the one of the paper you
have set on the tray, and then press the [ENTER] button on the touch
panel.
e.g.) When Thick 1 paper is set
• Set other copy modes as required.
• If a media type which is not same as the one you have set is selected here, this may cause a paper jam or sig-
nificant image trouble.
7
Press the [START] button on the control panel.
When you copy on OHP films, remove the copied OHP films, which have exited on to the receiving tray one by
one. When the films pile up, they may become curled and may not be projected properly.
Summary of Contents for e-STUDIO 352
Page 1: ...MULTIFUNCTIONAL DIGITAL SYSTEMS Operator s Manual for Basic Function ...
Page 2: ......
Page 6: ...4 CONTENTS Cont ...
Page 10: ...8 Toshiba Quality is Second to None Cont For e STUDIO353 453 ...
Page 24: ...22 Environmental Information Cont ...
Page 88: ...86 2 HOW TO MAKE COPIES 4 Proof Copy Cont 2 ...
Page 103: ...101 3 Name of each Inner Finisher optional MJ 5004 MJ 5005 1 2 1 ...
Page 127: ...125 4 4 IMAGE ADJUSTMENT 1 Background Adjustment 126 2 Sharpness 127 ...
Page 130: ...128 4 IMAGE ADJUSTMENT 2 Sharpness Cont 4 ...
Page 135: ...133 5 6 Press the ENTER button Select other copy modes as required 7 Press the START button ...
Page 200: ...198 6 e FILING 8 Appendix Cont 6 ...
Page 270: ...268 8 JOB STATUS 6 Error Code Cont 8 ...
Page 335: ...333 11 11 MAINTENANCE 1 Daily Inspection 334 2 Simple Troubleshooting 336 ...
Page 342: ...340 11 MAINTENANCE 2 Simple Troubleshooting Cont 11 ...
Page 358: ...356 12 SPECIFICATIONS OPTIONS 4 Copying Function Combination Matrix Cont 12 ...
Page 362: ...360 INDEX Cont Z Zoom buttons 97 ...
Page 363: ...DP 3540 4540 OME050098E0 ...


