


Synology DiskStation User's Guide
Based on DSM 4.1
93
Chapter 10: Host Websites, Email Server, and Print Server
Before you start
Register a domain name for your IP, or apply for a DDNS hostname.
Note:
For more information about registering a DDNS account for Synology DiskStation, see "Register a DDNS
hostname for Synology DiskStation" on Page 43.
When applying for a domain name or dynamic domain name, please fill the MX (Mail eXchanger) record of
mail domain with your mail server (that is the FQDN of Synology DiskStation).
For example, if the mail server is
mail.synology.com
, then fill the MX record with
mail.synology.com
.
Go to
Main Menu
>
Control Panel
>
User
and enable
User Home
service to allow users to store their mail
messages in their home folders. Otherwise, they will not be able to send or receive mails.
Note:
For more information about User Home, see "Create User's Home Folder" on Page 58.
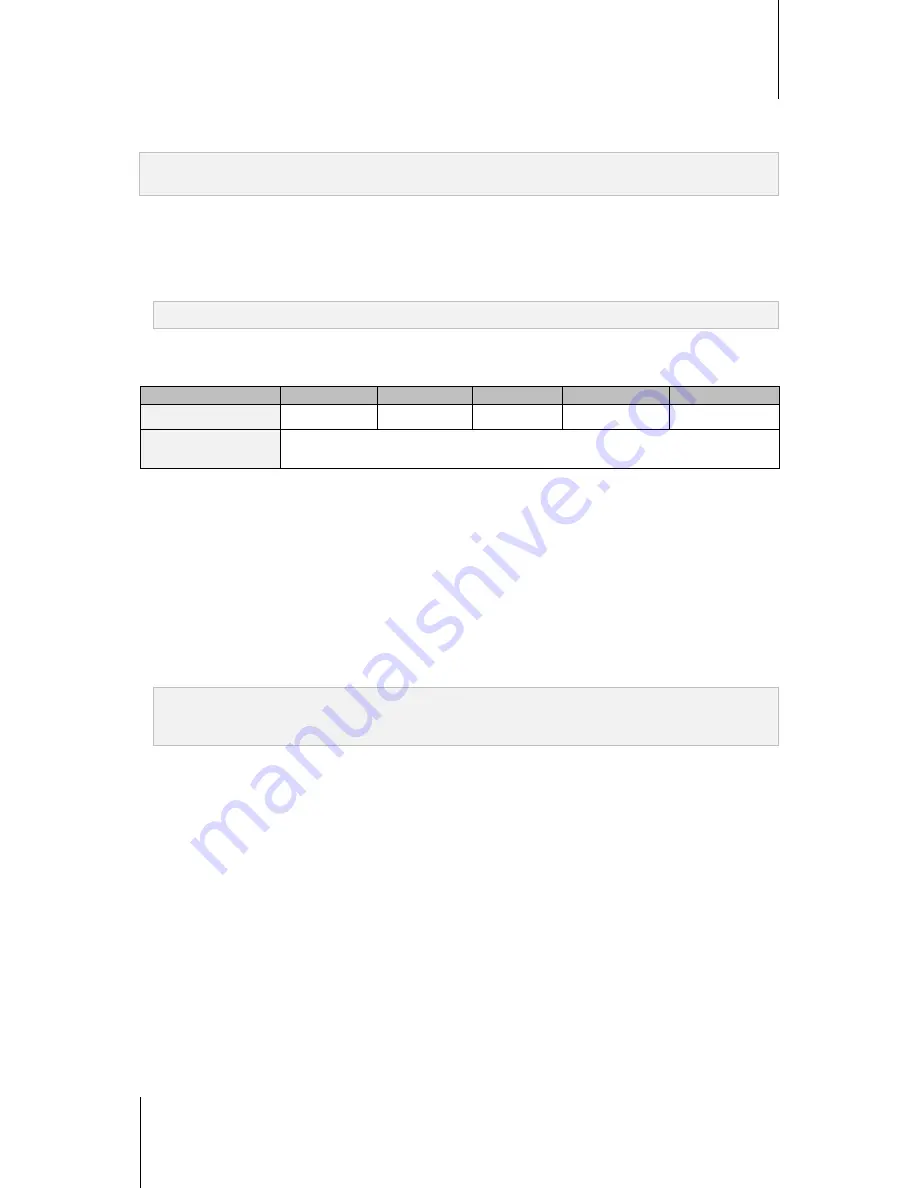
Confirm the port forwarding settings:
You should follow the table below to setup port forwarding if NAT is required.
Protocols
SMTP
POP3
IMAP
IMAPS
POP3S
Port
25
110
143
993
995
Note
IMAPS: IMAP over SSL/TLS
POP3S: POP3 over SSL/TLS
Set up Mail Server
Go to
Main Menu
>
Package Center
to install and run the Mail Server package.
To view overall status:
Click the
Overview
tab to see the information of services status, the amount of mails in mail queue and mail
activity statistics.
To set up SMTP:
1
Tick
Enable SMTP
to deliver and receive mails.
2
Tick
SMTP Authorization is required
if you want to prevent your mail accounts from being used as a
spammer.
Note:
If you use this option, your users must provide their Synology DiskStation user accounts and passwords for
authentication while setting SMTP server in their mail clients. Take Outlook Express, for example, you can enable
the option at
My server requires authentication
in
Tools
>
Accounts
>
Mail Account
>
Properties
>
Servers
.
3
Limit email size by specifying
Maximum size per email
.
4
If
Enable SMTP-SSL
is ticked, SSL secure connection will be supported when sending emails.
5
If
Ignore authorization for LAN connections
is ticked, all connections except for LAN connections will have
to provide user account and password for authentication.
6
Set a domain name for Mail Server by filling in the
Domain name
field. To configure multiple domain names
for Mail Server, click the
Additional Domain
button to open the setting window.
7
Tick
Enable SMTP Relay
to send mails via other SMTP Relay servers.
To create an alias:
Click the
Alias
tab and click
Create
. You can
create an alias to group many email addresses into one.
To enable IMAP/POP3:
Click the
IMAP/POP3
tab to enable IMAP/POP3. You must enable at least one of the protocols (POP3, POP3
SSL/TLS, IMAP and IMAP SSL/TLS) to receive mails via mail clients.
To enable spam filter:
Click the
Spam Filter
tab and tick the options based on your needs to avoid receiving junk emails.


