


146
C h a p t e r
16
Chapter 16:
Safeguard Your Environment with
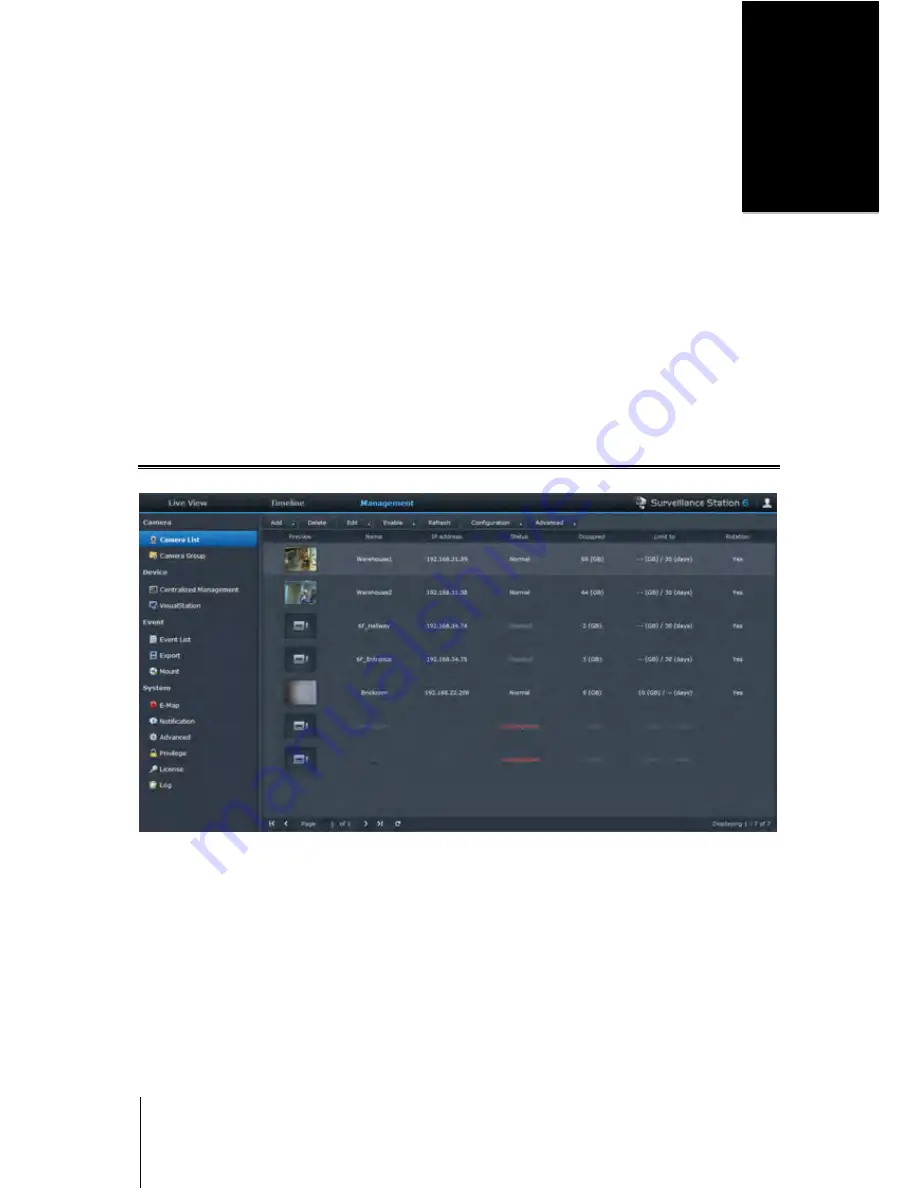
Surveillance Station
Surveillance Station is professional Network Video Recording (NVR) software bundled with DiskStation Manager
(DSM), allowing you to remotely record and monitor video footage from IP cameras which are paired with your
DiskStation, watch live view videos, set up scheduled recording, playback recorded events via web browser or
mobile device for remote monitoring so as to safeguard your home or office environment.
With Surveillance Station, you can set up VisualStation within LAN to live view managed cameras without the
help of a PC.
This chapter explains how to install Surveillance Station, manage IP cameras, watch and record live view videos,
set up scheduled recording, playback recorded events, and use all the other comprehensive features provided by
Surveillance Station.
Install Surveillance Station
Go to
Main Menu
>
Package Center
to install Surveillance Station.
To install Surveillance Station:
Under the
Available
tab, click
Install
to install the package, and follow the installation steps of “Manage
Packages” on Page 97.
When the installation is complete, the package will be moved to the
Installed
tab and the
Main Menu
will
automatically expand with the package’s thumbnail on it. Moreover, the
surveillance
shared folder will be
created automatically to contain your Surveillance Station data. The shared folder is read-only and can be
accessed only by
admin
or a user belonging to the
administrators
group.
To launch Surveillance Station, do either of the following:
Go to
Main Menu
and click
Surveillance Station
.
Type Synology DiskStation's IP address or server name or domain name plus a colon and the customized port
number (e.g. http://ericawang.dyndns.org:9900) in the address bar of your web browser. Press “Enter”
(Windows) or “Return” (Mac) on your keyboard.


