


Synology DiskStation User's Guide
Based on DSM 4.1
39
Chapter 4: Manage Storage Space
To check S.M.A.R.T. info:
1
Select a disk on the disk list and click
S.M.A.R.T. Info
. The numbers listed can help you to diagnose the status
of your disk.
2
Click
Close
to finish.
Check Disk Info
Here you can see the disk's model name, serial number, firmware version, and total size.
To check disk info:
1
Select a disk on the disk list and click
Disk Info
.
2
Click
Close
to finish.
SSD Cache
1
SSD cache drives can be installed and mounted in a RAID 0 configuration to boost the read speed of a volume,
including iSCSI LUN (Regular Files) on a volume, or iSCSI LUN (Block-Level) on your Synology server. You can
mount, check SSD compatibility, and view related information by going to
Main Menu
>
Storage Manager
>
SSD Cache
.
Please refer to your Synology server Quick Installation Guide for information regarding SSD installation.
Additionally, refer to
Help
for information regarding SSD management.
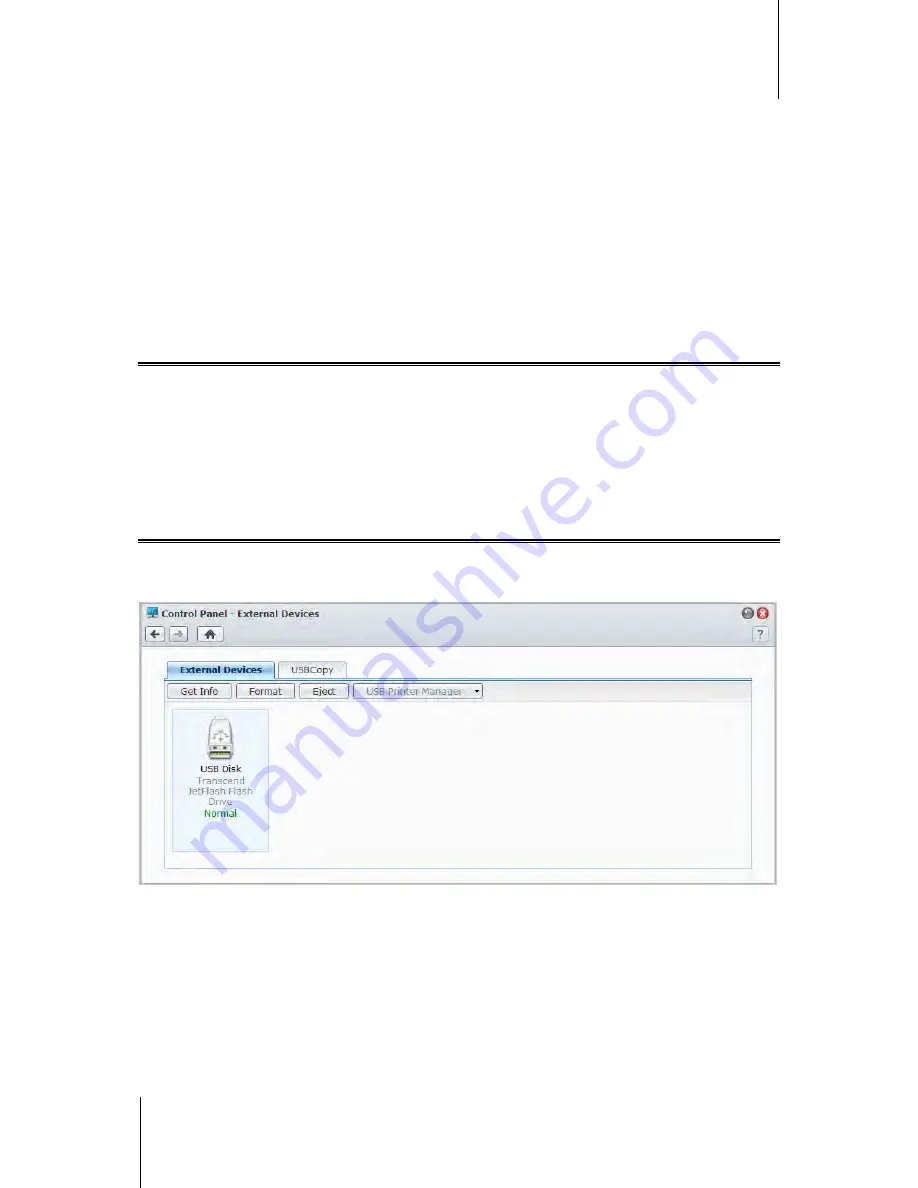
Manage External Disks
You can attach external USB or eSATA disks to the USB or eSATA port of your Synology DiskStation for backup
or file sharing purposes.
2
Go to
Main Menu
>
Control Panel
>
External Devices
to manage the attached external disks.
To attach an external disk:
1
Connect an external USB or eSATA disk to the USB or eSATA port of your Synology DiskStation.
2
A new shared folder named
usbshare1
(for USB device) or
esatashare
(for eSATA device) will be created
automatically and ready for access.
---------
1
SSD cache is supported on specific models only. Visit
www.synology.com
for more information
2
eSATA is supported on specific models only. Visit
www.synology.com
for more information.


