


240
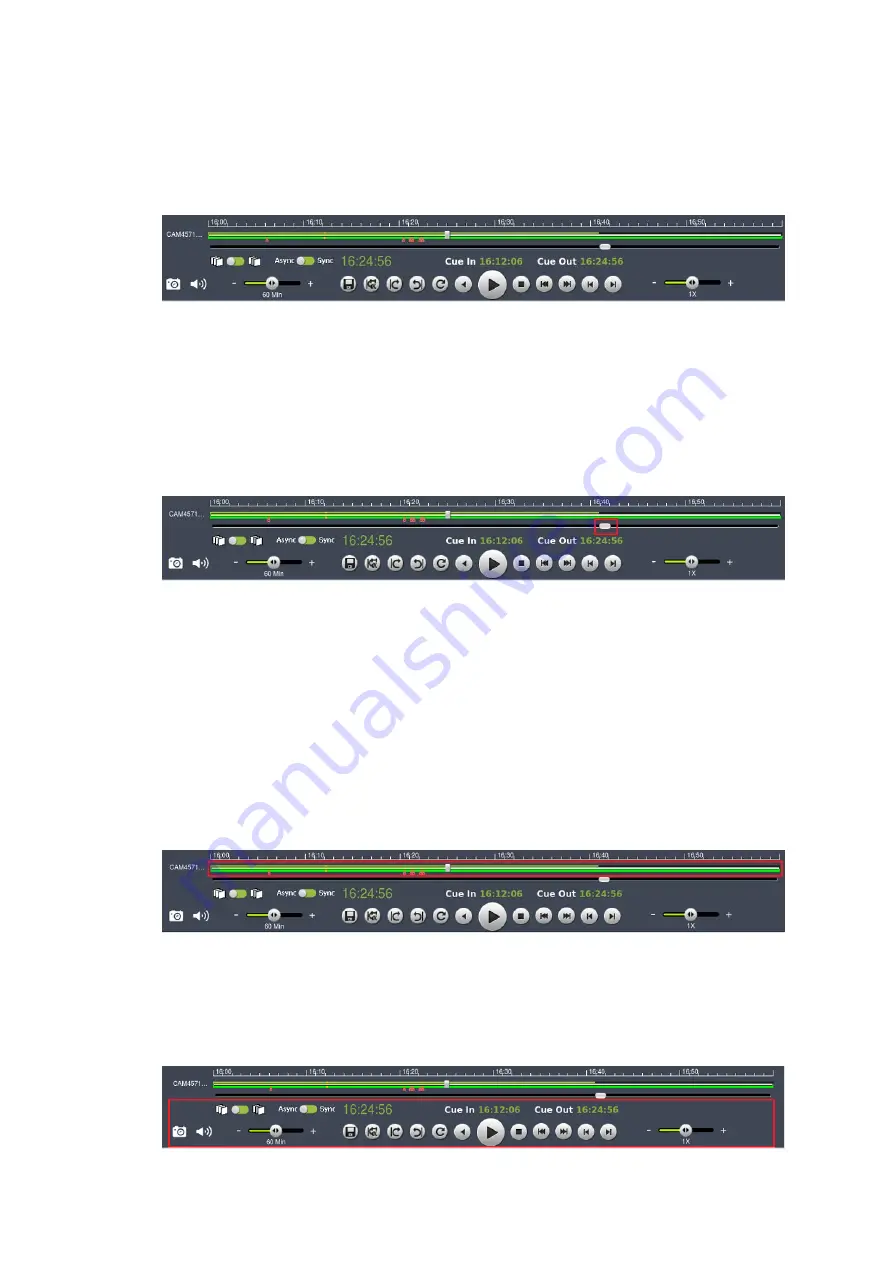
11.3.4. Timeline
After choosing the cameras to view, the timeline for the camera is displayed below
the video window.
The timeline window displays a graphic representation of the video information
available for the camera on the date and timeframe you have chosen in the
Select
Date
window.
The timeline will, at most, show a period of a little more than 3 hours. If the
timeframe that you desire to view is larger than this, the remaining portion of the
timeline can be viewed by using the
scrollbar
located beneath the timeline.
The amount of time displayed in the timeline can also be adjusted using the
slider
located next to the scrollbar. Sliding the indicator toward the right will cause a
smaller amount of time to be displayed along the length of the timeline.
11.3.5. Playback
Once a timeline has been loaded, you may choose the point to begin playback. This
is done by clicking the
timeline
. After selecting the start point you may start
playback.
To start playback of a camera’s video feed, ensure that the video is selected. Select
feeds by clicking the corresponding pane, timeline, or camera name. Once you have
selected a camera, you may use the buttons to control the playback. Playback time
is denoted above the control buttons.
Summary of Contents for NVR7312(2U)
Page 1: ...NVR7300 Series User Manual Release 1 2...
Page 72: ...72 1st JBOD 2nd JBOD Last JBOD...
Page 92: ...92...
Page 98: ...98 2 Click the Apply button to apply the schedule and OK to exit the dialog...
Page 100: ...100...
Page 127: ...127...
Page 249: ...249 Jumps to the next segment The play speed can be adjusted from 1x to 8x...
Page 286: ...286 12 5 5 FTP Setting It allows you to configure FTP server settings...
Page 336: ...336 2 Accept the terms in the license agreement and click Next...


