


Page C-6
IsoAir 310P Aerosol Particle Sensor Operations Manual
Appendix C Wi-Fi Configuration
Instructions for IsoAir 310P Configuration
Configure the Wi-Fi bridge
This is done by connecting to the bridge via Ethernet, then using the bridge’s Web
Server interface to set addressing and wireless communication parameters.
>> To configure the Wi-Fi bridge:
1
Make sure the laptop is set up for DHCP.
Change the Network parameters from the Control Panel if needed.
2
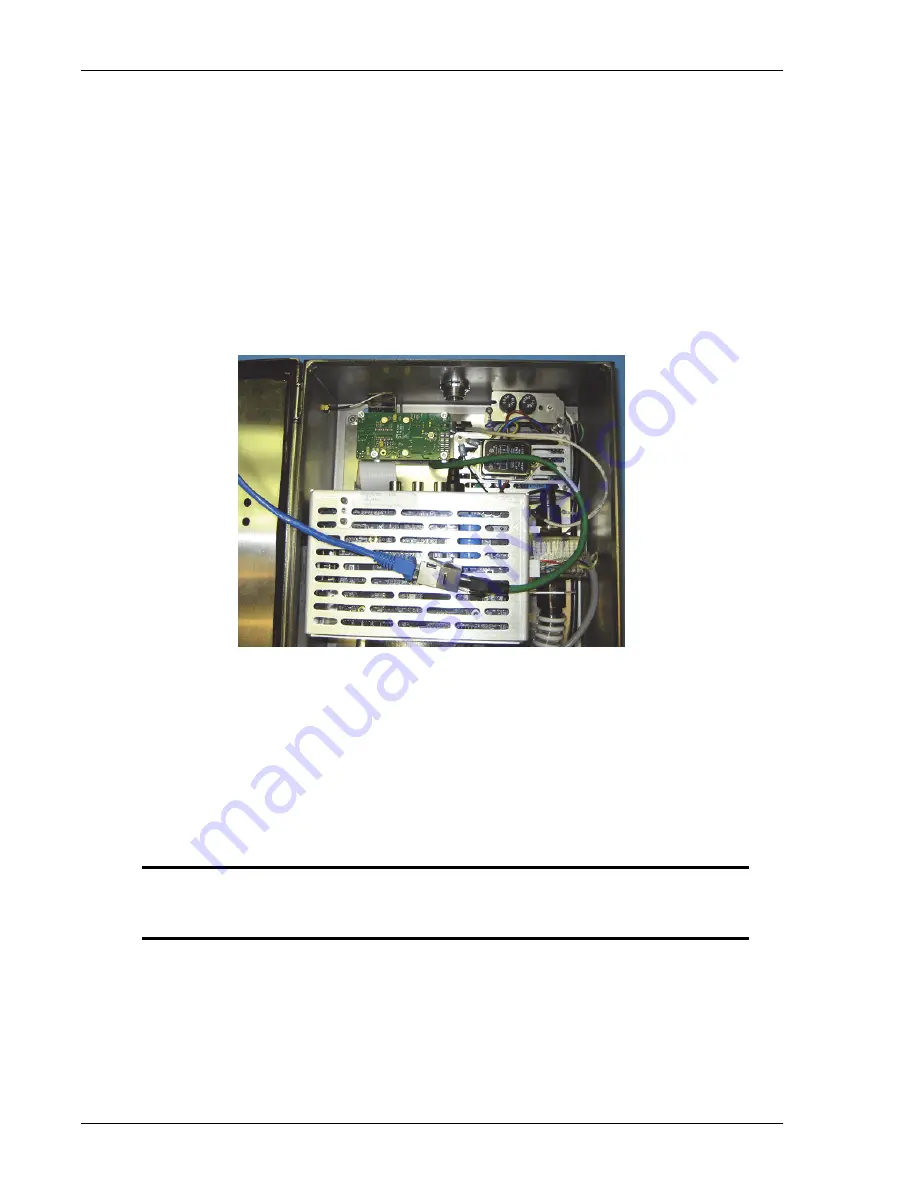
Use a network cable and a female-female RJ-45 adapter to connect from the laptop
to the Wi-Fi card.
PMS p/n 1000013006
can be used as the RJ-45 adapter. See
Figure C-4
Wi-Fi Card with Ethernet RJ-45 Female-Female Adapter for PC
3
In Windows, go to the
Run
menu and type
command
to open a command window.
a.
Type
ipconfig
to show the network configuration. The network configuration
should show the following:
IP Address………….192.168.2.100
a
a. The address may be 192.168.2.101 or something close in some
circumstances.
Subnet Mask………. 255.255.255.0
Default Gateway……192.168.2.1
NOTE:
If these settings are not correct, communication will be impossible. How
these settings are configured depends upon the version of operating
system installed. Seek IT support for help if needed.
b.
Type
ping 192.168.2.1
.
c.
Verify that the Wi-Fi bridge responds.


