HandKey II Manual
39
Set Host Connection controls how networked readers communicate with each other. The
reader may be set to stand alone, to RS-485, to RS-232, or to TCP/IP.
For a serial connection with more than two readers or a line length greater than 50 feet,
you must choose RS-485; RS-232 is only useful for connecting a single reader to a
computer’s serial port.
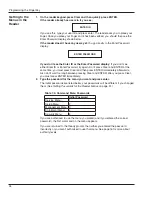
If you choose RS-485 or RS-232, the reader asks for a baud rate. We recommend
starting at 9600. Once your network is working correctly, try increasing this speed at each
to see if communication still works; the length of the wiring in your network affects the
maximum workable baud rate. All readers in the network must be set to the same baud
rate.
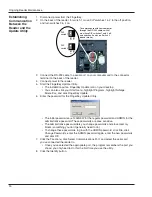
If you choose RS-485 or RS-232, you must set DIP switch 1 to correspond to your choice;
see
Controlling how readers are networked
on page 10.
If you change the reader’s address or network connection (or if you’ve changed DIP
switches), you must leave the command menus (which resets the reader) before the
change takes effect.
If the reader is connected to the host computer
through a TCP/IP (Ethernet) connection, then you
must first upgrade your reader using the Ethernet
Upgrade option; see page 42.
Once you’ve used the Ethernet Upgrade option, you
can then use Set TCP/IP to enter the IP address
supplied by your network administrator.
When asked for IP Address, use # for the period.
For example, to enter 192.168.0.55, you would type
192#168#0#55.
From Set IP Address, press * (Back) or # (Next) to
get to Set Subnet Mask and Set Gateway Address.
You’ll enter those values just as you did the IP
address. Contact your network administrator if you
aren’t sure what to enter.
The reader will reboot when you leave the
command menus. Once the reader is done
rebooting, it is ready to communicate with the new
address.
Setting the
Type of
Network
Connection
Serial Connection
SET HOST CONNECTION
*BACK #NEXT
To set the connection, press enter.
You’ll see:
SET STAND ALONE
*BACK #NEXT
Press # (Next) until you see:
SET TCP/IP
*BACK #NEXT
Press ENTER. You’ll see:
SET IP ADDRESS
*BACK #NEXT
Press ENTER. You’ll see:
INPUT IP ADDRESS
Type the IP address, using # for the
period. Press ENTER when done.
Enter the subnet mask and gateway
in the same way.
TCP/IP
Connection


