HandKey II Manual
21
Enrolling Users
Before a user can have access, you must take the user to a reader and have the reader
create a template or mathematical representation of the user’s fingerprint (we call
this enrolling the user). Before you enroll a user, teach the user about correct finger
placement (see page 20).
Use the Enrollment menu in the reader to enroll users.
You must have an Authority Level of 4 or higher to enroll users (see page 16 for more about
authority levels).
1. On the reader keypad, press Clear and then quickly press ENTER.
You should see:
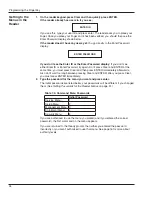
ENTER ID
If the reader doesn’t have users yet, you go directly to the Enter Password display
shown below; in that case, skip to step 4.
If you don’t see either Enter ID or Enter Password, try again. Don’t press Clear and
ENTER at the same time; you must press Clear and then press ENTER immediately
afterwards. Also don’t wait too long between pressing Clear and ENTER; after you
press Clear, you must press ENTER immediately.
2. Type your user ID and press enter.
3. Place your finger when the reader asks you to. After you do this, you see:
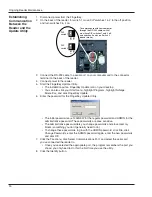
ENTER PASSWORD
4. Type 4 and press enter.
This is the standard password for the Enrollment menu; if you have changed this
password (see page 51), enter your password instead. You should see:
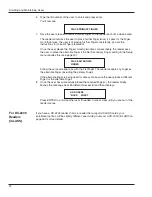
ADD USERS
*BACK #NEXT
If the reader shows the Ready display instead of this, either you entered the
password incorrectly or you don’t have the authority level to use this menu.
5. Press ENTER to indicate that you want to add users. You’ll see:
ENTER ID


