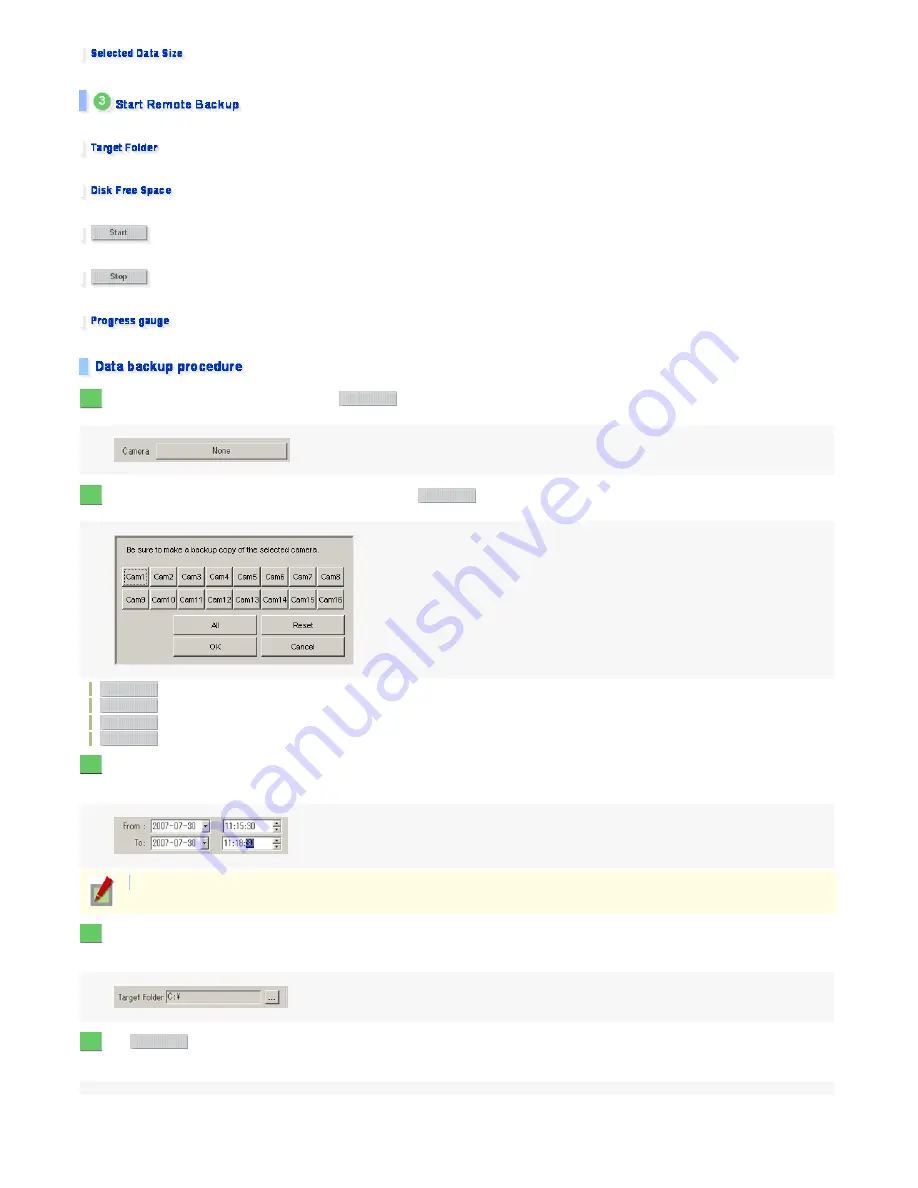
Shows the size of the selected range of data.
Start the backup process by specifying the folder into which you want to back up the selected data.
Specify the backup-destination drive and folder.
The available disk space on the selected drive is shown.
Starts the backup process.
Stops the backup process.
The progress of the backup process is shown on the gauge.
In the [Camera] section, click the button (labeled as
, by default).
The Camera Selection dialog box appears.
Select the camera number for the data you want to back up and Click
.
Clicking a camera number toggles the backup On/Off status of the camera. You can select more than one camera number.
: Sets all camera numbers to On.
: Resets the backup status of all camera numbers to Off.
: Closes the dialog box with the settings applied.
: Cancels all settings and closes the dialog box.
In the [From] and [To] fields, specify the range of the data you want to back up (the date and time when the recording was started and ended).
Select the date using the calendar; select the time using the spin buttons.
Under [Select Data Size], the size of the selected range of data appears.
In the [Target Folder] setting, select the backup-destination drive and folder.
Under [Disk Free Space], the available disk space on the selected drive appears.
Confirm the total size of the files you selected does not exceed the size of the available space in the backup medium.
Click .
The system starts a backup, showing its progress as a progress gauge.
When the backup process is finished, a dialog box opens, showing the backup has been finished.
1
None
2
OK
All
Reset
OK
Cancel
3
The upper limit of the this data size is the value shown in the [Recording Data Information] section.
4
5
Start
161/182
ページ
2008/10/27


