The printing of a receipt ends when this text is detected.
You can specify a single text string only.
The printing of a receipt is skipped when this text is detected.
You can specify two or more text strings.
Type the desired text string in the upper box and Click
. Then, the text string is listed in order in the lower box.
To delete a text string, select it in the lower box and Click
.
In the Text settings, Click
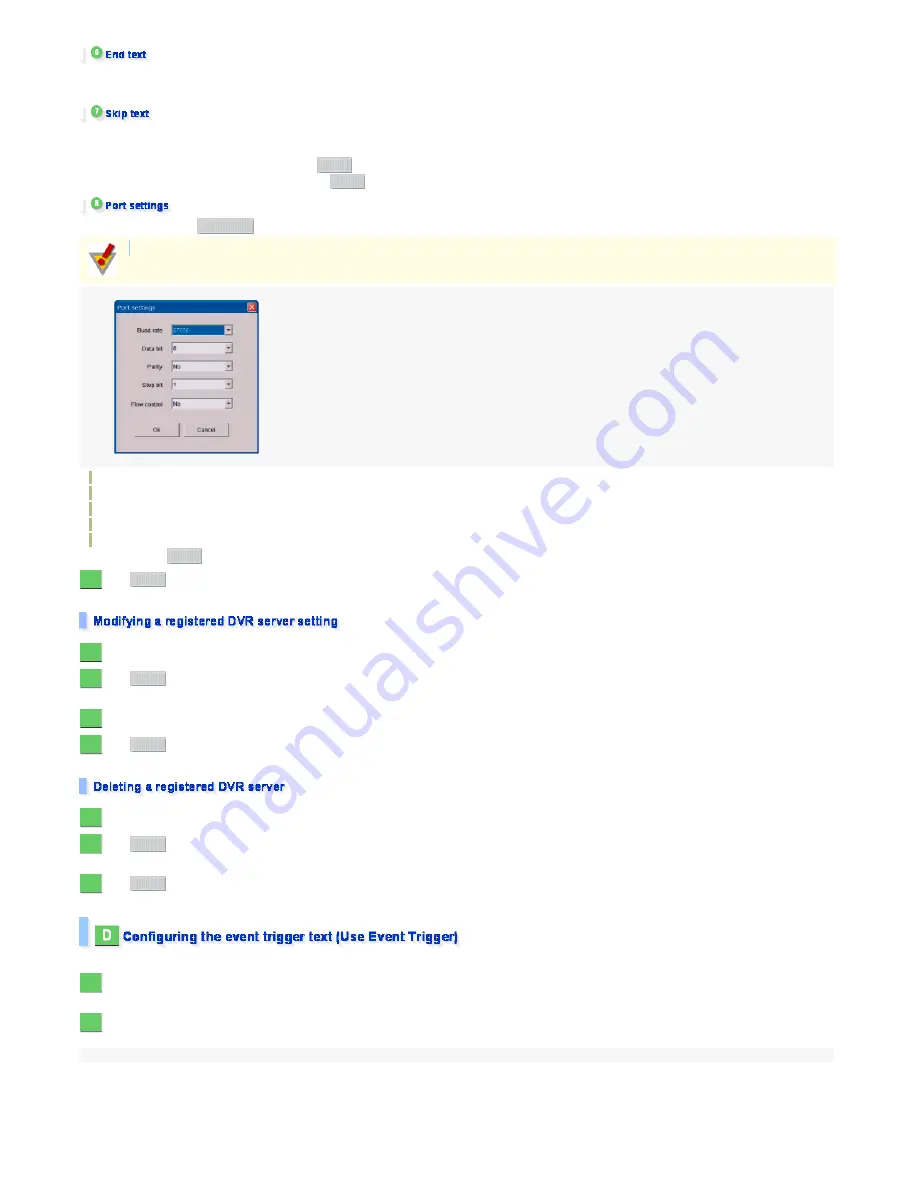
and configure the port settings in the following dialog box.
Baud rate
Data bit
Parity
Stop bit
Flow control
When finished, Click
to close the dialog box.
Click .
The text input device has been preset. The preset name will be listed in the pull-down menu of the [Preset] setting in Device settings.
In the Device settings, select the preset name from the pull-down menu of the [Preset] setting.
Click .
Now, you can enter device settings.
Modify the preset settings.
Click .
The preset device settings for the device have been modified.
In the Device settings, select the preset name in the [Preset] setting.
Click .
The deletion confirmation dialog box opens.
Click .
The preset name disappears from the pull-down menu of the [Preset] setting in Device settings.
You can configure the alarm trigger so that an alarm event is raised when a specific keyword(s) is detected in the text.
Select the [Use TEXT Device] check box.
The [Use Event Trigger] check box is now selectable.
Select the [Use Event Trigger] check box.
Now, you can enter device settings.
Add
Delete
Port settings
Configure the port to match the text input device's current communication settings. If the settings are inconsistent, text information will not be correctly displayed.
OK
3
Save
1
2
Edit
3
4
Save
1
2
Delete
3
OK
1
2
141/182
ページ
2008/10/27


