4. Troubleshooting
•
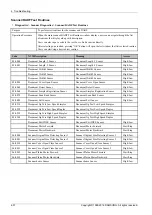
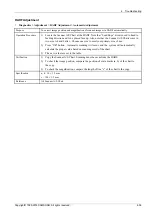
Diagnostics > Adjustment > Scan Area Adjustment > Manual Adjustment
Purpose
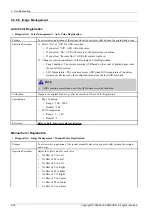
To correct image position and magnification of scanned images manually. This function is used when
a result of automatic adjustment does not satisfy the expectation.
Operation Procedure
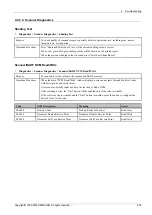
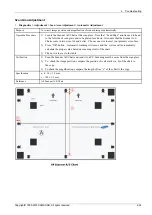
1) Choose one item from the table. There are three items to choose.
•
Image Position - Leading Edge
•
Image Position - Side Edge
•
Magnification - Vertical Direction
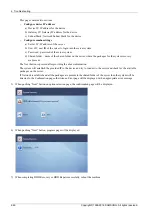
2) Select one item and press the “Edit” button.
3) Change the adjustment value with arrow button.
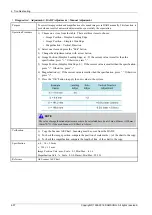
4) Image Position (a, b) : If the current value is smaller than the specification, press “+”.
Otherwise, press “-”.
5) Magnification (c) : If the current value is smaller than the specification, press “-”. Otherwise,
press “+”.
6) Press the “OK” button to apply the new value to the system.
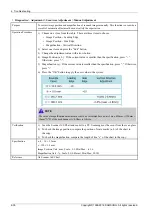
E
xa mple
Ca se s
Le a ding
Edge
Side
Edge
Ve rtica l Dire ction
Adjustme nt
= 11.0 mm
-10
= 9.0 mm
+ 10
= 191.7 mm
+ 0.8% (-3.4mm)
= 188.1 mm
-0.4% (ne a r + 1.8mm)
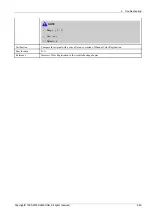
NOTE
The value of magnification adjustment needs to be calculated based on A3 size, 420mm ((190mm +
10mm*2)*2) if the used Scanner A/S Chart is A4 size.
Verification
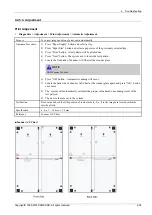
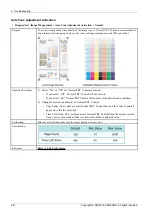
1) Scan the Scanner A/S Chart and send it to a PC. Scanning must be occur from the scan glass.
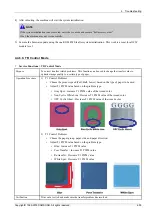
2) To check the image position, compare the position of scale marks (a, b) of the chart to
the copy.
3) To check the magnification, compare the length of line “c” of the chart to the copy .
Specification
a, b : 10 ± 1.5 mm
c : 190 ± 1.5 mm
Image Position Unit : mm, Scale : 0.1, Min/Max : -6/+6
Magnification Unit : %, Scale: 0.1(0.42mm), Min/Max: 99/101
Reference
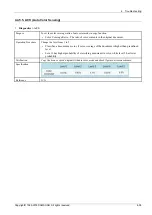
A4 Scanner A/S Chart
4-35
Copyright© 1995-2016 SAMSUNG. All rights reserved.


