Menu Options
68
m52L Installation Guide
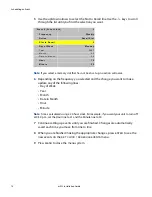
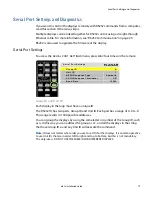
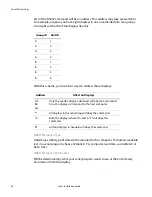
Do Position
Centers the picture on the screen.
Menu Options
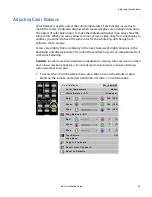
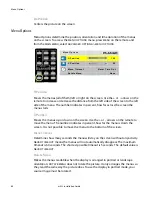
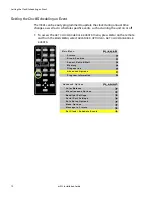
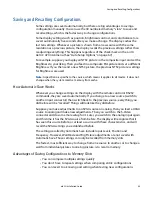
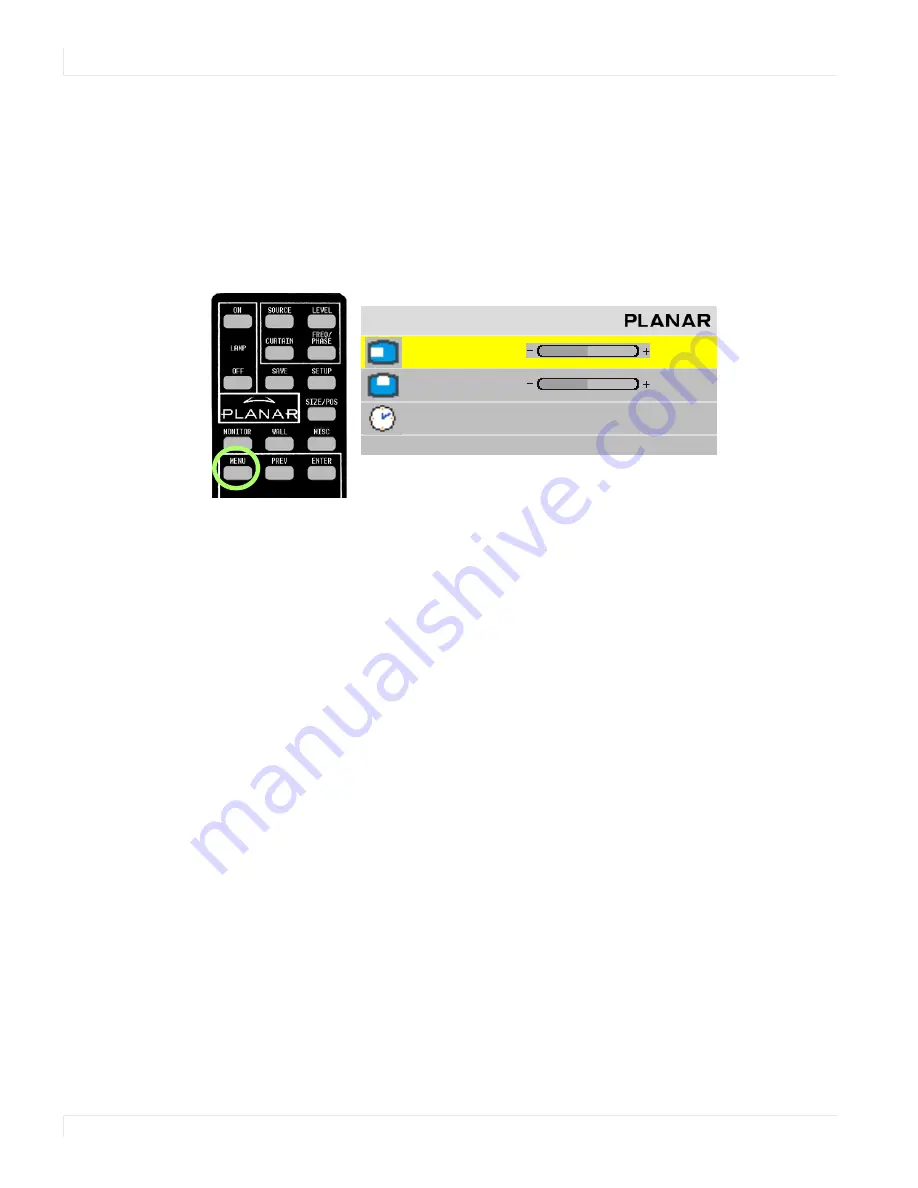
Menu Options determine the position, orientation and time duration of the menus
on the screen. To access the
MENU
OPTIONS
menu, press
MENU
on the remote and
from the
MAIN
MENU
, select
ADVANCED
OPTIONS
>
MENU
OPTIONS
.
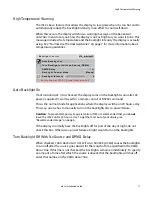
H Position
Moves the menus (all of them) left or right on the screen. Use the + or - arrows on the
remote to increase or decrease the distance from the left side of the screen to the left
side of the menu. The number indicates in percent, how far across the screen the
menu starts.
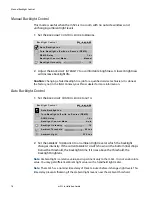
V Position
Moves the menus up or down on the screen. Use the + or - arrows on the remote to
move the menu. The number indicates in percent, how far the menu is down the
screen. It is not possible to move the menu to the bottom of the screen.
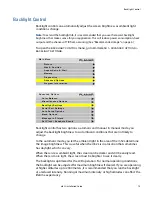
Menu Timeout
Determines how many seconds the menu will stay on the screen without any activity.
NEVER
TIME
OUT
means the menus will not automatically disappear. The maximum
timeout is 60 seconds. The shortest possible timeout is 5 seconds. The default value is
NEVER
TIME
OUT
.
Rotate Menu
Makes the menus readable when the display is arranged in portrait or landscape
orientation.
ROTATE
MENU
does not rotate the picture. It only arranges the menus so
they read the same way the picture does. To use the display in portrait mode, your
source image must be rotated.
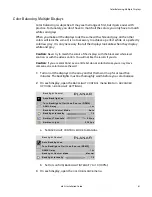
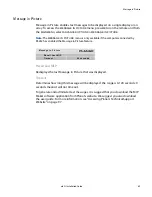
M e n u O p t i o n s
H P o s i t i o n
1 0 0
V P o s i t i o n
5 0
M e n u Ti m e o u t
N e v e r Ti m e O u t
R o ta t e M e n u
N o n e
Summary of Contents for m52L
Page 1: ...m52L Installation Guide ...
Page 2: ......
Page 4: ...iv m52L Installation Guide ...
Page 10: ...Table of Contents vi m52L Installation Guide ...
Page 20: ...Tools and Other Things You May Need 10 m52L Installation Guide ...
Page 28: ...Lining Up Screen Brackets 18 m52L Installation Guide ...
Page 32: ...About UPS Supplies 22 m52L Installation Guide ...
Page 58: ...Sharpness Settings 48 m52L Installation Guide ...
Page 60: ...Picture Position 50 m52L Installation Guide ...
Page 64: ...Using Planar s Big PictureTM 54 m52L Installation Guide ...
Page 68: ...Viewport Adjustment 58 m52L Installation Guide ...
Page 74: ...Tips for Color Balancing 64 m52L Installation Guide ...
Page 88: ...Turn Backlight Off With No Source and DPMS Delay 78 m52L Installation Guide ...
Page 92: ...Controlling With RS232 Commands 82 m52L Installation Guide ...
Page 102: ...Deleting a Configuration 92 m52L Installation Guide ...
Page 106: ...Where to Go From Here 96 m52L Installation Guide ...
Page 116: ...106 m52L Installation Guide ...
Page 118: ...Rear View 108 m52L Installation Guide Rear View 0 3 0 7 5 7 2 7 21 0 00 3 ...
Page 120: ...110 m52L Installation Guide ...


