Zoom and Viewport
m52L Installation Guide
55
Zoom and Viewport
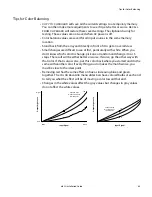
Zoom fits the edges of a large picture - one that covers many displays’ screens - from
side to side and top to bottom.
Note:
Zoom and Viewport adjustments are mainly used for Planar’s cube products with no
mullions or thin mullions.
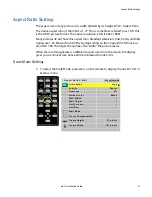
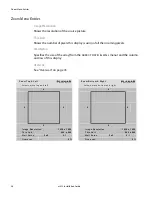
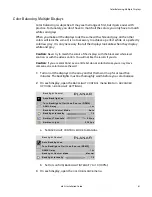
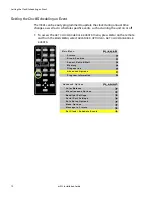
To access the Zoom menus, press
SIZE
/
POS
twice on the remote to open the
ZOOM
TOP
&
LEFT
menu. Press
SIZE
/
POS
a third time to open the
ZOOM
BOTTOM
&
RIGHT
menu.
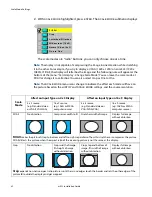
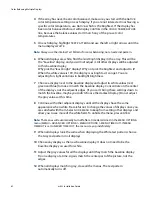
You may zoom the sides up to +100 pixels
larger
in each direction. You may also
zoom the sides up to –100 pixels
smaller
, but only if that side is not the edge of the
overall picture. An example may help make this point more clearly.
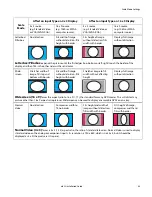
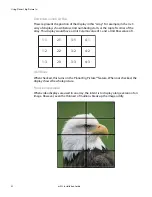
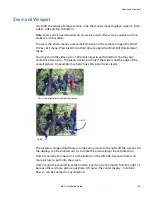
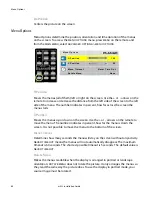
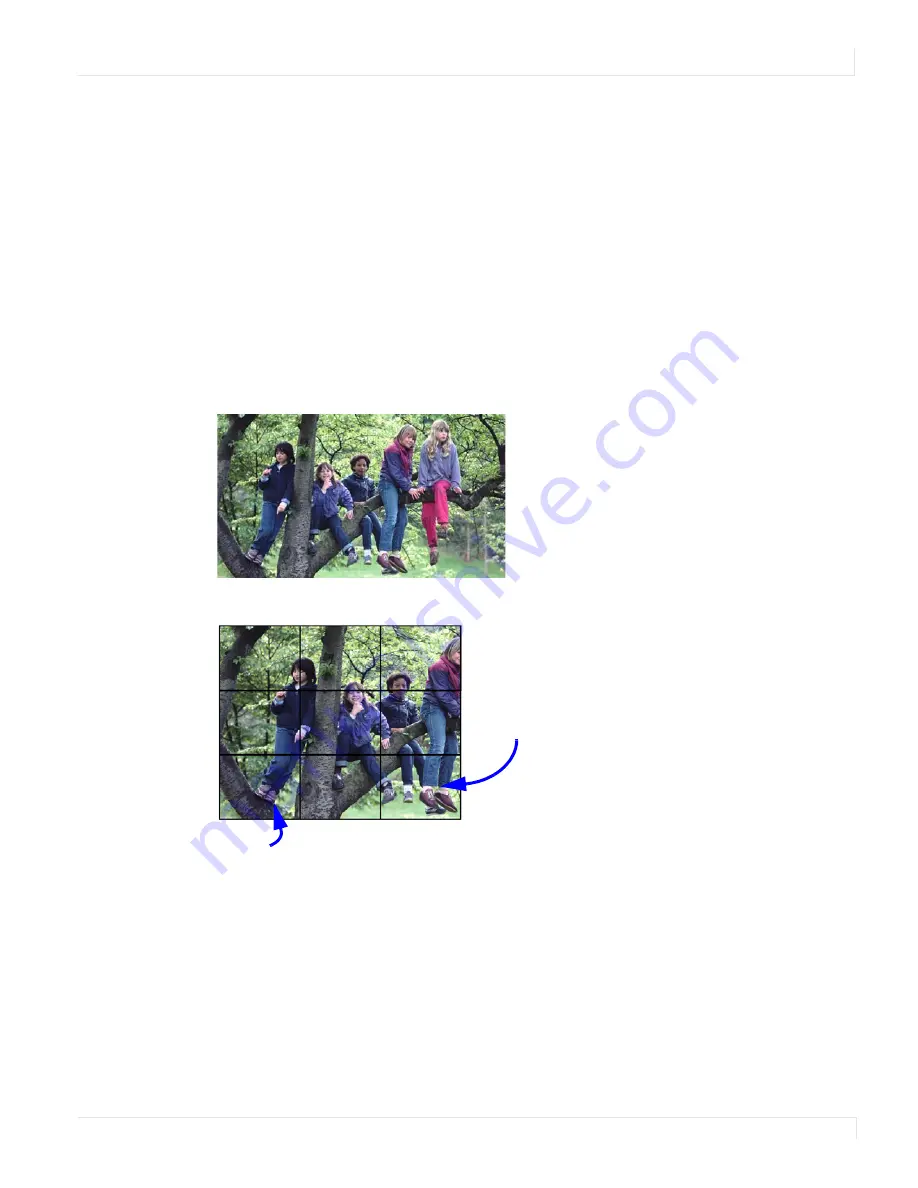
The picture is cropped and there is some extra picture to the right, off the screens. All
the displays can be zoomed out (+) to make the picture larger in each direction.
Unit X cannot be zoomed
in
(–) at the bottom or the left side, because there is no
more picture to pull onto the screen.
Unit Y cannot be zoomed in at the bottom, but it
can
be zoomed in from the right (–)
because there is more picture out there. Of course, the center display - Column 2,
Row 2 - can be zoomed in any direction.
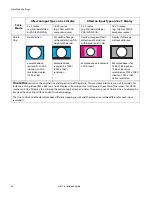
This is the original picture from the source.
Unit Y
Unit X
Summary of Contents for m52L
Page 1: ...m52L Installation Guide ...
Page 2: ......
Page 4: ...iv m52L Installation Guide ...
Page 10: ...Table of Contents vi m52L Installation Guide ...
Page 20: ...Tools and Other Things You May Need 10 m52L Installation Guide ...
Page 28: ...Lining Up Screen Brackets 18 m52L Installation Guide ...
Page 32: ...About UPS Supplies 22 m52L Installation Guide ...
Page 58: ...Sharpness Settings 48 m52L Installation Guide ...
Page 60: ...Picture Position 50 m52L Installation Guide ...
Page 64: ...Using Planar s Big PictureTM 54 m52L Installation Guide ...
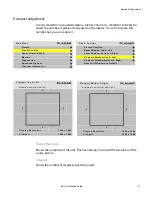
Page 68: ...Viewport Adjustment 58 m52L Installation Guide ...
Page 74: ...Tips for Color Balancing 64 m52L Installation Guide ...
Page 88: ...Turn Backlight Off With No Source and DPMS Delay 78 m52L Installation Guide ...
Page 92: ...Controlling With RS232 Commands 82 m52L Installation Guide ...
Page 102: ...Deleting a Configuration 92 m52L Installation Guide ...
Page 106: ...Where to Go From Here 96 m52L Installation Guide ...
Page 116: ...106 m52L Installation Guide ...
Page 118: ...Rear View 108 m52L Installation Guide Rear View 0 3 0 7 5 7 2 7 21 0 00 3 ...
Page 120: ...110 m52L Installation Guide ...

