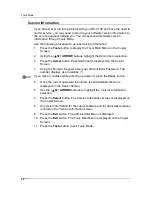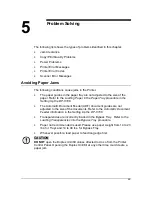
Clearing a Paper Tray Jam
Problem Solving
73
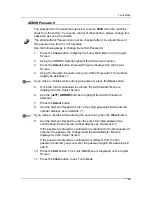
Clearing a Paper Tray Jam
Perform this procedure when the message
CHECK LOADING OF TRAY X
(1,
2, or 3) is displayed on the Control Panel.
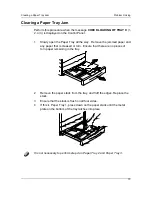
1.
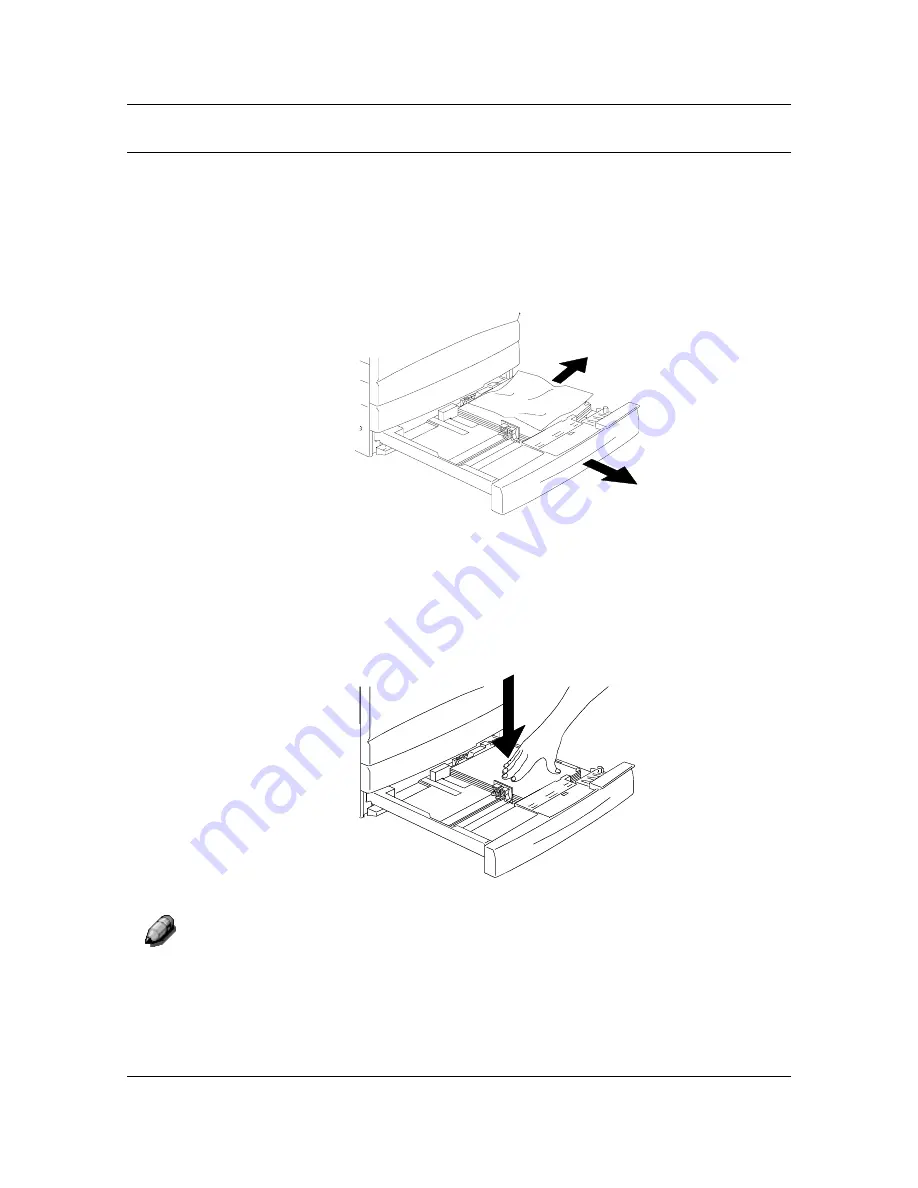
Slowly open the Paper Tray all the way. Remove the jammed paper and
any paper that is creased or torn. Ensure that there are no pieces of
torn paper remaining in the tray.
2.
Remove the paper stack from the tray, and fluff the edges. Replace the
stock.
3.
Ensure that the stack is flush on all four sides.
4.
If this is Paper Tray 1, press down on the paper stack until the metal
plate on the bottom of the tray latches into place.
It is not necessary to perform step 4 on Paper Tray 2 and Paper Tray 3.
Summary of Contents for DA-DU26C
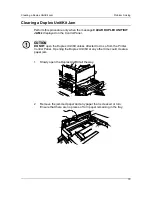
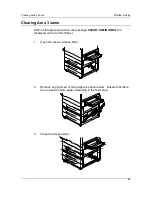
Page 83: ...Clearing Paper Jams Problem Solving 71 ADF Jam Clearance Area Lift to open the Left hand ADF ...
Page 84: ...Problem Solving Clearing Paper Jams 72 This page is intentionally left blank ...
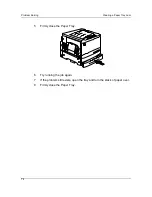
Page 88: ...Problem Solving Clearing a Duplex Unit Kit Jam 76 3 Firmly close the Duplex Unit Kit ...
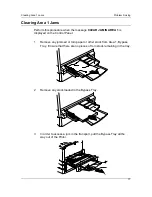
Page 92: ...Problem Solving Clearing Area 1 Jams 80 This page is intentionally left blank ...
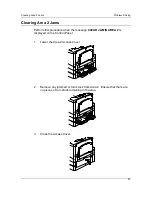
Page 94: ...Problem Solving Clearing Area 2 Jams 82 This page is intentionally left blank ...
Page 96: ...Problem Solving Clearing Area 3 Jams 84 This page is intentionally left blank ...
Page 98: ...Problem Solving Clearing Area 4 Jams 86 This page is intentionally left blank ...
Page 116: ...Problem Solving Printer Error Messages 104 This page is intentionally left blank ...
Page 118: ...Problem Solving Printer Error Codes 106 This page is intentionally left blank ...
Page 120: ...Problem Solving Scanner Error Codes 108 This page is intentionally left blank ...
Page 158: ...Maintenance Replacing the Print Copy Cartridge 146 This page is intentionally left blank ...
Page 165: ......


