Basic Copying
15
Positioning the Originals
There are two ways to position originals on the DP-C106: on the Document
Glass
or in the ADF.
The Document Glass
Perform the following steps to use the Document Glass:
1.
Raise the ADF.
2.
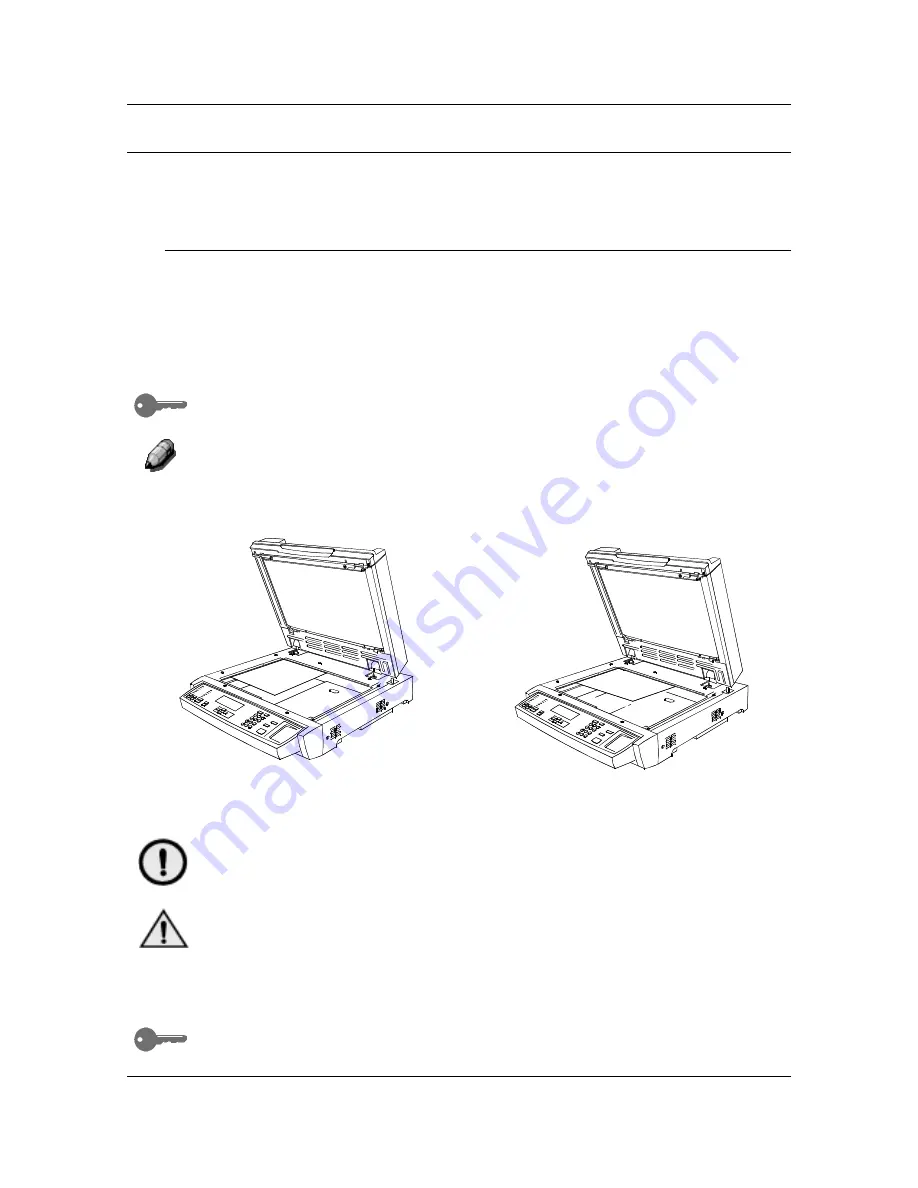
Align the original into the rear, left-hand corner of the Document Glass
face
down. Place your original in the same orientation that the paper is
loaded in your selected Paper Tray.
For transparency sheets, tracing paper or other types of thin paper, place a
blank, white sheet over the original on the
Document Glass
.
For information on the
Paper Supply
button, see Chapter 3, “Copy
Features”. For information on loading paper into a Paper Tray, see "Setting
Up the DP-C106" in Installation Instructions.
3.
Close the ADF.
CAUTION
When copying a thick document, do not force the ADF down. The Document
Glass
may break if under too much pressure.
WARNING
If you must perform a copy operation with the ADF open, do not look at the
scanner light.
The maximum original size that the Document Glass
can scan is 11 inch x 17
inch or A3 (297 mm x 420 mm).
If you should try to register an original document larger than the maximum
size on the ADF
,
the image will be cut off on your copy output.
Long Edge Feed (LEF)
Short Edge Feed (SEF)
Summary of Contents for DA-DU26C
Page 83: ...Clearing Paper Jams Problem Solving 71 ADF Jam Clearance Area Lift to open the Left hand ADF ...
Page 84: ...Problem Solving Clearing Paper Jams 72 This page is intentionally left blank ...
Page 88: ...Problem Solving Clearing a Duplex Unit Kit Jam 76 3 Firmly close the Duplex Unit Kit ...
Page 92: ...Problem Solving Clearing Area 1 Jams 80 This page is intentionally left blank ...
Page 94: ...Problem Solving Clearing Area 2 Jams 82 This page is intentionally left blank ...
Page 96: ...Problem Solving Clearing Area 3 Jams 84 This page is intentionally left blank ...
Page 98: ...Problem Solving Clearing Area 4 Jams 86 This page is intentionally left blank ...
Page 116: ...Problem Solving Printer Error Messages 104 This page is intentionally left blank ...
Page 118: ...Problem Solving Printer Error Codes 106 This page is intentionally left blank ...
Page 120: ...Problem Solving Scanner Error Codes 108 This page is intentionally left blank ...
Page 158: ...Maintenance Replacing the Print Copy Cartridge 146 This page is intentionally left blank ...
Page 165: ......


