Maintenance
Replacing the Toner Cartridges
140
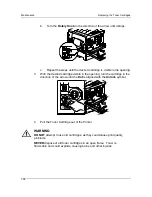
7.
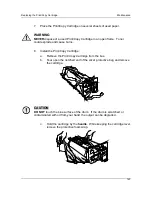
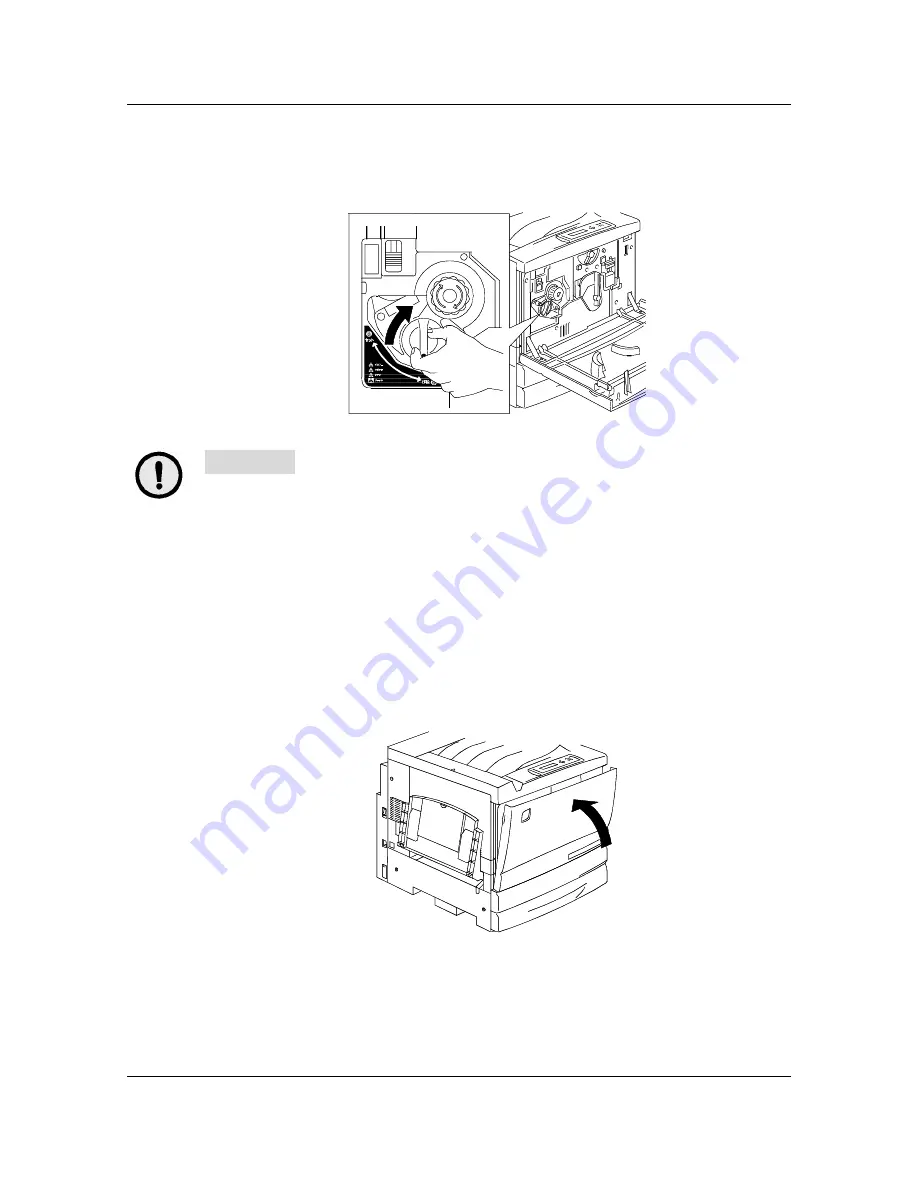
Use the handle on the end of the cartridge to rotate the cartridge in the
direction of the arrow. Ensure that the
Dot
on the cartridge is aligned
with the
Locked
symbol as shown.
CAUTION
If the cartridge is not securely locked into place, toner will spill into the
Printer.
8.
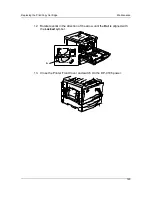
To ensure that the cartridge is installed correctly, press the
Anti-
Rotation button
and turn the
Rotary Knob
until it stops.
If the knob can be rotated to the next cartridge, you have successfully
installed the new cartridge.
9.
If required, repeat the procedure for any other Toner Cartridges that
need replacing.
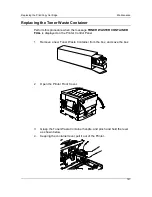
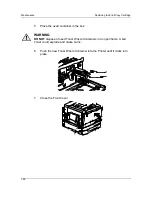
10. When all the Toner Cartridge replacements have been completed, close
the Printer Front Cover.
Summary of Contents for DA-DU26C
Page 83: ...Clearing Paper Jams Problem Solving 71 ADF Jam Clearance Area Lift to open the Left hand ADF ...
Page 84: ...Problem Solving Clearing Paper Jams 72 This page is intentionally left blank ...
Page 88: ...Problem Solving Clearing a Duplex Unit Kit Jam 76 3 Firmly close the Duplex Unit Kit ...
Page 92: ...Problem Solving Clearing Area 1 Jams 80 This page is intentionally left blank ...
Page 94: ...Problem Solving Clearing Area 2 Jams 82 This page is intentionally left blank ...
Page 96: ...Problem Solving Clearing Area 3 Jams 84 This page is intentionally left blank ...
Page 98: ...Problem Solving Clearing Area 4 Jams 86 This page is intentionally left blank ...
Page 116: ...Problem Solving Printer Error Messages 104 This page is intentionally left blank ...
Page 118: ...Problem Solving Printer Error Codes 106 This page is intentionally left blank ...
Page 120: ...Problem Solving Scanner Error Codes 108 This page is intentionally left blank ...
Page 158: ...Maintenance Replacing the Print Copy Cartridge 146 This page is intentionally left blank ...
Page 165: ......

