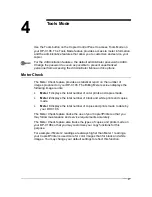
Tools Mode
61
6.
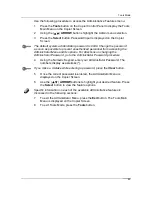
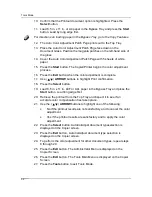
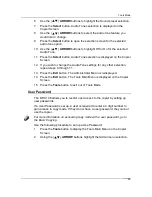
Use the ( )
ARROW
buttons to highlight the Timer preset selection.
7. Press
the
Select
button. Timer Preset selection is displayed on the
Copier Screen.
8.
Use the ( )
ARROW
buttons
to highlight the desired Timer feature
that you wish to change. Press the
Select
button.
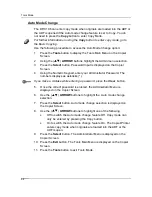
If you are setting the Energy Saver Timer
you must first turn the Energy
Saver Mode
On and then you may set a time. Using the ( )
ARROW
buttons
,
highlight On
and then press the
Select
button. The Copier Screen
prompts you to enter a timer setting.
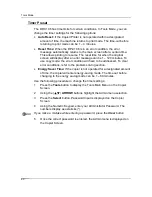
9.
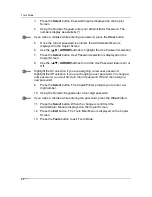
Using the Numeric Keypad
,
enter a new time limit for the specified item.
You may only enter a value within the time range of the timer featue you are
setting. The Copier/Printer will not allow you to save any time settings
outside of the allowed values for the feature.
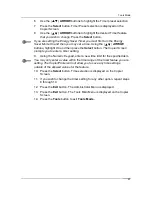
10. Press
the
Select
button. Time selection
is displayed on the Copier
Screen.
11. If you wish to change the timer setting for any other option, repeat steps
8 through 10.
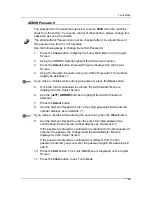
12. Press
the
Exit
button. The Administrator Menu
is displayed.
13. Press
the
Exit
button. The Tools Main Menu is displayed on the Copier
Screen.
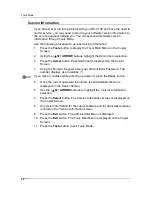
14. Press
the
Tools
button to exit
Tools Mode.
Summary of Contents for DA-DU26C
Page 83: ...Clearing Paper Jams Problem Solving 71 ADF Jam Clearance Area Lift to open the Left hand ADF ...
Page 84: ...Problem Solving Clearing Paper Jams 72 This page is intentionally left blank ...
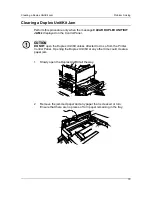
Page 88: ...Problem Solving Clearing a Duplex Unit Kit Jam 76 3 Firmly close the Duplex Unit Kit ...
Page 92: ...Problem Solving Clearing Area 1 Jams 80 This page is intentionally left blank ...
Page 94: ...Problem Solving Clearing Area 2 Jams 82 This page is intentionally left blank ...
Page 96: ...Problem Solving Clearing Area 3 Jams 84 This page is intentionally left blank ...
Page 98: ...Problem Solving Clearing Area 4 Jams 86 This page is intentionally left blank ...
Page 116: ...Problem Solving Printer Error Messages 104 This page is intentionally left blank ...
Page 118: ...Problem Solving Printer Error Codes 106 This page is intentionally left blank ...
Page 120: ...Problem Solving Scanner Error Codes 108 This page is intentionally left blank ...
Page 158: ...Maintenance Replacing the Print Copy Cartridge 146 This page is intentionally left blank ...
Page 165: ......

