Connecting to a PBX or ISDN system
If you use a PBX or ISDN converter or terminal adapter, then follow these steps to connect the equipment:
1
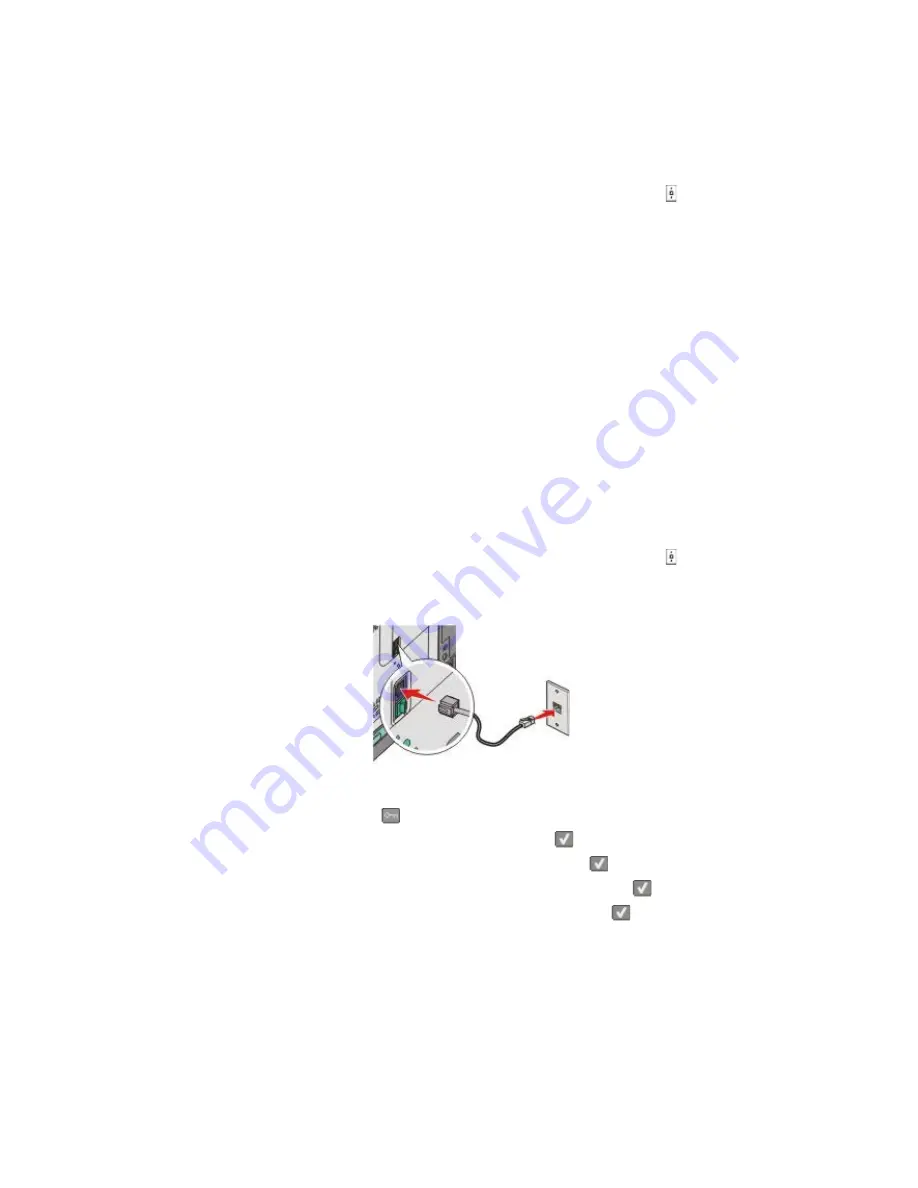
Connect one end of the telephone cable that came with the printer to the top LINE port on the back of the
printer.
2
Connect the other end of the telephone cable to the port designated for fax and telephone use.
Notes:
•
Make sure the terminal adapter is set to the correct switch type for your region.
•
Depending on the ISDN port assignment, you may have to connect to a specific port.
•
When using a PBX, make sure the call waiting tone is off.
•
When using a PBX system, dial the outside line prefix before dialing the fax number.
•
For more information on using the fax with a PBX system, see the documentation that came with your PBX
system.
Connecting to a Distinctive Ring Service
A distinctive ring service may be available from your telephone service provider. This service allows you to have
multiple phone numbers on one telephone line with each phone number having a different ring pattern. This may
be useful for distinguishing between fax and voice calls. If you subscribe to a distinctive ring service, follow these
steps to connect the equipment:
1
Connect one end of the telephone cable that came with the printer to the top LINE port on the back of the
printer.
2
Connect the other end of the telephone cable to an active analog telephone wall jack.
3
Change the distinctive ring setting to match the setting you want the printer to answer.
a
From the printer control panel, press
.
b
Press the arrow buttons until
Settings
appears, and then press
.
c
Press the arrow buttons until
Fax Settings
appears, and then press
.
d
Press the arrow buttons until
Distinctive Rings
appears, and then press
.
e
Press the arrow buttons until the desired ring tone appears, and then press
.
Faxing
85
Summary of Contents for d-Color MF920
Page 1: ...d Color MF920 d Color MF923 OPERATION GUIDE Code 556701en GB...
Page 89: ...3 Connect the answering machine or telephone to the adapter Faxing 89...
Page 174: ...3 Open the top door 4 Remove the right side cover Maintaining the printer 174...
Page 193: ...13 Insert the developer unit 14 Align and insert the imaging kit Maintaining the printer 193...
Page 248: ......


