English
106
6.
Once the toner cartridge is in place, push the coloured lever all the
way toward the rear of the machine to secure it and release the
toner.
7.
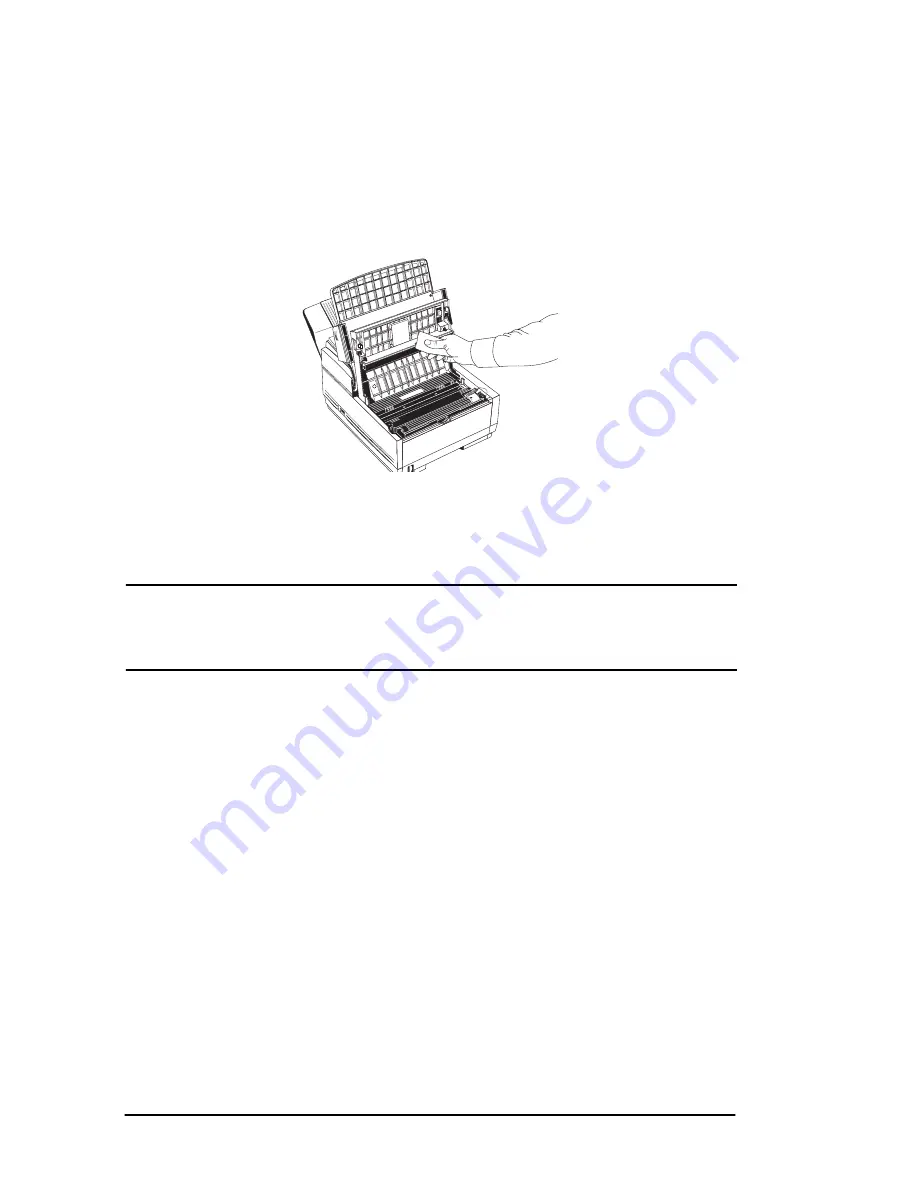
Using the cleaning wipe provided in the package with your new
toner cartridge, gently wipe back and forth across the full length of
the LED array.
8.
Close the copy stacker and push down until you hear the copy
stacker click into place. Be sure that the cover latches on both sides.
9.
Close the document table.
CAUTION:
Please abide by the disposal laws of your country when disposing of replaced
toner cartridges. If in doubt, contact your supplier for further advice.
Replacing the image drum unit
If you have dirty printouts then the image drum may have accumulated
toner on it. Press the SELECT FUNCTION key, then the 10/PRINTER
CLEANING One-Touch key and then the YES key. Your fax machine
prints a cleaning page to clean the image drum. Repeat this procedure
several times and then check again if you still have dirty printouts. If this
procedure does not solve the problem, your fax machine needs a new
image drum unit. Contact your supplier to order one.
If the faxes you receive are light or have vertical streaks in them and you
are not out of toner, or if your fax machine display prompts you to replace
the drum cartridge, your fax machine needs a new image drum unit.
Contact your supplier to order one.
1
AB
C
2
DE
F
3
GH
I
4
JK
L
5
MN
6
PR
S
7
TU
V
8
W
XY
9
*
OQ
Z
0
#
AU
TO
RE
C
SE
AR
CH
SE
LEC
T
FU
NC
TIO
N
AU
TO
DIA
L
HY
PH
EN
RE
DIA
L
CO
PY
HO
OK
V. R
EQ
UE
ST
PH
OTO
EX
FIN
E
FIN
E
STD
LIG
HT
NO
RM
AL
DA
RK
ALA
RM
STO
P
STA
RT
Summary of Contents for OKIFAX 5650
Page 1: ...English English User s Guide...
Page 12: ...English xii...
Page 28: ...English 16...
Page 46: ...English 34...
Page 54: ...English 42...
Page 88: ...English 76...
Page 128: ...English 116...
Page 130: ...English 118...


