System Upgrade 8-5
3.5-INCH HARD DISK DRIVE
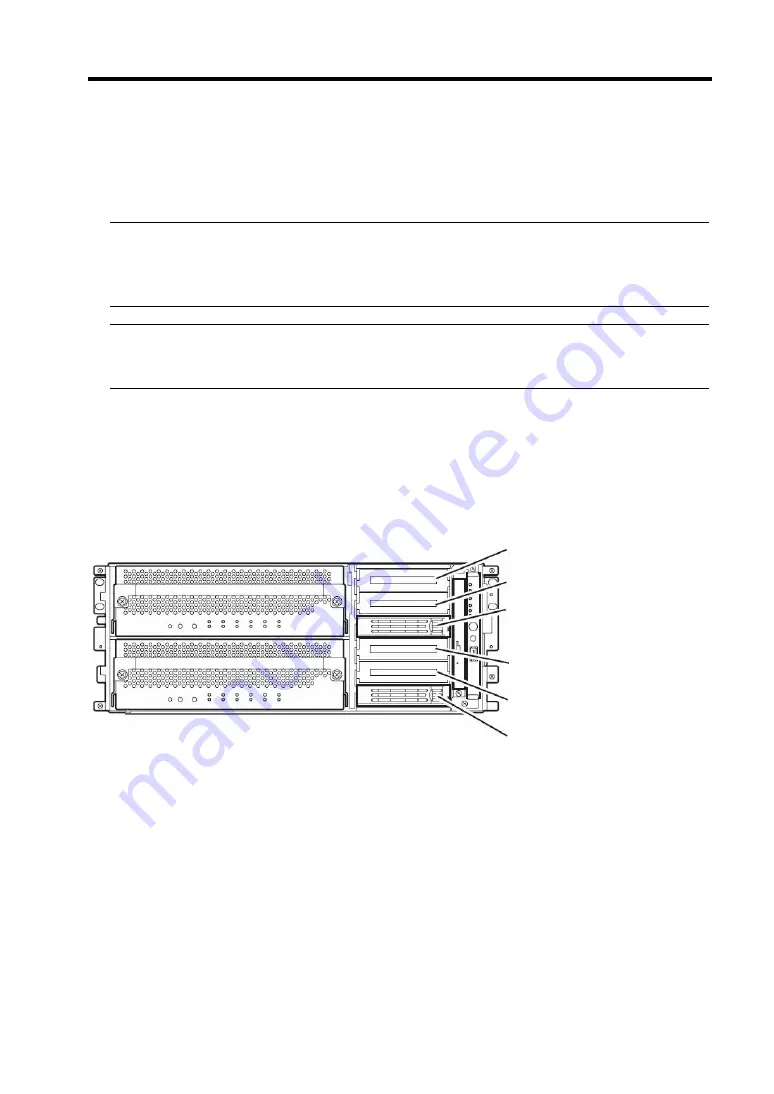
The 3.5-inch hard disk drive bay in front of the server contains six slots in which hard disks with the
SCA2 interface are installed.
IMPORTANT:
Do not use any hard disks that are not authorized by NEC. Installing a third-party hard disk may
cause a failure of the server as well as the hard disk. Purchase hard disks of the same model in
pair. Contact your sales agent for hard disk drives optimum for your server.
TIPS:
The primary CPU/IO module is determined by the order of connecting power cords (see
Chapter3).
The 320Fa-L model is used in the example quoted here. However steps you should take are the same
for other models. You can install 25.4mm (1-inch) high hard disk drives to six 3.5-inch hard disk drive
bays on the server. 3.5-imch hard disk drive bays have labels with slot number.
The hard disk drives installed on the slot 0, 1 and 2 are mirrored with the slot 3, 4, and 5 respectively.
(The OS is installed on the mirror volumes that consist of the hard disks in the slot 0 and 3)
Empty slots in the 3.5-inch hard disk drive bay contain dummy trays. The dummy trays are inserted to
improve the cooling effect within the device. Always insert the dummy trays in the slots in which hard
disks are not installed.
Attach an HDD ID label indicating the slot number of installed hard disk to the handle of the hard disk.
Slots to execute the mirroring process
Slot 5
Slot 4
Slot 3
Slot 2
Slot 1
Slot 0
Summary of Contents for Express5800/320Fa-L
Page 2: ......
Page 19: ...Precautions for Use 1 3 Rack model Front Rear...
Page 45: ...General Description 2 13 Rack model with the front door open...
Page 48: ...2 16 General Description 27 HCS1 error LED See page 2 29 28 Heat warning LED See page 2 29...
Page 50: ...2 18 General Description Rear View Tower model Rack model...
Page 74: ...2 42 General Description This page is intentionally left blank...
Page 89: ...Windows Setup and Operation 3 15 7 Configure the mirror of the extended volume...
Page 107: ...Windows Setup and Operation 3 33 4 The confirmation dialog box appears Click Yes button...
Page 114: ...3 40 Windows Setup and Operation This page is intentionally left blank...
Page 141: ...System Configuration 4 27 Exit Move the cursor onto Exit to display the Exit menu...
Page 265: ...Installing and Using Utilities 5 65 Sample screen of Server Maintenance Utility...
Page 306: ...6 14 Maintenance This page is intentionally left blank...
Page 400: ...8 44 System Upgrade This page is intentionally left blank...
Page 404: ......
Page 405: ......


