


3-24 Setting Up Your Server
CONNECTING PERIPHERAL DEVICES
Connect peripheral devices to the server. The server is provided with connectors for wide variety
of peripheral devices on its front and rear. The figure on the next page illustrates available
peripheral devices for the server in the standard configuration and locations of the connectors for the
devices.
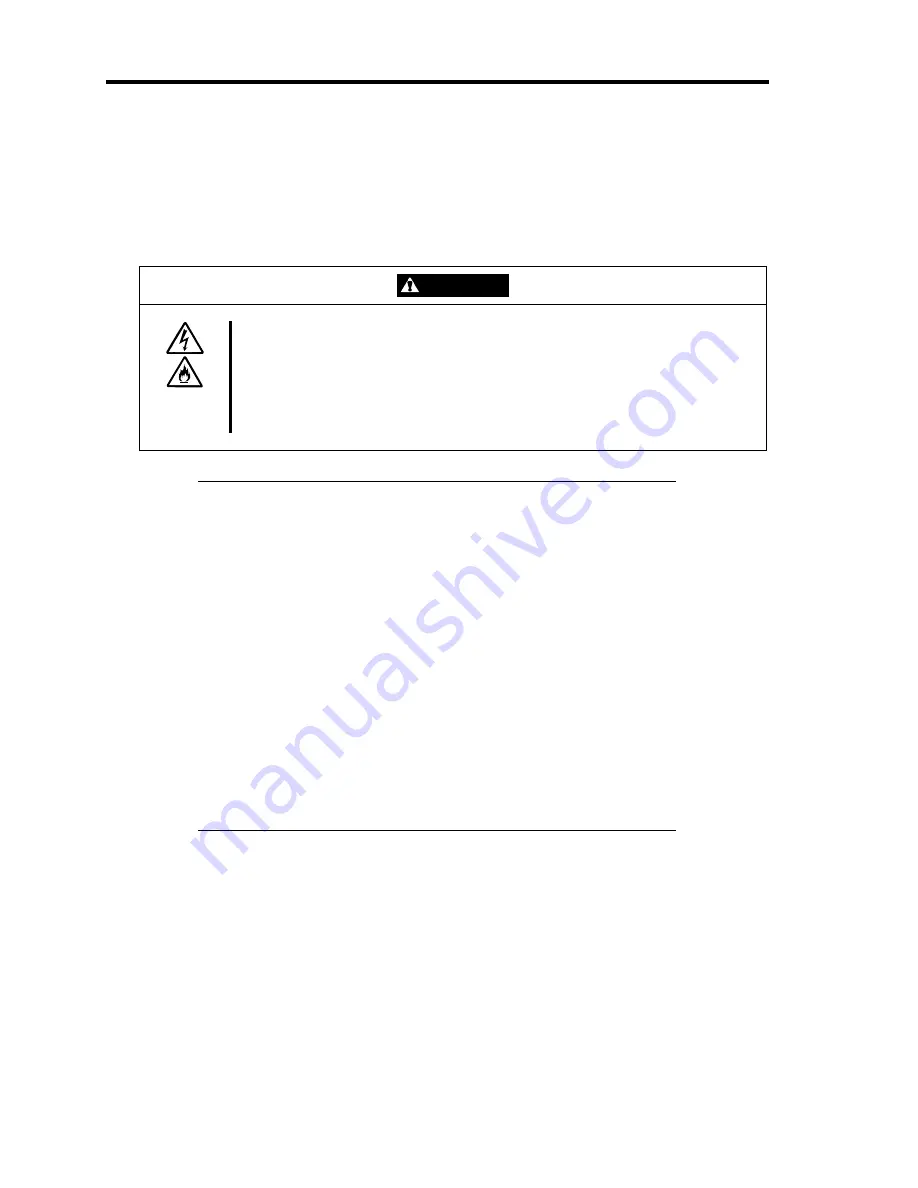
CAUTION
Observe the following instructions to use the server safely. Failure to follow
these instructions may cause a fire, personal injury, or property damage. See
pages 1-3 to 1-8 for details.
■
Do not connect any interface cable with the power cord of the NEC Express
Server plugged to a power source.
■
Do not use any unauthorized interface cable.
IMPORTANT:
Power off the server and a peripheral device before connection.
Connecting a powered peripheral device to the powered server will
cause malfunctions and failures (excluding the USB device).
To connect a third-party peripheral device or interface cable to the
server, consult with your service representative for availability of
such a device or cable. Some third-party devices may not be used
for the server.
The "100BASE-TX/10BASE-T connector" and the "serial port B
connector" of this server have the same shape. Be careful not to
connect a cable to a wrong connector.
A leased line cannot be connected directly to the serial port
connectors.
Secure the power cord(s) and interface cables with a lock spring.
Form the cables in such a way that they will not come into contact
with the door or the guide rails on the sides of the server.
Summary of Contents for Express5800/140Rc-4
Page 10: ...iv This page is intentionally left blank ...
Page 34: ...1 18 Notes on Using Your Server This page is intentionally left blank ...
Page 93: ...Setting Up Your Server 3 21 21 Install the front bezel Now the installation is completed ...
Page 110: ...3 38 Setting Up Your Server This page is intentionally left blank ...
Page 196: ...5 40 Installing the Operating System with Express Setup This page is intentionally left blank ...
Page 286: ...8 48 Troubleshooting This page is intentionally left blank ...
Page 360: ...9 74 Upgrading Your Server This page is intentionally left blank ...
Page 362: ...A 2 Specifications This page is intentionally left blank ...
Page 400: ...F 4 Product Configuration Record Table This page is intentionally left blank ...


