8-38 System Upgrade
2.
Set a dual LAN configuration.
Refer to the page 3-26 for the dual configuration of the network.
Now the 1000BASE-T 1ch board set, 1000BASE-SX 1ch board set, or 1000BASE-T 2ch board
set is installed.
N8803-032 SCSI Board
The lists of slots to install optional PCI boards
Refer to “List of option PCI boards and installable slots:” on page 8-33.
Driver installation procedure
TIPS:
To perform this procedure, you have to log on the system as an Administrator or a member of the
Administrators group.
1.
Mount a N8803-032 SCSI board in one CPU/IO module. Then, connect the power cord of that
CPU/IO module, power on the server, and start the system.
2.
Set the “NEC EXPRESSBUILDER” CD-ROM into the CD-ROM drive, and run
UPDATE.VBS located at
CD-ROM_drive
:\HAS\W2K3\HASSETUP\
SCSI_folder
.
ᴾ
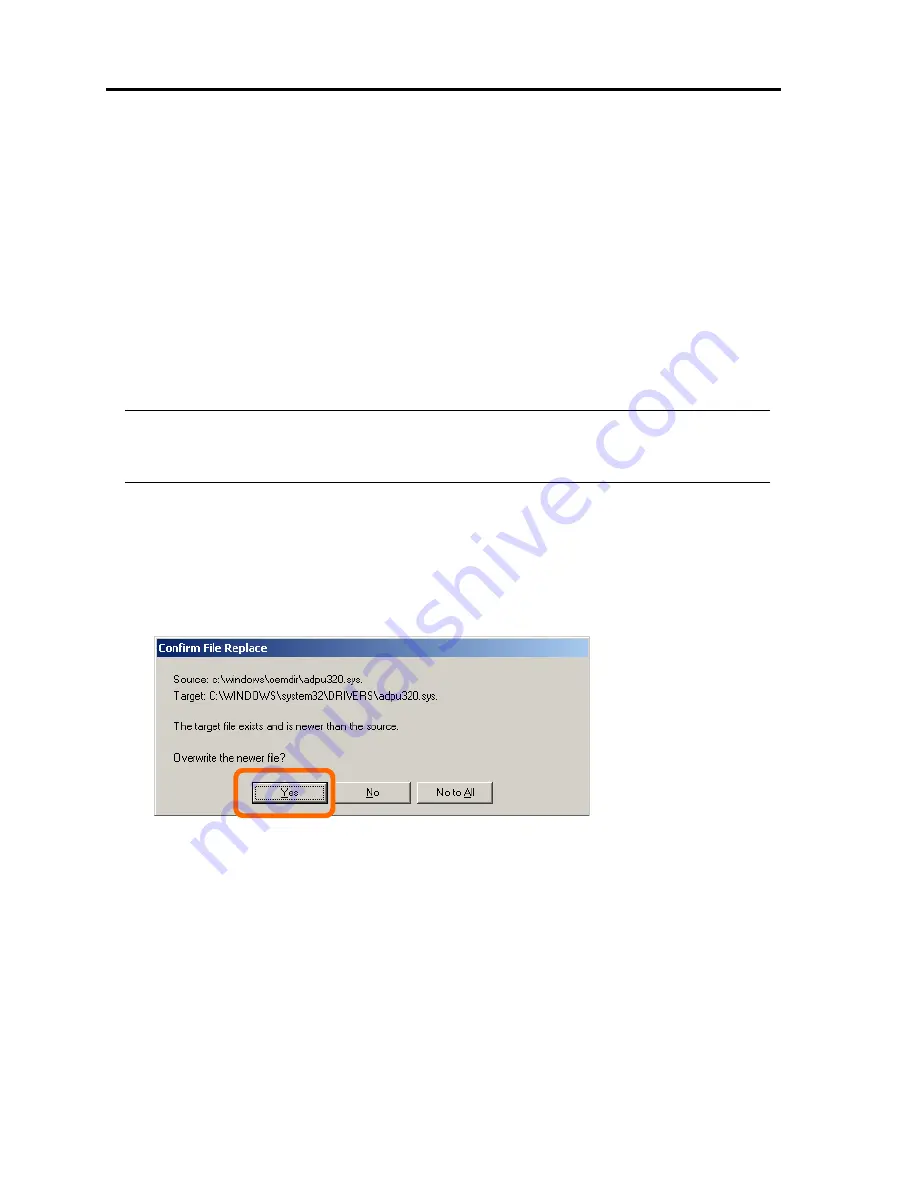
If the pop-up window for confirming to overwrite a file appears, click [Yes] and continue the
installation.
ᴾ
3.
After one minute, remove the CD-ROM and shut down the server.
4.
Mount a N8803-032 SCSI board into the other CPU/IO module. (Skip this step if unnecessary.)
5.
Connect the power cable of the CPU/IO module you mounted the SCSI board in 4, power on
the server, and confirm that the dual configuration of the SCSI boards are set when the system
starts up.
6.
Set the “NEC EXPRESSBUILDER” CD-ROM into the CD-ROM drive, and run
UPDATE.VBS located at
CD-ROM_drive
:\HAS\W2K3\HASSETUP\
SCSI_folder
again.
7.
After one minute, remove the CD-ROM and reboot the server.
Now the driver is applied.
Summary of Contents for EXP320A
Page 15: ......
Page 22: ...Precautions for Use 1 3 Rack model Front Rear ...
Page 24: ...Precautions for Use 1 5 Water Cooling kit ...
Page 52: ...Precautions for Use 1 33 ء ข Δ ਢ ڼط ข س ऱధჾࢨਚᎽΔ ڇঁܛ অଥཚၴփՈ گ ፂଥ၄ ش Ζ ...
Page 68: ...General Description 2 13 Rack model with the front door open ...
Page 73: ...2 18 General Description Rear View Tower model ᴾ Rack model ...
Page 110: ...Windows Setup and Operation 3 15 7 Configure the mirror of the extended volume ...
Page 128: ...Windows Setup and Operation 3 33 4 The confirmation dialog box appears Click Yes button ᴾ ᴾ ...
Page 164: ...System Configuration 4 27 Exit Move the cursor onto Exit to display the Exit menu ...
Page 225: ...4 88 System Configuration This page is intentionally left blank ᴾ ...
Page 286: ...Installing and Using Utilities 5 61 Sample screen of Server Maintenance Utility ...
Page 327: ...6 14 Maintenance This page is intentionally left blank ...
Page 381: ...7 54 Troubleshooting This page is intentionally left blank ...
Page 424: ...Specifications A 3 ...
Page 425: ......


