20
BACnet
5. Press Send to begin the discovery process.
Note that sometimes the software will report errors while discovering, this will not affect the
outcome of the discovery. Once the discovery is complete the main window should display a
populated tree consisting of all the objects associated with the FACP. If the list does not
appear or is incomplete repeat the discovery process with all options selected.
The CAS BACnet explorer can also be used to monitor any changes in the properties of any of
the objects associated with the FACP. Once objects have been discovered the populated tree
can be expanded and individual objects can be selected. Each object can be expanded to
view its parameters and properties. To monitor an object right click on it and select “Add this
object to monitor list”. Repeat this for each object that needs to be monitored.
Objects will be monitored using default properties however the list of default properties may
not included all required properties. To set properties to be monitored click on the settings icon
and the Settings window appears. Use the Add and Remove buttons to select properties.
Press OK to confirm the settings.
Once objects and properties to be monitored are selected press the Monitor button in the main
window. All the objects to be monitored will be displayed in a new window titled Monitor List.
This window will display any changes in properties as they happen in real time.
4.3 Visual Test Shell
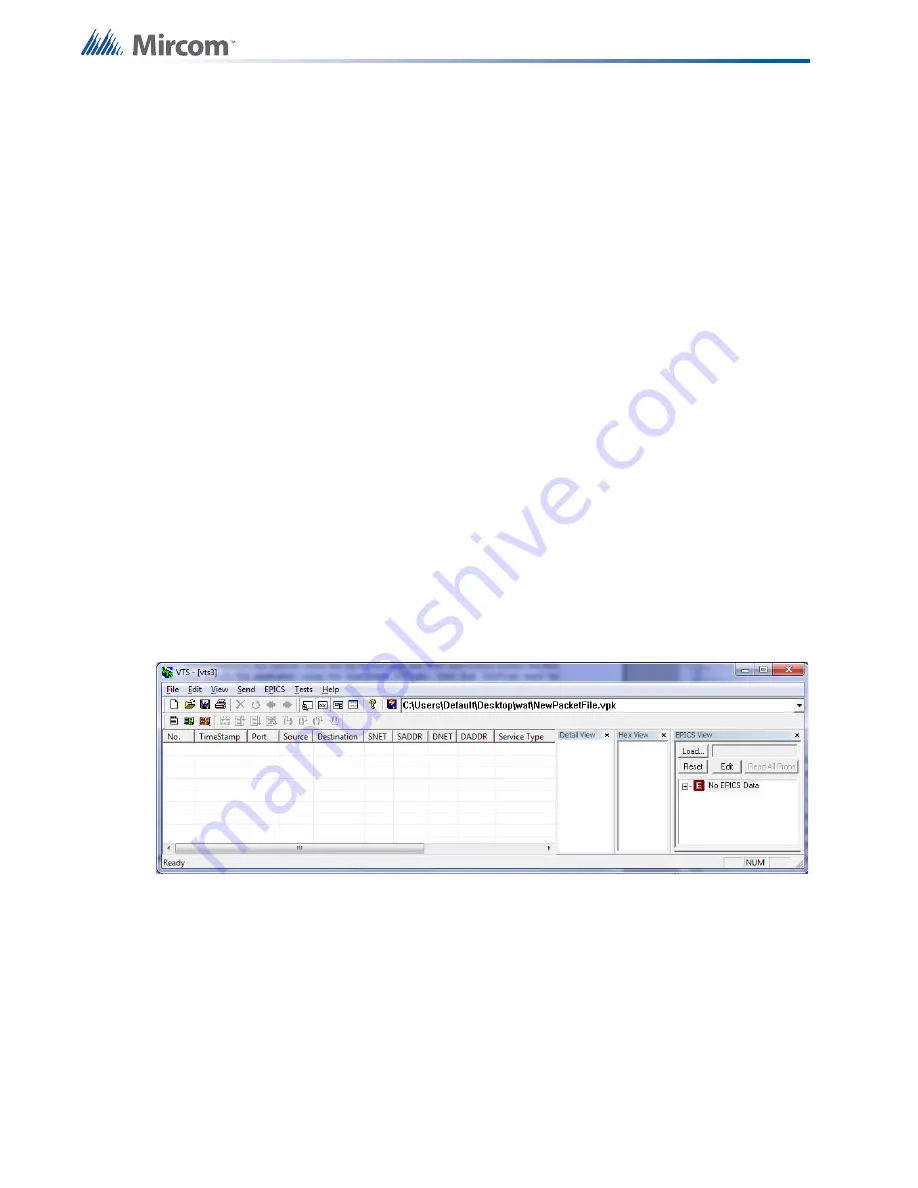
The Visual Test Shell (VTS) is an application that is able to monitor BACnet objects and
communicate with BACnet devices to acknowledge alarms. It is freeware and can be
downloaded from: http://sourceforge.net/projects/vts/. Once the zip file package has been
downloaded extract the files and launch the application using the executable VTS.exe. Note
that WinPcap must be installed in order for the VTS application to launch.
4.3.1 Configuring Device, Port and Name Settings
1. From the taskbar select Edit then select Device. The Device Configuration window
appears.
2. Enter a name for the BACnet device in the Name field and its Device ID in the Instance
field.
3. Press OK to confirm your settings.
4. From the task bar select Edit then select Ports. The Port Configuration window appears.
5. Press the New button and in the Name field enter a name for the port.
6. Select the Enable check box and use the Network drop down box to select the device
that was configured in the Device Configuration window.
Summary of Contents for Flex-Net Phase II
Page 1: ...Flex Net Phase II Application Guide LT 6045 Rev 1 October 2012 Application Guide...
Page 2: ......
Page 51: ...51 Hardware Layouts...
Page 115: ...114 Appendix B Using the Configurator...
Page 131: ......


