Installing Printer Drivers and Utilities, Macintosh
10
d
In the resulting window, select from USB, AppleTalk, or LPR to match
your printer connection.
USB—The magicolor 3300 appears in the window.
AppleTalk (for Ethernet connection)—Select the zone and scroll
through printer choices. The magicolor 3300 appears in the choice list.
LPR—Enter the IP Address. If the “Use Default Queue on Server” box
is checked, click it to unselect it. Type in the IP Address again for the
Queue name.
e
Choose the Printer Model popup menu to select the magicolor 3300
PPD, and choose Other.
f
Browse to Library/Printers/PPDs/Contents/Resources/en.lproj.
The first two letters of the folder name are an abbreviation for
the language. If you prefer another language instead of
English, you can pick a different .lproj folder.
g
Select the magicolor 3300 PPD. Click Choose and then click Add.
The Printer List opens again.
h
Double-click on the printer you just created to open the Print Queue
window.
OS X Step 3. System Software
a
If it’s not already there, insert the Software Utilities CD-ROM in your
Macintosh’s CD-ROM drive.
b
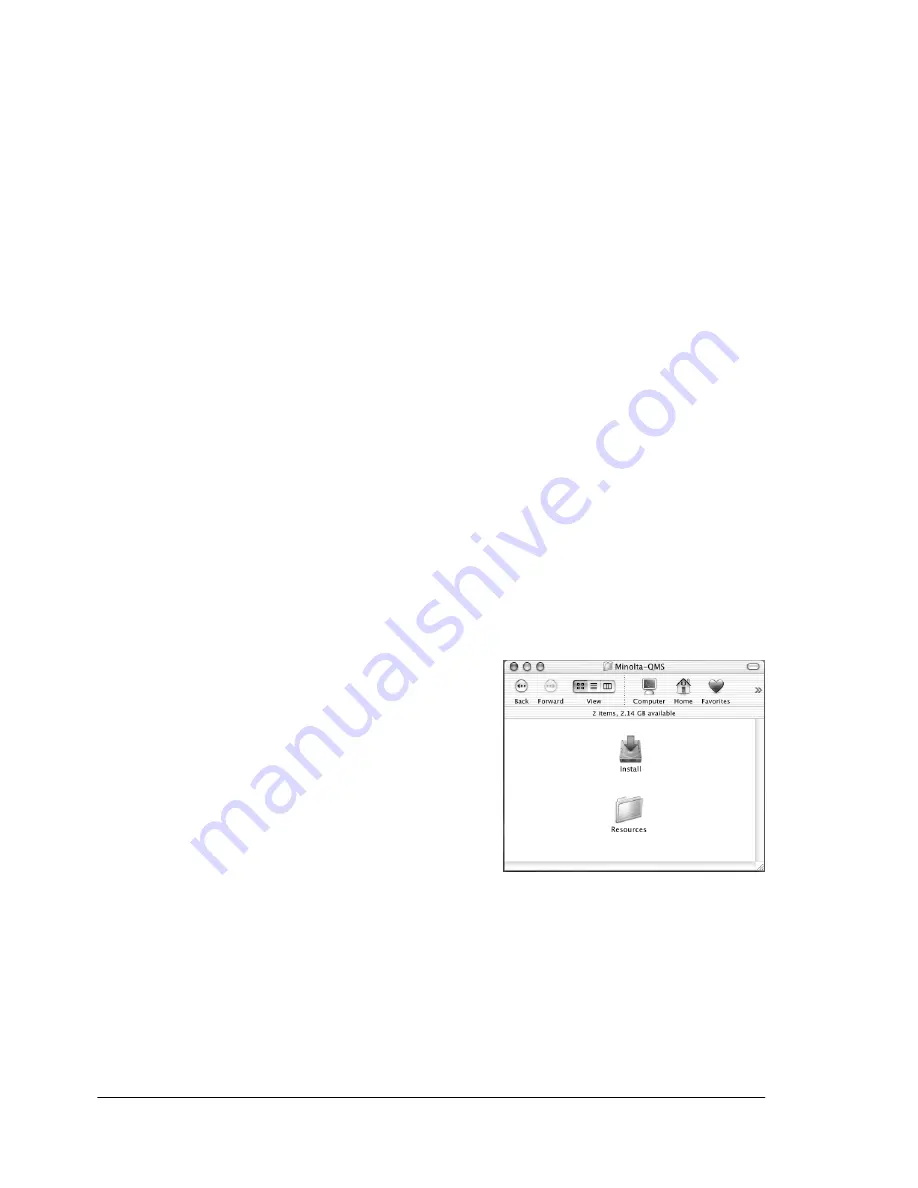
Double-click the CD-ROM icon to
display its contents.
Note: Unlike Macintosh OS 9,
it is not necessary to install the
magicolor 3300 PPD and
utilities before upgrading the
printer system software in
Macintosh OS X.
c
Double-click the Resources icon.
d
Double-click the System_Code folder, and then locate the system
software file (system.ps where system is the filename).
e
Drag the system.ps icon and drop it into the Print Queue window you
opened in Step 2, Letter H. This performs the system software
upgrade.
f
When the system software installation is complete, remove the
CD-ROM from your CD-ROM drive and store it in a safe place.
Summary of Contents for MAGICOLOR 3300
Page 1: ...magicolor 3300 User s Guide 1800712 001A...
Page 8: ......
Page 9: ...1 Software Installation...
Page 20: ......
Page 21: ...2 Using Media...
Page 52: ......
Page 53: ...3 Color Printing...
Page 59: ...4 Replacing Consumables...
Page 80: ......
Page 81: ...5 Maintaining the Printer...
Page 88: ......
Page 89: ...6 Troubleshooting...
Page 133: ...7 Installing Accessories...
Page 157: ...A Technical Specifications...
Page 186: ......
Page 194: ......


